|
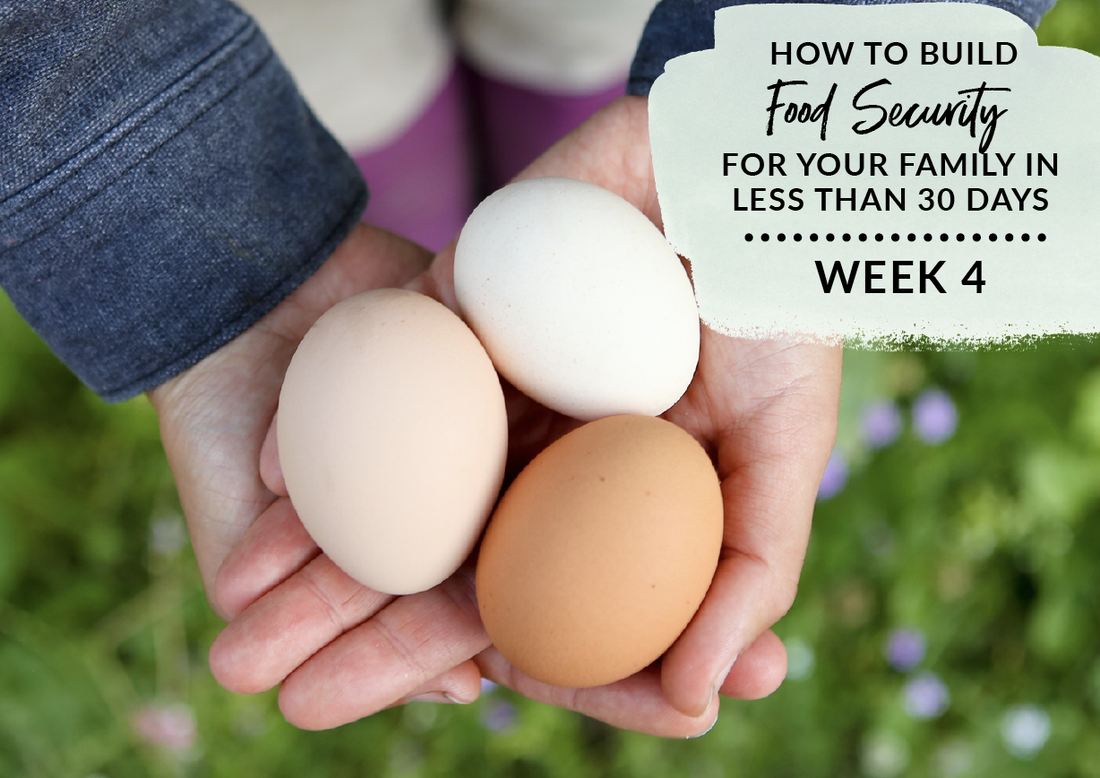
Welcome back to Week 4 of our 30-Day Food Security Plan. Can you believe it's been a month since we started learning about gardening, chicken keeping, foraging, and homemaking? I have been loving teaching you everything I know about food security and this week is no different. In this final post in our 30-Day Food Security Plan you will learn (click to jump!):
If you just found this series, be sure to head back to Week 1 so you can learn how this 30-Day Food Security Plan works and get started on the right foot! I want you to remember that you are completely capable of starting something new (like making your own yogurt). Sure, you're probably going to make some mistakes in the process as you learn but the payoff is worth it. Doing these things with a loved one or your kids will bring you some fun and purpose during this uncertain time. Let’s dive into Week 4!
Please note: The links below are affiliate links, meaning at no additional cost to you, I will earn a commission if you end up clicking and purchasing an item. I worked hard to find my trusted favorites and I want to share them with you so you don't have to deal with all the crappy junk I had to go through. Nuff said.
Gardening
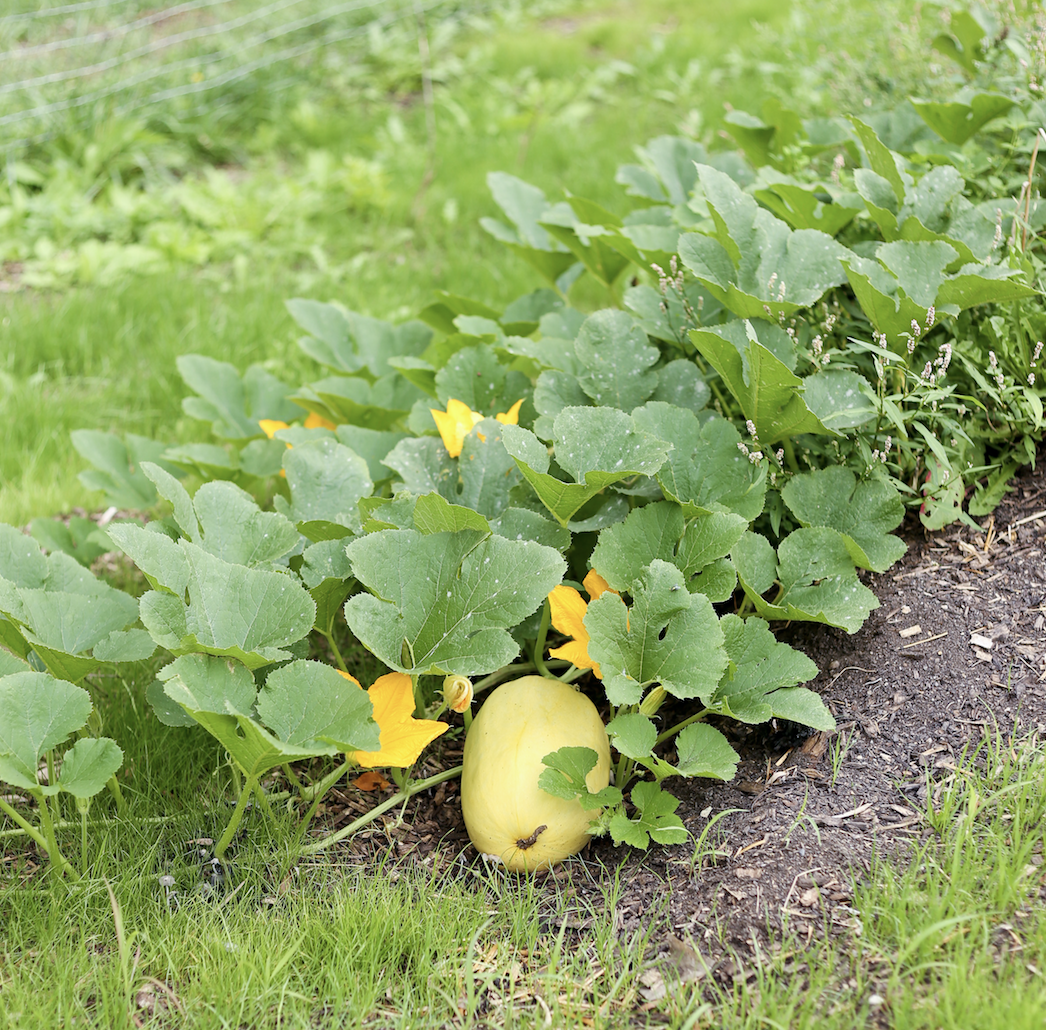
In Week 1 we gathered all the necessary garden supplies, in Week 2 we learned where to put your garden and how to build raised beds, in Week 3 we learned all about planting seeds and transplanting seedlings. For our final week of the 30-Day Food Security Plan we are going to cover holistic fertilizing and protecting your vegetable garden from pests.
How do you fertilize your vegetable garden properly? One of the best ways to get your garden started off right is to top dress it with a thick 2” layer of compost the fall before planting. But what if you just caught the gardening bug in springtime and missed the boat? Don’t fret, you still have tons of options! Before diving into applying fertilizer during the growing season, it's essential to do a soil test. My favorite DIY soil test can be found here. It’s incredibly simple and easy to do, plus you get ten tests with the pack. It’s best to test your soil the fall prior to planting so you can make changes, but again, don’t worry if you are late to the party. No matter where you are in the growing season, opt for a soil test to better educate yourself on what your plants may need. You’ll be testing the pH of your soil, and also the amount of Nitrogen (N), Phosphorus (P), and Potassium (K). Chemical fertilizers derive these three nutrients from fossil fuels, which have no place in your organic garden. This is why I am sharing my favorite organic options for fertilizing and correcting soil nutrition below.
The most common soil nutrient and pH issues and their remedies:
Nitrogen Deficient: Work composted manure into the surface of the soil. Add 2 cups of organic greensand around the base of larger plants and work into the soil. Apply a foliar spray of 2 tbsp fish and seaweed emulsion to 2 gallons of water using a pump sprayer. Phosphorus Deficient: Add organic rock phosphate at 1 cup per large plant (squash or zucchini). More generally, add 10lbs per 100 square feet. Tomatoes especially love phosphorus at fruiting time. Note that the more acidic your soil is, the less available phosphorus is to your plants. If you have highly acidic soil see the below info. Potassium Deficient: Add organic greensand at 2 cups per large plant and work into the soil. Apply a foliar spray of tbsp fish and seaweed emulsion to 2 gallons of water using a pump sprayer. Sprinkle soil with a dusting of wood ashes, which have the added bonus of adding trace minerals like magnesium and calcium. The soil is too acidic (below 6 pH): As mentioned above, the soil pH affects if your plants can take up available nutrients in the soil. You can use ground up oyster shells at 1-2lbs per 100 sq ft or a dusting of hardwood ashes. These will “sweeten” the soil and raise the pH up by a half point or more. The soil is too alkaline (above 8 pH): A quick fix is to water plants with a 50:50 ratio of cold coffee and water. This will bring you down by a half point or more on the pH scale.
What is the best foolproof organic fertilizer or pesticide?
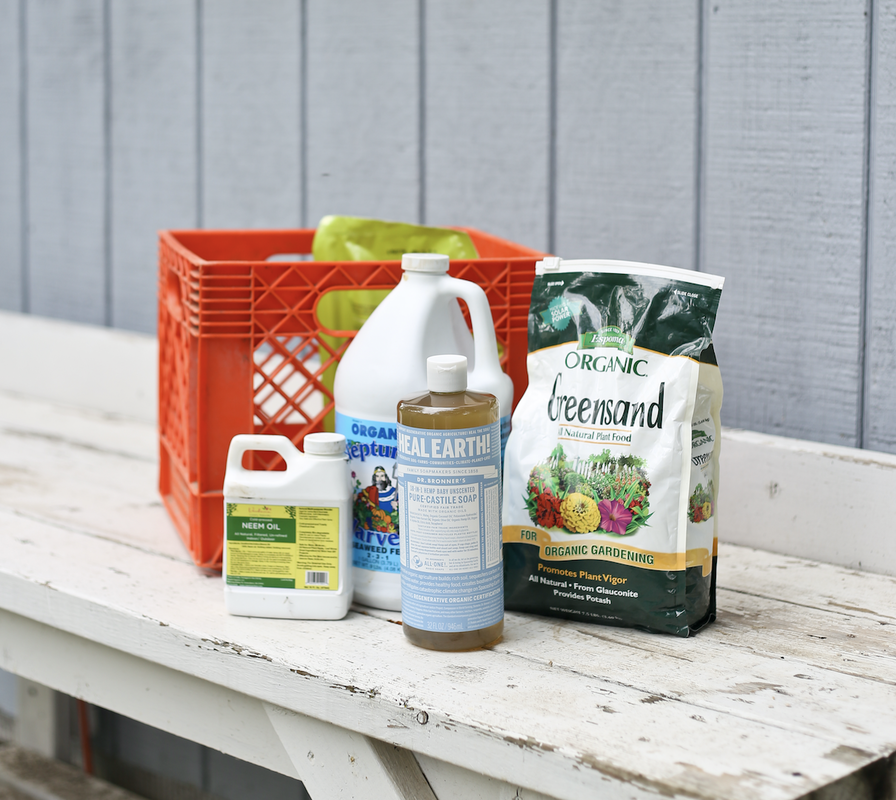
Once you test and make corrections, you’ll still want to give your plants a boost throughout the growing season as well as protect them from munching insects. I like to whip up a batch of holistic foliar spray and apply it 1x a week (it's called Fertilizer Fridays at our house). A foliar spray means you are applying the fertilizer to the plant's leaves. The Best Dang Holistic Organic Fertilizer Foliar Spray: RECIPE Fish and seaweed emulsion is a super nutritious and balanced fertilizer for your plants. It's definitely my catch-all for keeping my garden well-fed. Neem Oil helps keep munching insects away as well, but use with caution as it also can negatively affect pollinators. I include Neem Oil in my foliar spray only if I'm having insect issues in the garden. Otherwise, you can simply whip up this recipe with just the fish and seaweed emulsion. Castile Soap is another organic pesticide because the soap ultimately suffocates soft-bodied garden pests. Once applied to the plant, it won't have adverse effects on pollinators. Always spray in the early morning or late evening, so the sun doesn’t burn the moistened leaves. Remember to also spray your fertilizer on a day where there’s no rain in the forecast so it doesn't wash off right away. This recipe is for a 2-gallon hand pump sprayer. Make adjustments accordingly. Ingredients:
What are the best organic gardening books to have on hand to keep learning?
My little gardening newbie - all I want is for you to spread your wings and fly! While my teachings here are a great way to get started with gardening, there are so many books on how to keep gardening. Here are my favorites
Chicken Keeping
For those that ordered hatching eggs, head over to this super informative post to learn how to successfully hatch your own eggs in an incubator. Once your chicks hatch in 21 days, follow the chick care instructions in Week 1, Week 2, and Week 3.
Next, I want to take a moment to remind you again to pick out your chicken coop! I know we covered chicken coop options in Week 2, but you’ve got to get the ball rolling. Your little chicks will outgrow their brooder and be teenage chickens before you know it! You can also learn how we converted an old garden shed into a coop or how we built A-frame mobile chicken coop tractors. What should you do to keep your hens healthy and what should you have in your chicken vet bag? For routine health care, there are a few preventative actions you can take. Once a month, put one crushed garlic clove and ¼ cup apple cider vinegar in their waterer. The garlic and ACV gives chickens a great boost to their immune system. Fully clean out their coop once a month. Replace coop and nesting box bedding with fresh straw or shavings and spray down the walls with a solution of 50:50 vinegar + water and 20 drops tea tree oil then wipe clean. I also recommend supplementing your hen's diet during the winter months if you get below 20°F with some natural nutritional supplements. To learn more about the top five supplements I recommend and the science to back them up click here to read this blog post. Use fresh herbs in their nesting boxes, like mints, lavender, and rosemary to keep rodents and bugs away. Add chopped fresh herbs like basil, parsley, and mint to your hens’ feed tray once a week to give them a super boost of nutrients. Observation is key to preventing serious health issues from claiming the life of your beloved birds. Every day, spend a little time with your girls and see how they are doing. Hens acting lethargic, moving strangely, or not eating are signs that something is wrong. Take note of your hen’s symptoms and turn to a Google search or the Backyard Chicken Forums for a solid answer.
Once a month, take the time to do a more hands-on physical examination of your birds at night. When chickens go to roost they become zombies and it’s much easier to work with them.
The Monthly Medical Chicken Protocol:
These four products (Healthy Jelly, DE, VetRx, and Blu-Kote) are the most basic vet-care items to have on hand for your hens. Don’t keep chickens without having them at the ready!
How do chickens keep themselves clean?
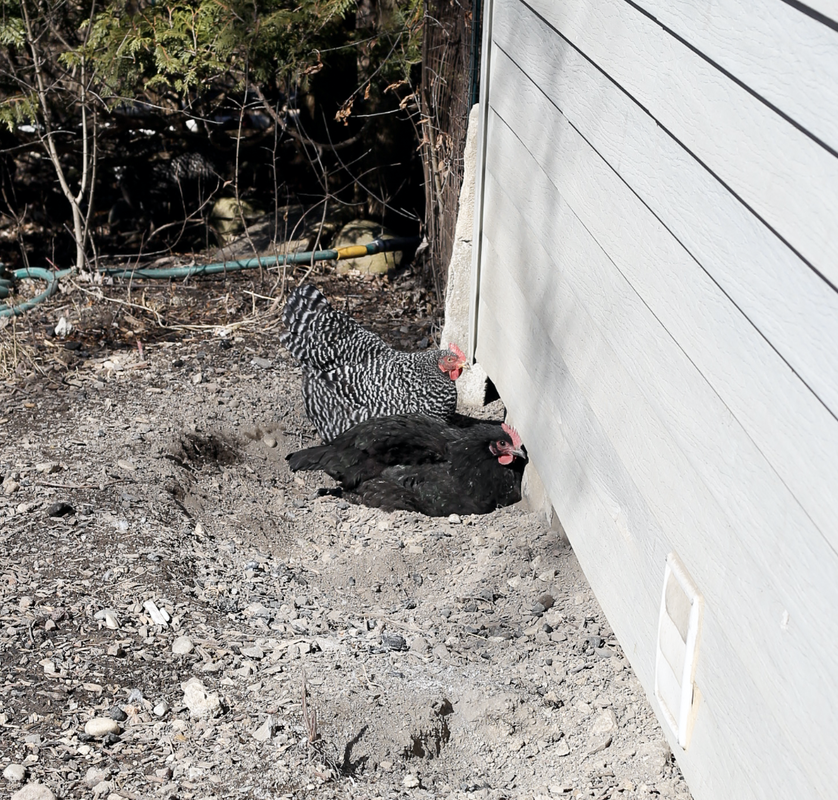
The only time you should ever have to give your chicken a bath is if she’s dealing with a nasty case of lice (don’t worry they aren’t the human lice!) or if she’s got a bit of a poopy butt (also a sign of lice!). Chickens for the most part, keep themselves well groomed and clean through the act of dust bathing. To keep mites, lice, and fleas at bay, provide your hens a spot to dust bath. Chickens typically don’t need to be cleaned with soap and water (unless they are sprayed by a skunk!). Instead, chickens like to roll around in the dirt to kick up small particles under their feathers, just like what the chickens are doing in the picture above. The easiest way to give chickens a spot to dust bath is to set out a cat litter pan and fill it halfway up with 1 part fine particle sand, 1 part peat moss, ½ cup of diatomaceous earth, and ½ cup of wood ashes. To learn more about using diatomaceous earth as a parasite cleanse for your hens you can read this blog post. They also preen their feathers. Hens achieve preening by stimulating an oil gland above their tail feathers that distributes a wax-like substance they then apply with their beaks all over themselves. What are the best chicken keeping books to have on hand to keep learning? Locally Sourcing
In Week 2 I shared with you some of the best resources available to you to locally source produce and food items. For our final week of building food security, I wanted to invite you to step it up a teeny tiny notch and see if you can kind any of the following food items locally:
Herbal Medicine: a great example I can share with you here in the Milwaukee area is Tippecanoe Herbs. Tippecanoe offers a wide assortment of herbal medicine to help colds, allergies, mental health, fertility, and so much more. I’ve ordered herbal products to successfully help me with everything from anxiety relief to menstrual cramps. It feels amazing to know that I am supporting someone local to me, keeping my carbon footprint low, and they are a massive wealth of knowledge. Please oh please don’t feel like you don’t know enough to try something on the herbal side when it comes to healing. Herbalists are here to help you - they are the professionals so you don't have to be. Share with your local herbalist the symptoms you are dealing with and they can put together an actionable plan to help you. Baked Goods: finding a baker local to you can have the most amazing benefits - from a better variety of baked goods to fresher products that ultimately last longer! Another example here in Milwaukee in Troubadour Bakery. From loaves to bagels and to pretzels, I love picking up these fresh goodies for my husband (I’m Celiac so I have to pass!). Do a quick google search and see what bakeries are near you, remember to be flexible with them if they are operating under certain public health restrictions. Wine, spirits, or beer: local booze y’all! Thanks to the craft brew and home wine making movements, I feel that there are more and more local alcohol options popping up. Some of my personal favorites near us in Milwaukee are Aeppeltreow, Twisted Path, and the Great Lakes Distillery. I’ve found the best way to pin down locally-based booze is to Google: “best “x state” based liquor.” Homemaking
In Week 3 I taught you how to make your own Kombucha. This week we are going to learn how to make your own yogurt and easy ice-cream (no ice cream maker needed).
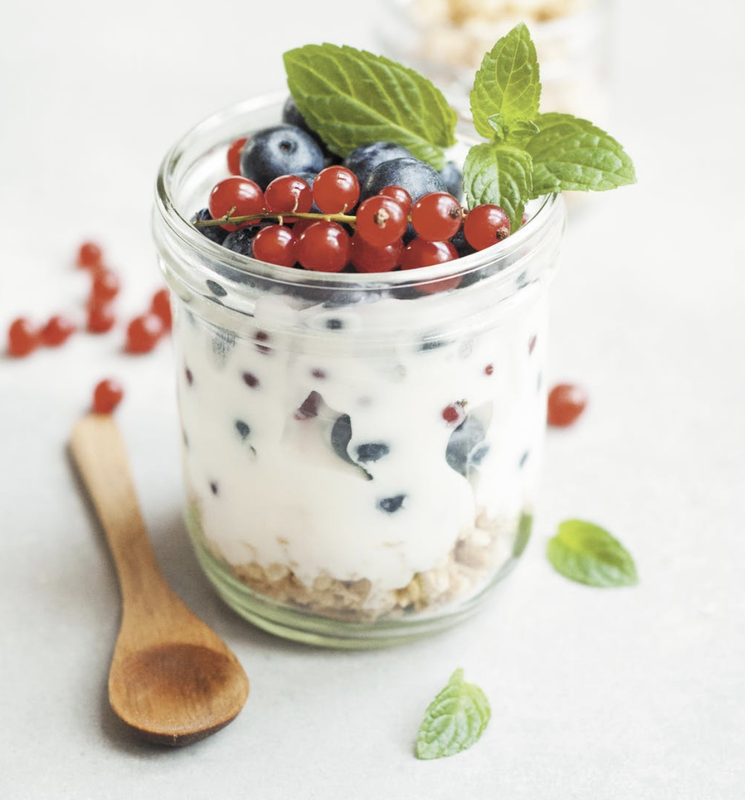
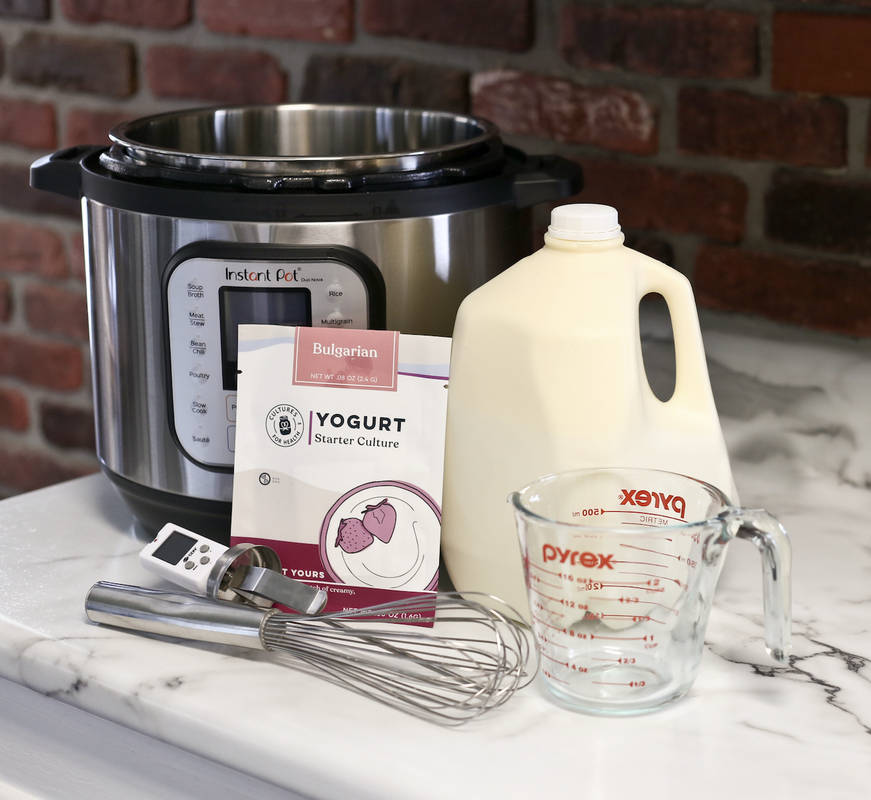
How do you make yogurt at home? My personal favorite and the culture I have the most experience with is Bulgarian Yogurt. I love Bulgarian Yogurt because it’s a continuous heirloom culture, meaning you don’t have to start over each time with a new activator (more on activators in just a second). Instead, you can use a bit of your ready-made yogurt each time to continually culture it! Bulgarian yogurt is a thermophilic culture, meaning it likes and needs a bit of heat to turn from milk into yogurt. Because it’s a heat loving culture, you’ll need a yogurt maker to keep the ambient temperature warm enough. I highly recommend this yogurt maker because you can safely control the temperature. The other option is an Instant Pot with a yogurt setting. I use the 8 Quart Instant Pot and am so in love with it I plan on marrying it. Please know you can’t make Bulgarian yogurt without a yogurt maker! The other must-have when making Bulgarian yogurt is the starter culture (the activator). I swear by Cultures For Health Bulgarian Yogurt Starter Culture (and the rest of their products for that matter). When you activate your starter culture, you are essentially feeding the good bacteria (from the starter culture) in the best environment possible (a warm one!). This process kicks off lactofermentation, which is what makes yogurt so good for your gut and digestion. Lactobacillus is a strain of bacteria that eats up all the milk sugars (hey lactose) and creates lactic acid - what makes yogurt… well yogurt! While it might feel scary and a little iffy to try working with bacteria to make yogurt, I assure you - you can do this! I messed up two batches before I got the hang of it, and you probably will too - but that is OKAY. You are capable of making yogurt for yourself or your family - you got this my friend.
Supplies Needed For Bulgarian Yogurt Making:
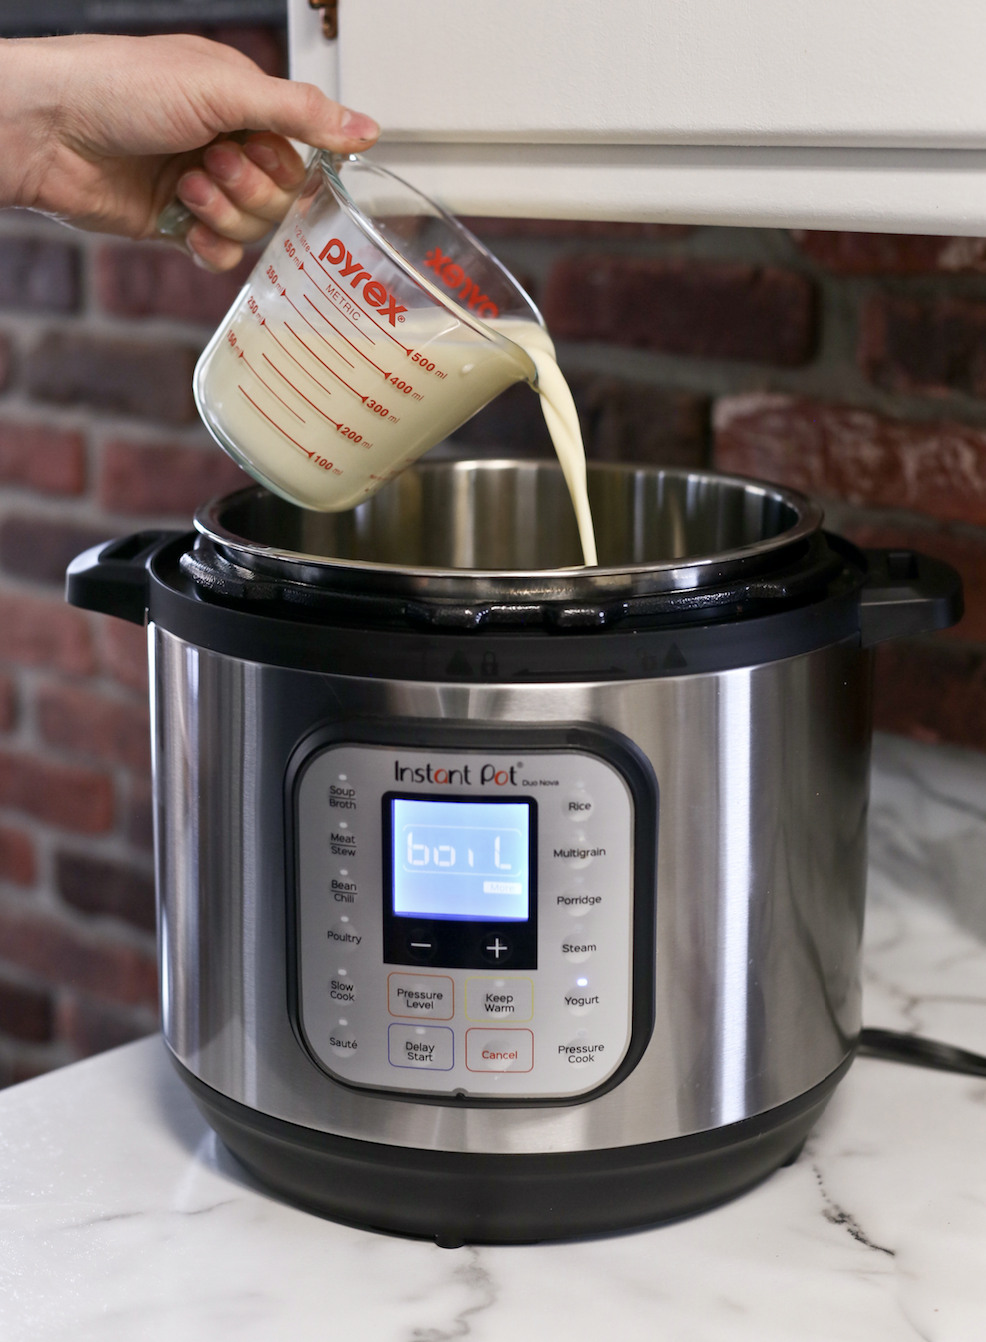
How to make Bulgarian Yogurt 1. In your stainless steel pot, slowly heat up 1 quart of whole to 160° F (use that candy thermometer to monitor the temp!) while whisking slowly to keep the milk from burning. In an Instant Pot, set the Yogurt Setting to High - the screen will read "Boil."
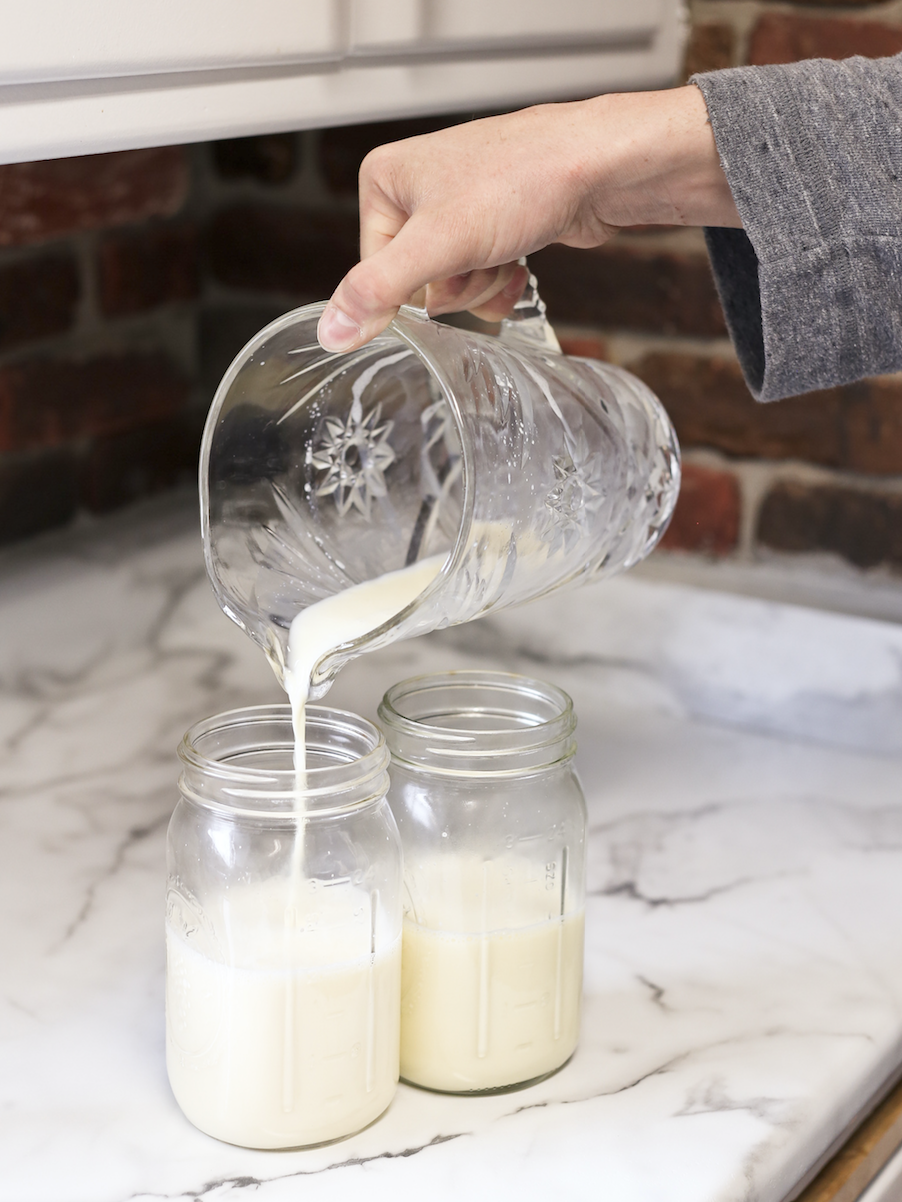
2. Remove the milk from the heat source and let it cool to 110° F. I like to pour it into a glass or stoneware pitcher at this point to speed up the cooling process and to make it easier to pour in the next step.
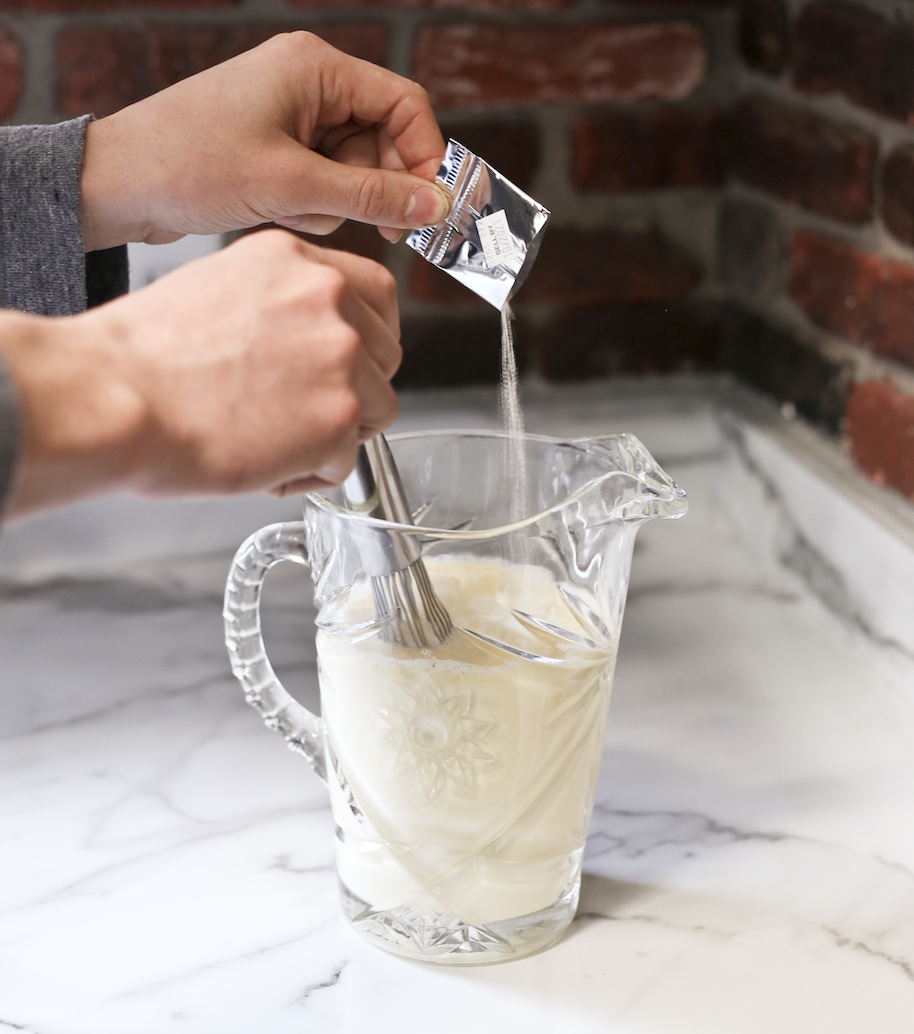
3. Add 1 packet of your Bulgarian Starter Culture and whisk it thoroughly into the cooled milk.
4. Pour the milk into two mason jars (½ quart each), filling up the jars halfway.
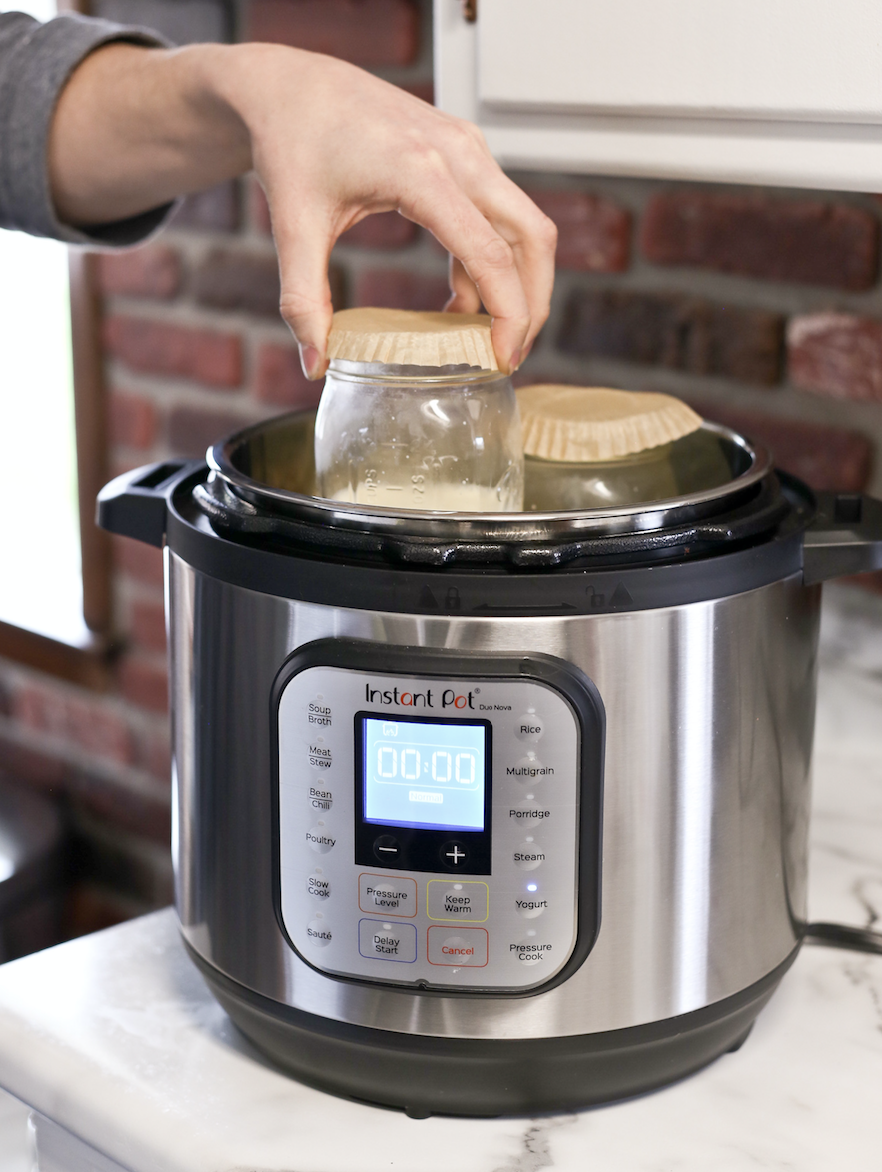
5. Set the mason jars into your yogurt maker (set temperature to 110°F) or instant pot (set yogurt setting to medium) and cover both jars with a coffee filter or clean rag.
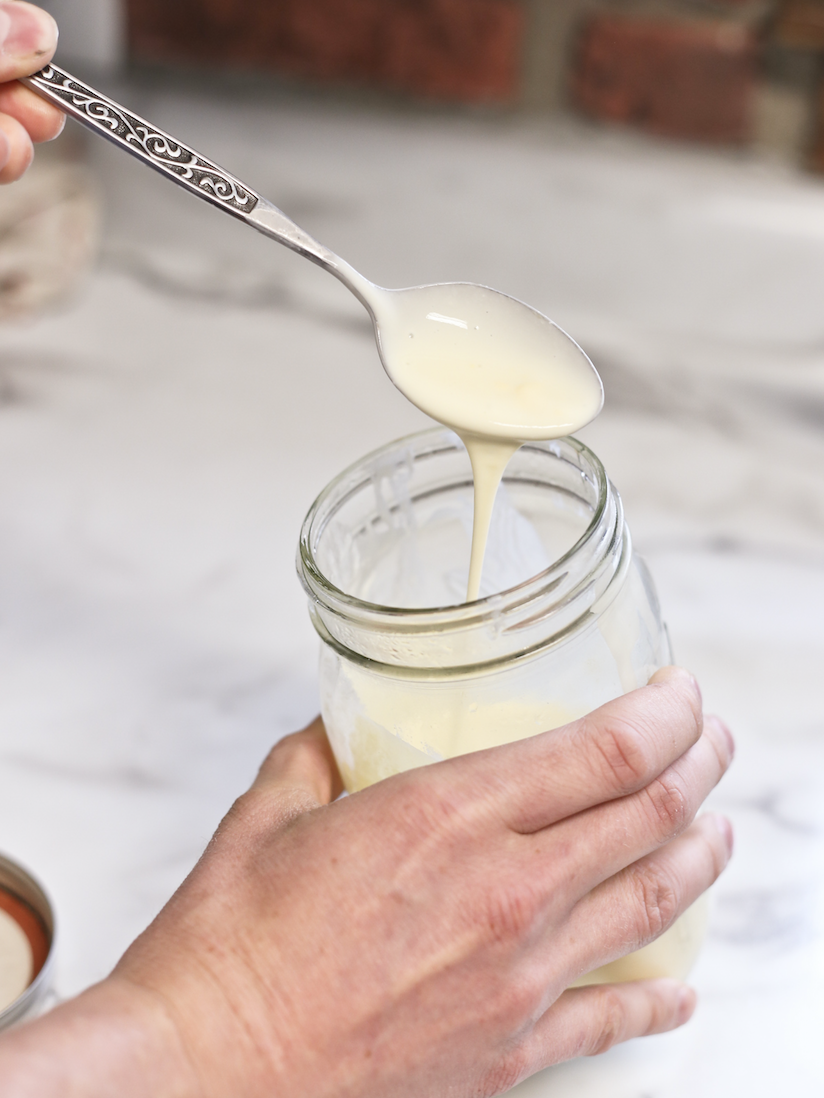
6. Check the yogurt after five hours. You are looking for a thicker consistency meaning the yogurt has “set.” I have found the best way to know is to tilt the jar at an angle and watch if the yogurt “pulls” away from the edge of the glass jar. You know, the difference between a liquid and a more solid consistency!
7. If the consistency is still fairly liquid, let the yogurt sit in the yogurt maker or instant pot for up to 7 more hours (12 hours total). I recommend checking every hour to see if the yogurt has set or not. 8. Once the yogurt has set or 12 hours has passed, secure lids and set the two glass jars of yogurt in the fridge for at least 6 hours. This will help thicken it up as well. 9. From there, you can eat and use this yogurt for all your subsequent yogurt batches. Simply repeat steps 1 and 2, and then for step 3: use 2-3 tbsp of finished Bulgarian yogurt per 1 quart of whole milk as your starter culture. From there, go through the remaining steps as normal!
It's important to note that your starter culture or even your first batch of yogurt made with the starter culture might be just a hair thin with its consistency. Know that your yogurt will thicken up with each subsequent batch you make!
How to make ice cream without an ice cream maker?
Okay guys, I will be honest and say my husband and I eat this easy ice cream like every other day. It’s the best dang DIY ice cream I’ve ever had and I can’t wait to share the recipe with you. Supplies Needed To Make Easy Ice Cream:
Ingredients for Easy Ice Cream (serves 1):
Easy Ice Cream Flavors: Berry Ice Cream: add 1 cup frozen organic blueberries/strawberries/raspberries Chocolate Ice Cream: add 3 tbsp organic raw cacao powder Vanilla Ice Cream: add ½ tsp organic vanilla extract Chocolate Mint: add ½ tsp organic peppermint extract and 3 tbsp raw cacao powder
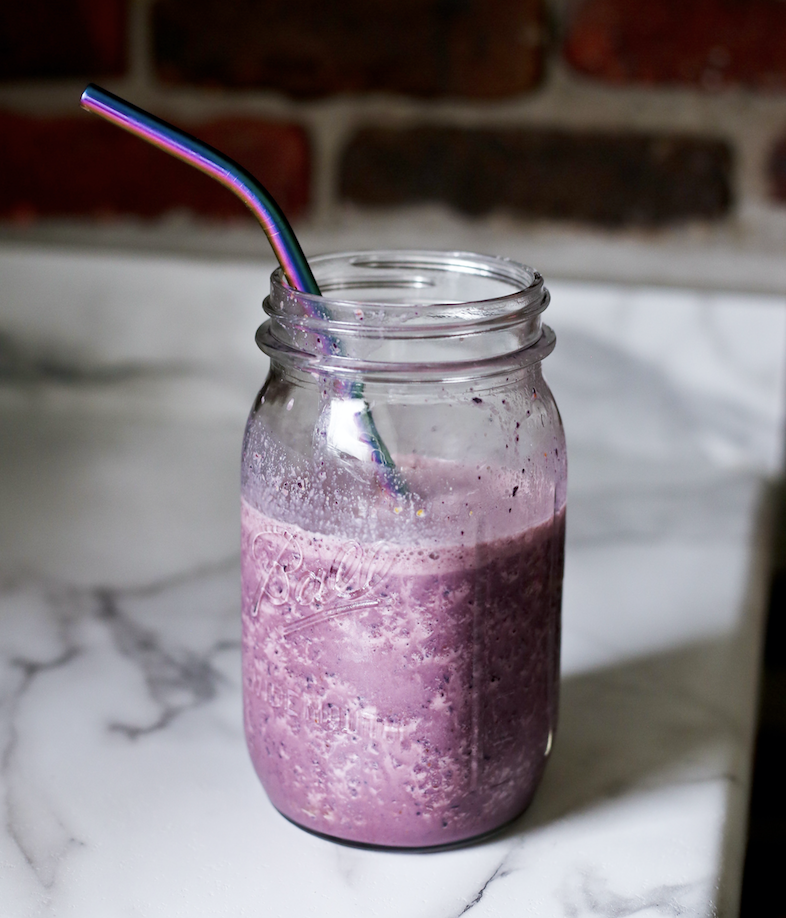
This is easy ice cream milkshake with an added cup of frozen blueberries - yum!
Steps:
1. Add all your ingredients to the quart-sized mason jar (including any additional ingredients for flavoring!) 2. Blend with the immersion blender for 30 seconds, moving the blender up and down slowly. 3. Enjoy immediately like a milkshake OR scrape into a stoneware dish or loaf pan, cover, and freeze for at least 6 hours. To serve, set out for five minutes to soften, then use an ice cream scoop. That’s it. Holy moly this recipe is so easy and delicious I’m going to have to go make one right now. The best homemaking books to keep learning Kombucha brewing, yogurt making, and easy ice cream are just the tip of the iceberg when it comes to creating delicious dishes and drinks right in your own kitchen. If I had to boil it down to the absolute best books to get started with preserving, canning, fermenting, and other yummy things - these three books would be my pick. They are always open and in use in my home!
Wow! Can you believe it's been four weeks since we started this 30-Day Food Security Plan? I hope that you've gotten started on at least one of the things I shared with your over this month - whether it's starting your first flock of chickens or planting your first garden.
Do you want more in-depth guidance and instruction on how to turn your home into a peaceful, self-sustaining haven? I've got a whole ebook full of info for you!
1 Comment
GC
6/25/2024 06:40:14 pm
I'm going to try your foliar feed recipe. I've got tons of boking 14 comfrey planted around fruit and nut trees. I chop and drop from time to time, but prefer to wait until after the pretty purple flowers fade. How do you use it?
Reply
Leave a Reply. |
Meet Kelsey,Thanks for stopping by Green Willow Homestead! From chicken rearing to composting, we've got our hands full and we love sharing what we've learned along the way. Follow along as we turn the 80 acres we call home into a farm that serves its community and a homestead that nourishes us throughout the seasons. Grab the EbookListen in!FREE Guide!Tune in to our YouTube ChannelInspirationsCategories
All
Favorite Books of 20241. Erosion
2. Braiding Sweetgrass 3. As Long As Grass Grows 4. The Small Scale Poultry Flock 5. The Zero Waste Solution Archives
April 2024
|
FOLLOW KELSEY ON INSTAGRAM!
As an Amazon Associate I earn from qualifying purchases. |

