|
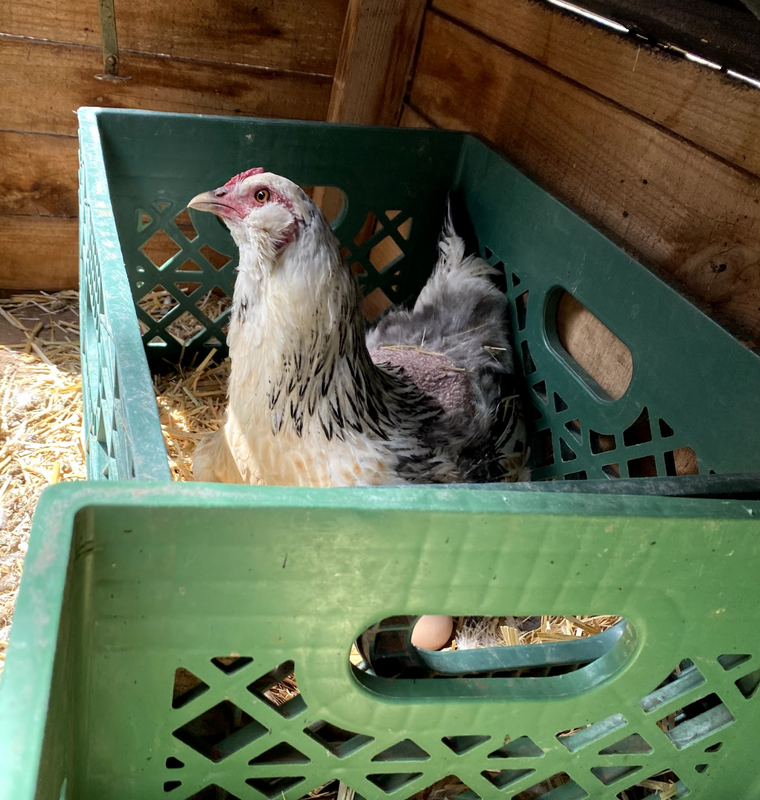
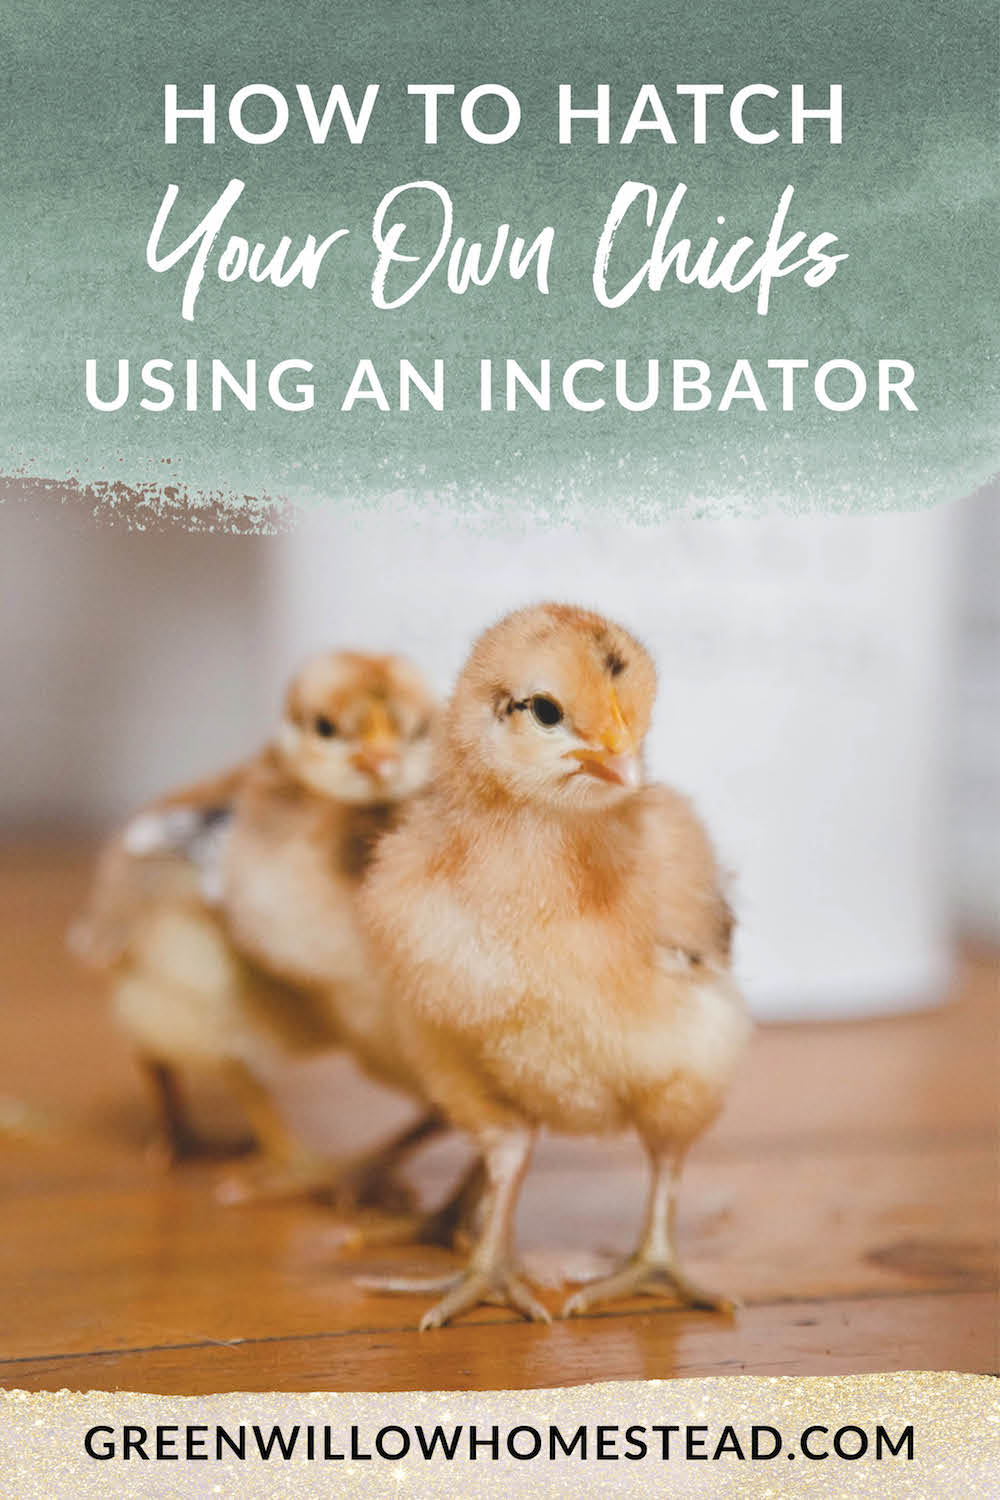
Learning how to hatch your own chicks using an incubator can be one of the most rewarding experiences as you start your first flock of backyard chickens. At Green Willow Homestead I’ve always let a broody mama hen do the work for me. While this leaves hatching eggs up to the true professionals (actual hens), the downside was that expanding my flock was dependent on my hens. What if I wanted a few clutches of chicks in June or July? That’s where incubating your own hatching eggs becomes necessary!
So today I’m having Erin Roy of The Harvest Trail Blog teach all of us exactly how to hatch your own chicks using an incubator. Erin is so knowledgeable about using incubators and hatching eggs and I can’t wait for you to learn from her!
Please note: The links below are affiliate links, meaning at no additional cost to you, Erin will earn a commission if you end up clicking and purchasing an item. Erin worked hard to find her trusted favorites and she wants to share them with you so you don't have to deal with all the crappy junk she had to go through. Nuff said.
Raising baby farm animal is about the most fun and rewarding projects you can do, especially when it comes to hatching out chickens. Hatching chickens or other fowl can be done on any scale. You don’t need a large production farm, homestead, or hobby farm to enjoy raising your own animals. In fact, even a backyard chicken keeper can get in on the fun and stability that hatching your own chicks provides- especially when done in the comfort of your own home using an incubator.
We are in our 5th year of raising chickens, we own over 100 birds, and until last week we had over 13 breeding pairs (we recently sold our bantam breeds and brought in more meat and egg production breeds to replace them). We hatch out baby chickens, or chicks, for about 5-6 months out of the year and use a few different methods. We are now in our third year of raising our own hatchlings and, last year, we hatched out over 300 birds- mostly using an incubator and a few using broody hens. We are looking forward to almost doubling that number by the end of this summer. In this post, I am going to share the top three things you should consider before hatching out chickens, as well as how you can hatch/incubate your own chicks. The top three crucial considerations before hatching chicks in an incubator
1. What breed of chickens do you want to hatch?
This sounds like a really “duh” kind of question, but I want you to consider what your future self might say. If you live in the city and can only keep a few chickens and ya’ll eat a dozen eggs a day- you need a breed that is really known for laying. If you have young kids, and want to have chickens they can hand feed, you might consider some bantam breeds (small size breeds) like a Silkie. If you just like to drink wine and stare at your happy flock then you could add in some fluffy feathers like the Polish breed. If you enjoy colored eggs like blues, greens, and olives you might want some Ameraucanas, Easter Eggers, and Olive eggers (breeds we all breed on our farm). Lastly, if you are going to want your own hens to “go broody”, and hatch out chicks for you, then you will need breeds known for being good mommas- like a Cochin. Here are some questions to help you narrow down breeds to consider.
2. Where do you want to get eggs to hatch out chicks?
You can consider this a bit like taking the time to pick out the perfect puppy for your place, and after asking the questions above you should have the “what” narrowed down and now it’s just the “where”. You can pick up hatching eggs from Ebay to Facebook (shhh don’t tell). Sellers out of your area can ship the eggs individually wrapped so you are not limited to just stock in your pickup area. There are show quality birds, hatchery quality birds, back yard breeder birds, and hobby breeders- which is what I consider myself. There are things to consider with each of these options. Mega hatchery eggs tend to be an okay representation of the breed, but not the best (learn more here about why you should skip mega hatcheries and opt for small farms). Show quality birds are going to be the highest quality, the most expensive, and are great for people wanting to get into that area or have kids interested in 4-H. Locally, you typically get the hobby breeders, like myself, who are selling higher quality than typically comes from a hatchery but are not show quality ( or they might have one or two show quality breeding pairs). Finally you have the people just selling the “barnyard mix”, or the “you never know what you are going to get” eggs- this is a very dangerous area because you lose a lot of the control needed if you are interested in meat or eggs, however this can be a very affordable way to get into chickens because these eggs should be the cheapest. Pro-Tip: Most hatches will have an 80% (great) to 55% (low) hatch rate and you need to also plan for a 5-10% post-hatch loss for your flock as it grows to maturity. Plan on ordering a few extra eggs.
3. What are you going to do with extra chicks from your hatch i.e. roosters?
Rooster will make up at least 1/2 have of your hatch, some statistics even say as much at 57% in chickens. Ask yourself, what are you going to do with your roosters, or if you end up with too many in general? Hello chicken math, it's real people! You can eat them. I know, most ya’ll will say, but I can eat my babies! We will get to you in a minute. You can easily butcher chickens in a home setting, YouTube is full of wonderful tutorials. We teach a class on our homestead for butchering poultry and I have seen people even ask for help butchering on Facebook in exchange for some of the meat. Smart! If you don’t want to eat them you can sell the extra chicks right away, sell them for a few dollars more when they are old enough to go outside, or you can sell them for even more when they hit about 6 months and you know which ones are hens and roosters. Roosters are traditionally harder to sell and definitely harder to make any money off of unless they are a rare-breed or show stock. You will most likely end up giving them away and please beware of people taking them for cock fighting. In these situations be sure ask a million questions and demand to see their chicken setup. How To Hatch Chicks Using An IncubatorWhat Incubator Is Best For Hatching Chicks?
Now that you have figured which chicken breeds you want and how you are going to pick out those hatching eggs, let's get into what you need to hatch out chicks using an incubator.
A mother hen will do a great job for you, in fact, it’s a lot less hassle to let Mother Nature take her course. However, we often don’t have a broody hen (a hen who is wanting to sit on eggs and hatch them out) and need an incubator. An incubator is also a wonderful way to experience the entire process of developing a new life from the comfort of your house- something very uncommon in nature. But, just like in nature, you need to have the right conditions- and for the right conditions- you need the right equipment. So what exactly is an incubator mimicking?
An incubator for hatching chickens recreates the role of a broody hen in nature. The incubator is a device that creates the perfect conditions for an egg to incubate and hatch successfully.
An incubator is designed to regulate incubation temperature (about 99.5 degrees F), humidity (between 35-45% until the last two days when it should be raised to 65-75% for hatching) and rotating the eggs to keep the embryo from sticking to one side of the egg during development. When incubating eggs under a broody hen, there are external threats such as wild animals that may harm the hen or the eggs. By placing the eggs in an egg incubator, you are providing two big benefits:
Now that we know what kind of perfect environment the incubator needs to provide, lets get into which incubator will do the best job and hatch out the most eggs for you. 1. Pick out an Incubator
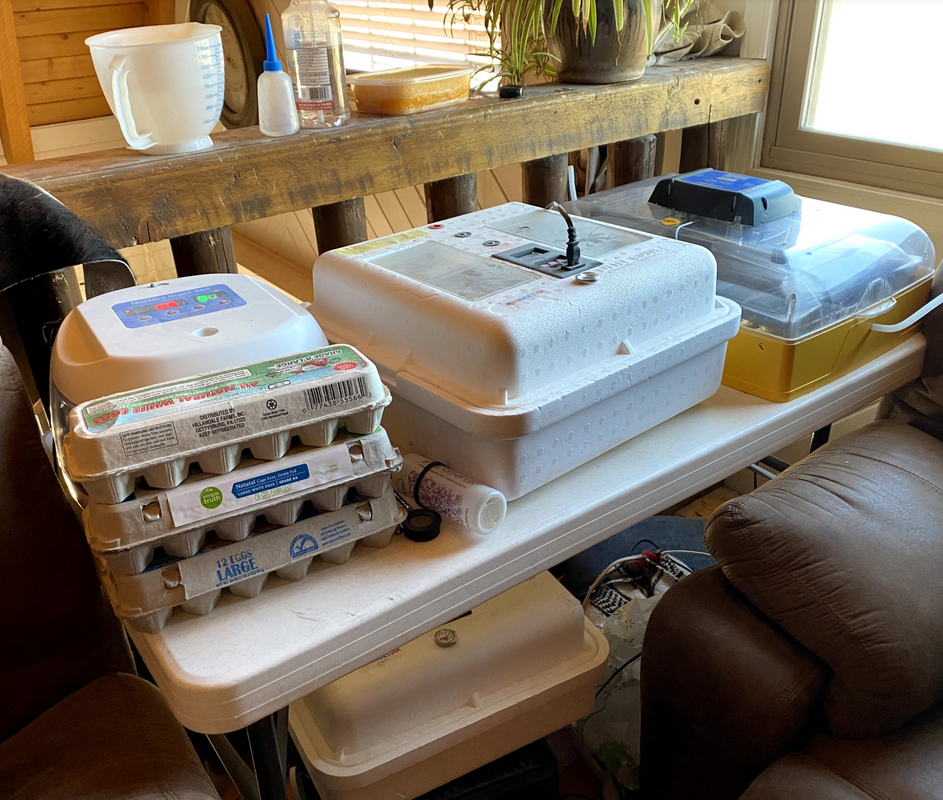
Much like asking someone about their favorite type of car, you are going to get a lot of answers when you ask someone about their favorite type of egg incubator. Now I will say, I think some of the popular incubators today are favorites because they are the easiest to acquire and have the best prices points. I own three different types myself and like each for a different reason. Let's go over the top incubator brands together, from largest to smallest.
2. Brinsea: Ovation 56 Eco automatic egg incubator. The top brand of egg incubators, Brinsea is absolutely one of the best made incubators out there. They have many different sizes and levels of automation. I personally own this particular model. I have really struggled to maintain humidity in this incubator.
If you live in a dry, arid, climate I would bypass the models without automatic humidity control all together or learn how to dry hatch (you will not be able to dry hatch other species besides chickens with much with success). If I had to buy one over again, I would spurge for the fully loaded model with the fully automatic control of humidity with integrated humidity pump- Brinsea Products USAG47C Ovation 56 EX Fully Automatic Egg Incubator with Humidity Control, One Size Protip: the floor of these incubators is slick and can cause spraddle leg in new born chicks. You can easily avoid this problem by using cabinet or drawer liners, just make sure to put in a new liner every time.
3. HovaBator Genesis 1588 Deluxe Egg Incubator Combo Kit: the best bang for your buck incubator. This incubator might look like the college foam cooler you took to the lake, but it really is a great incubator. It holds humidity well because of the foam insulation and is light weight for storage. It does not, however, auto-maintain or monitor humidity and with the foam, I can’t follow my bleach cleaning methods but have not noticed an issue.
4. Nurture 360 Egg Incubator: This incubator is the one that checks all the right boxes. This easy to use, small incubator, holds 41 egg and is worth its weight in gold. I have had the best hatch rate with this incubator and love that it will automatically stop turning the eggs, so you don’t need to move around egg turning trays. It does not automatically add humidity, but you only need to add water once a day.
Magicfly Digital Mini Fully Automatic Egg Incubator 9-12 Eggs Poultry Hatcher for Chickens Ducks Goose Birds. I do not personally own or have tried this incubator but I have heard people say this incubator has great hatch rates and I would be remiss if I didn’t provide ya’ll who are not yet crazy chicken ladies (or gents) yet with a small option to wet your feet with, just don’t be sad when you all of sudden your empty spaces become full of incubators like me (we currently have 4 running).
2. Care and prep eggs before setting them in your incubator
At this point you have picked your favorite chicken breeds, purchased your perfect incubator, and are ready to start hatching your eggs. Keep in mind that no incubator is going to provide 100% hatch rates all the time. An incubator that employs good management of the temperature, humidity, egg turning, and ventilation can expect a 50 percent (very low) to 80 percent (high) hatching rate. Let’s break down some things that will help ensure the best hatch rate for your eggs.
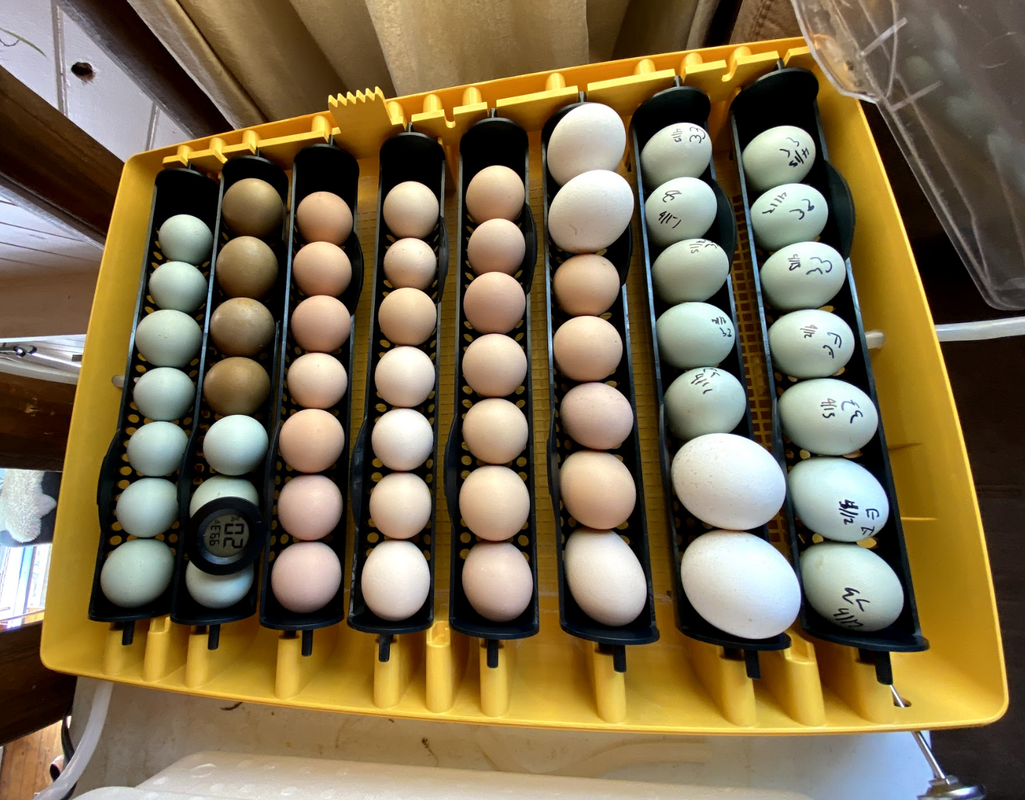
How To Care For Eggs Before Incubation Collect eggs at least two times and day to insure the freshest and cleanest eggs make it into your incubator. Egg should be no more than 7 days old for the best hatch rates but can be up to 14 days old. Eggs should be stored in an area about 70 degrees and should be stored in clean, new egg cartons, like these cuties. Bonus- you can then reuse the egg cartons to sell your farm fresh eggs. You can track which days the eggs are collected by marking them with a date using a pencil or a food grade pen. If you are collecting eggs yourself, you need to store them pointy side down and tip them forwards and backwards in their cartons a few times a day to keep the yokes from sticking to the side. Before handling hatching eggs, it is a good practice to wash and thoroughly dry your hands to prevent the spread of bacteria. It is also important to clean eggs gently by dry scrubbing off any debris, while taking care not to scrub off the natural protective coating. Sometimes we can’t prevent muddy or dirty eggs and using a cleaning solution soft enough to keep the bloom on the egg intact is needed. This cleaning solution by Mana Pro is a perfect solution- literally. If you are getting in mail-order hatching eggs you should not put them in the incubator immediately. Let them set for 24 hours before setting, the hatching pros will not even allow the egg turner on in the incubator for the first 3 days to continue to let the egg settle. This allows the egg to rest and the air sac to settle. Once eggs settle, they must be turned while in the incubator to prevent the embryo from sticking to the shell. If your incubator is not equipped with the optional mechanical turner, mark each egg with an “X” on one side and an “O “on the opposite side with you food grade pen. When the eggs are turned, all the “X”s or all the” O”s should be face-up at the same time. I recommend all first-time hatchers mark their eggs to help ease the fear of them not getting turned even in an auto-turner. 3. Set up and prepare your Incubator
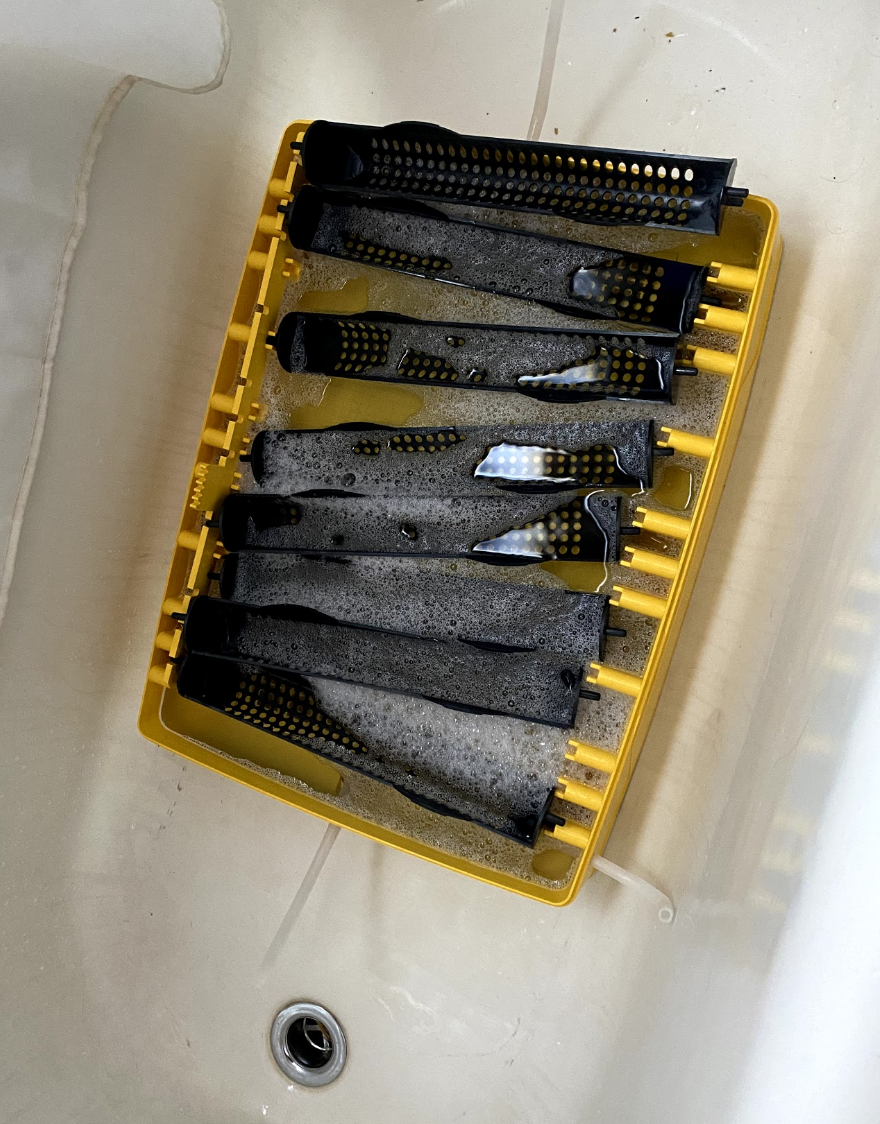
First, clean out your incubator- even if its new. I use a 10% bleach solution and let non electronic parts sit for 2-3 minutes before rinsing. If you are using a second-hand incubator, one you used last season, or are just finished a hatch, you need to thoroughly scrub the incubator before using the bleach solution (do not scrub the foam incubators, you will have to clean these with a rag and really good disinfectant). I use very hot soapy water and a nail brush to get in all the nook and crannies. Bacteria will be one of the number one reasons you have problems with a hatch.
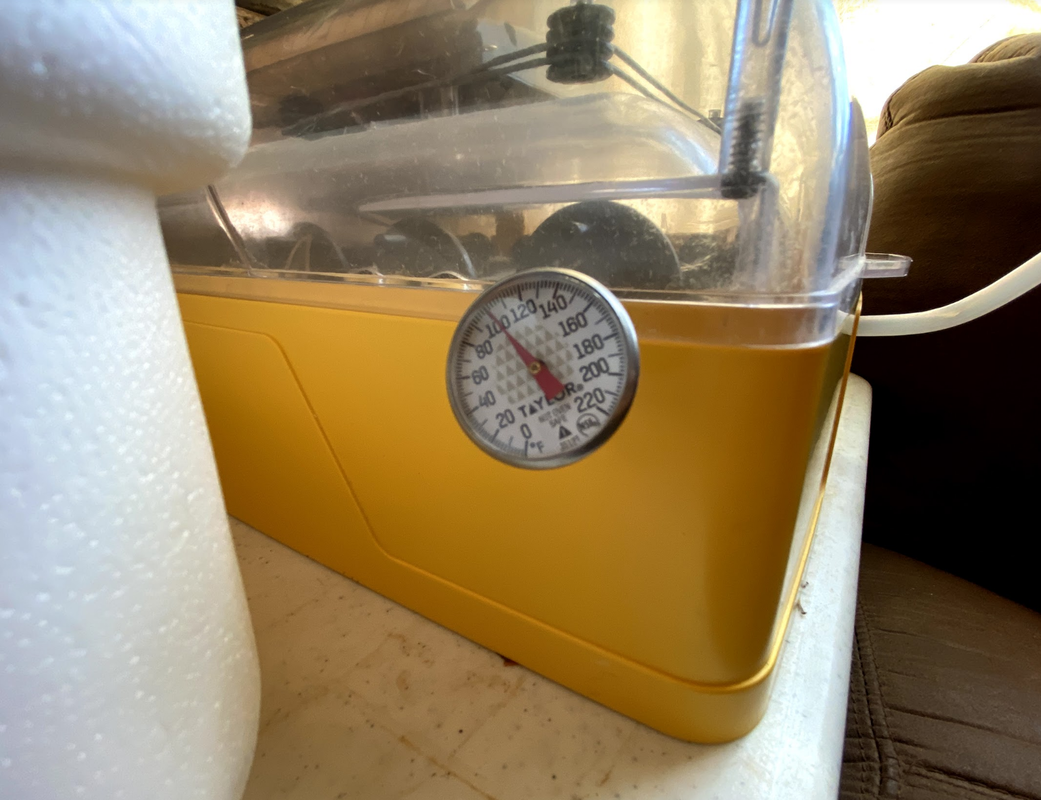
Before setting (placing) your hatching eggs, bring the incubator up to a working temperature, it’s very important to make sure you read the instruction manual for each of your incubators as there will be subtle differences for each. Be sure to double check the temperature against another freshly calibrated non digital thermometer, we use this one by Taylor Precision Products. Next, once the incubator temperature has stabilized for 24 hours, allow your stored eggs to warm gradually to room temperature before putting them in the incubator. Eggs sweat if warmed too rapidly, providing another chance for bacteria to enter the shell. 4. Set your eggs in the incubator
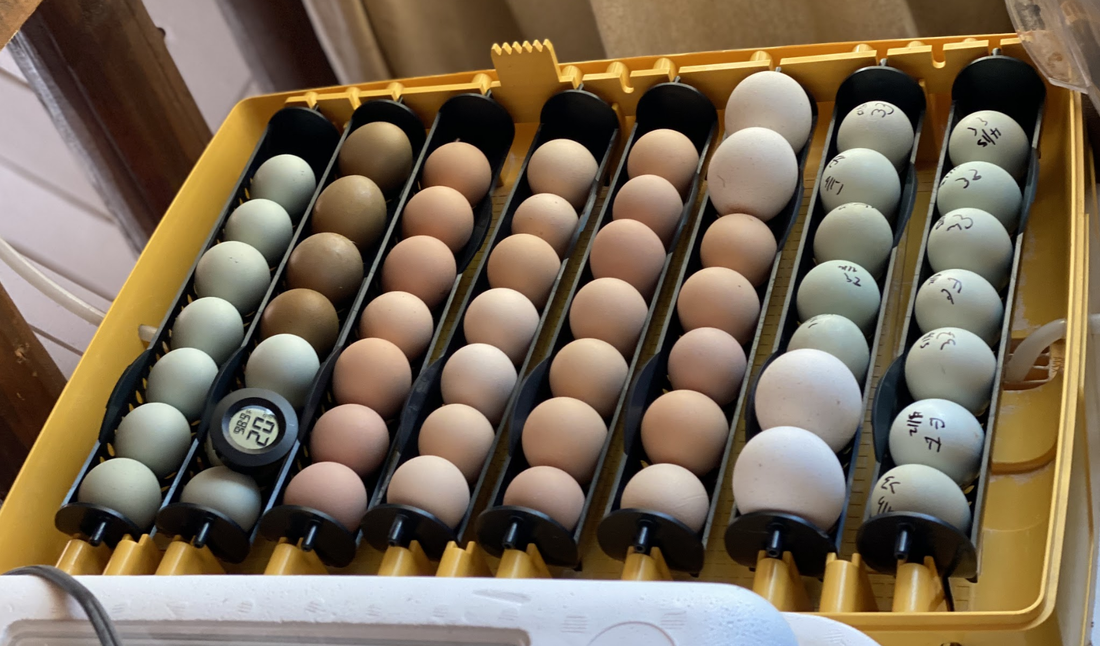
Now you are ready to set those eggs in the incubator for hatching. Gently put them in pointy side down if you have a turner. If you don’t have a turner, make sure they are all facing with the marked “X” or “O” facing up so you may keep track of egg turning. Some incubators have you lay eggs on their side, but the still require them to have the pointy end facing the center of in the incubator- this is why its so important to read the manual for each incubator.
Days 1-18: Now we wait. We turn the eggs three times a day if we don’t have a turner. We monitor the humidity twice a day and add water when needed. We make sure the temperature isn’t fluctuating. We eye them like a cake baking in the oven. We check our calendar to make sure our schedule is open on, before, and after the hatching day. Is there anything else we can do take make the time go by faster? Yes, one of the best parts of incubating is candling your eggs! 5. Candle your eggs to check for development
You really don’t want to open your incubator more than you need to, so when it comes to candling you really should only do this process once or twice at the most.
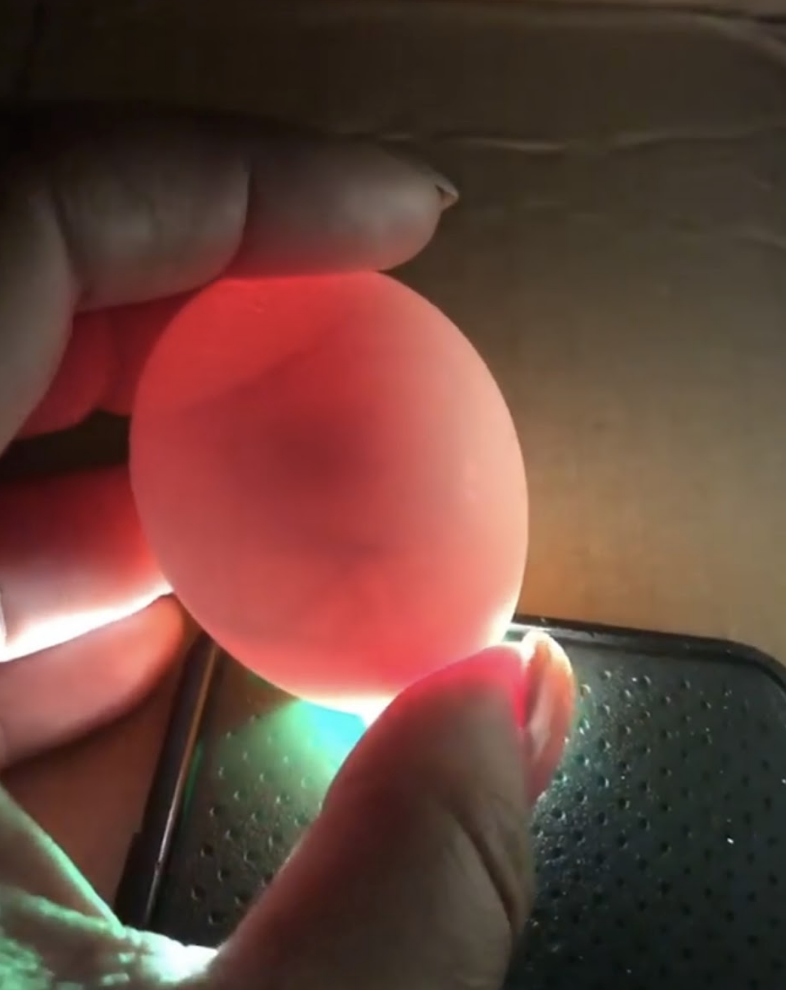
Days 8-9: You are going to take each egg into a dark place, or wait until night time, and put a flash light, phone, or candling specific device, like this one by Magicfly, under the large end of the egg, where the egg sac is, and check for veining at the pointy end of the egg. We candle to check the viability of an egg, in other words, check to see if a chick fetus developing. I do have to say- I have thought more than a few eggs in my time were duds only to open them and see a tiny chick developing. I recommend leaving them until day 14 and checking them, if you can stand to wait that long. Dark eggs are doing to be difficult to candle as well so don’t give up if you can’t see anything. Day 18: Lockdown! When your eggs hit day 18 during your incubation process they go into lockdown before hatching. Lockdown is exactly what is sounds like. You are going to up your humidity to 65% or higher, check to make sure the air vent is fully open, turn the egg turner off or take the eggs out of turner, and not open the turner for at least 3-5 days. 6. Get ready for hatch day!
Day 21: On or before the hatch date of 21 days you should start having eggs hatch. It’s important that you do not open the incubator, no matter how temping it is, during this time. The higher level of humidity helps the chick to come out of the eggshell and through the membrane that holds the chick in the egg.
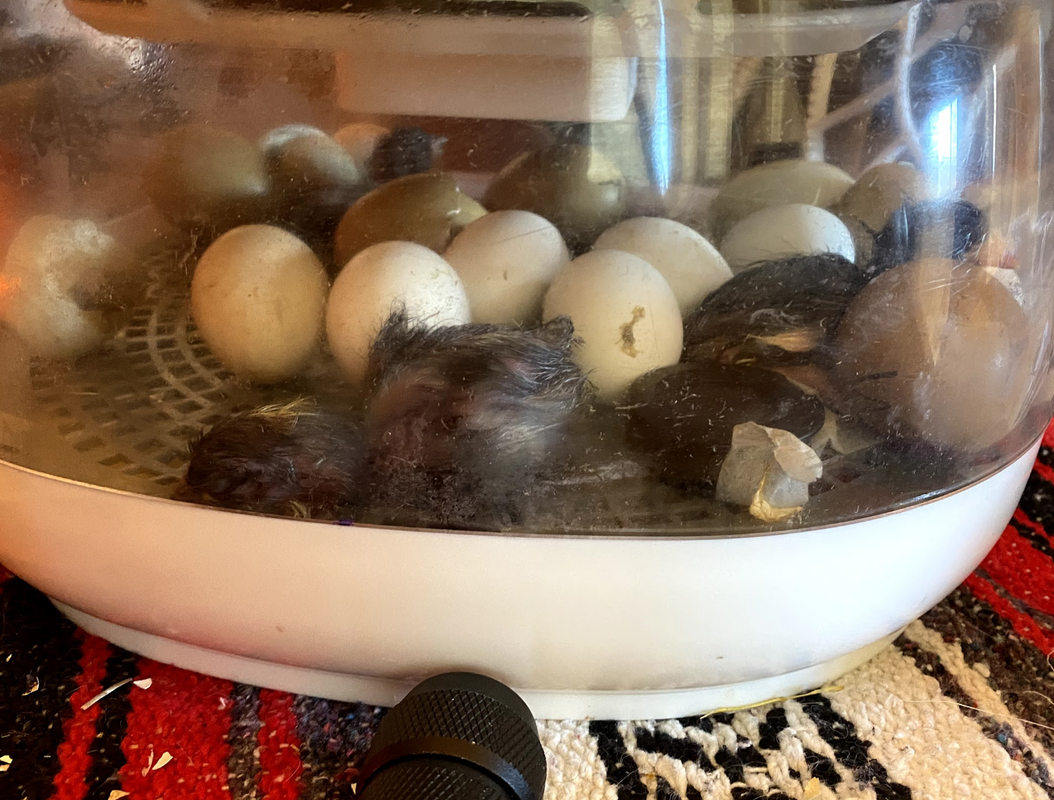
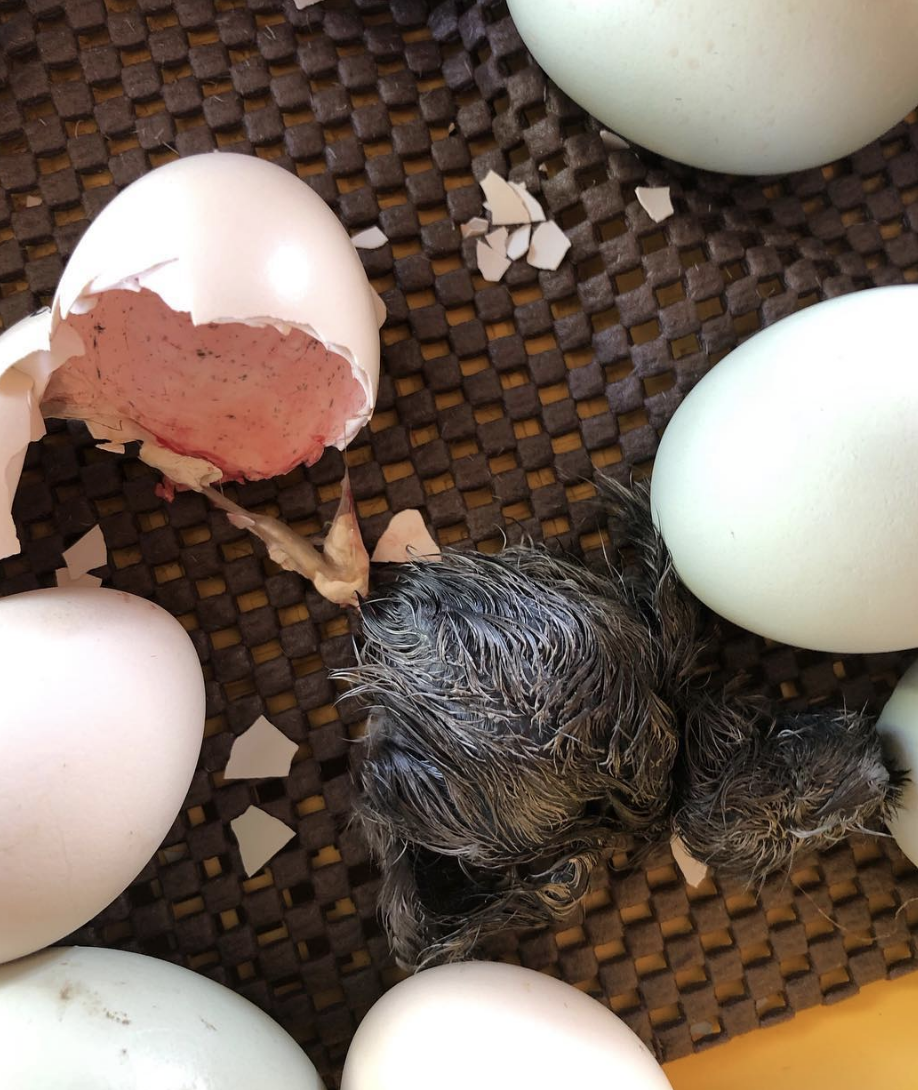
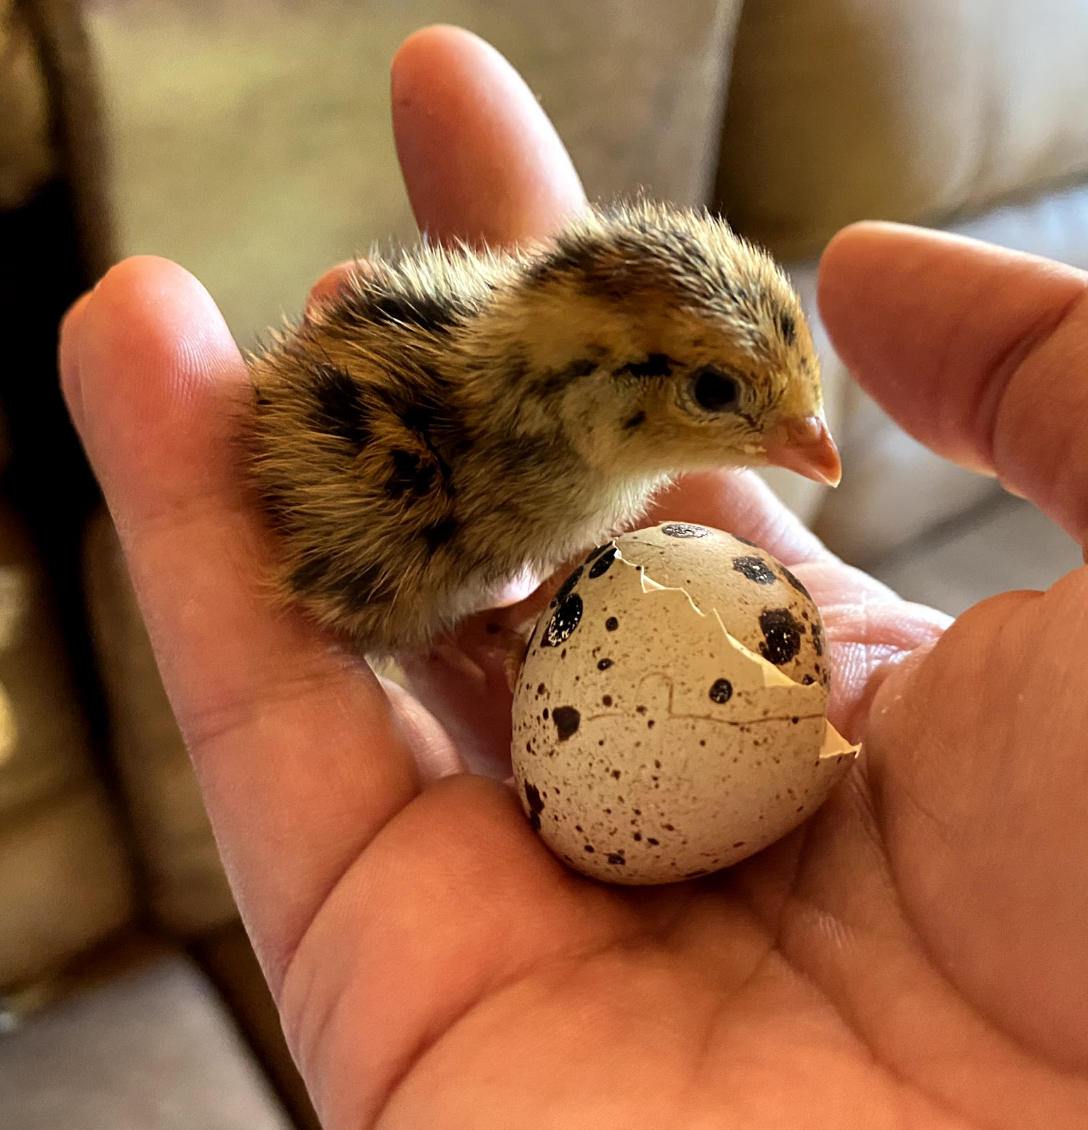
If you open the incubator you risk “shrink wrapping” your chick in its membrane. I know its crazy temping to pull your newly hatched chicks out, I mean, most likely it’s in there crying for it’s momma, but remember the incubator is its temporary momma and a better one then you could be for at least 24-48 hours. Check for Pipping: On hatch day (day 18-25+) or around hatch day, the chicks will begin to peck through the inner membrane and into the air sac. This is called internal pipping. At this time, you might hear them cheeping away through the egg. After that, the chick will make a small hole in the outside of the egg. This hole is called the external pip. Many chicks take a long break at this point- up to 24 hours, so don’t worry if the egg stops rocking, chirping and/or progressing, they are most likely sleeping from all this hard work. Check for Zipping: After the external piping has taken place the chick will start to “unzip” the egg. The chick will move in a circle creating a little line in the egg until enough of the egg shell has separated they can push themselves out. It can take an hour or two for the chick to push their way out, many people are temped to help their chicks out at this stage, however the chick develops strong and straight legs and feet during this stage so let them do all the work mother nature intended them to do. Hatchlings: now you have a wet, kind of ugly duckling situation going on in your incubator. It’s completely normal and in no time, you will have a fluffy happy chick. These chicks, first to make their appearance, will also start to mess with their siblings immediately. They will rock and turn those precious eggs you so dutifully place so the chick could get into position for hatching- have no fear, this is actually a good thing. The unhatched chicks are triggered to start hatching themselves, by the sound and movements of others around them. This is yet another good reason to leave the chicks in the incubator. Don’t open it. Chicks soak up the yoke before hatching. This gives them enough nutrients for about 72 hours to let the other eggs hatch before momma hen would leave the nest and take the new hatchlings to find food and water. Newborn chicks also spend the first 4 days mostly sleeping, in or out of the incubator, so why not leave them in the safest place possible? Some people will have a second incubator handy, or this Chick Intensive Care Unit by Brinsea, to let fresh chicks finish fluffing out or sick or injured chicks recover. Intervening in a hatch: There is no easy way to say this, if you feel you must intervene at some point in the hatching process, know that you are:
7. Move the chicks from the incubator to the brooder
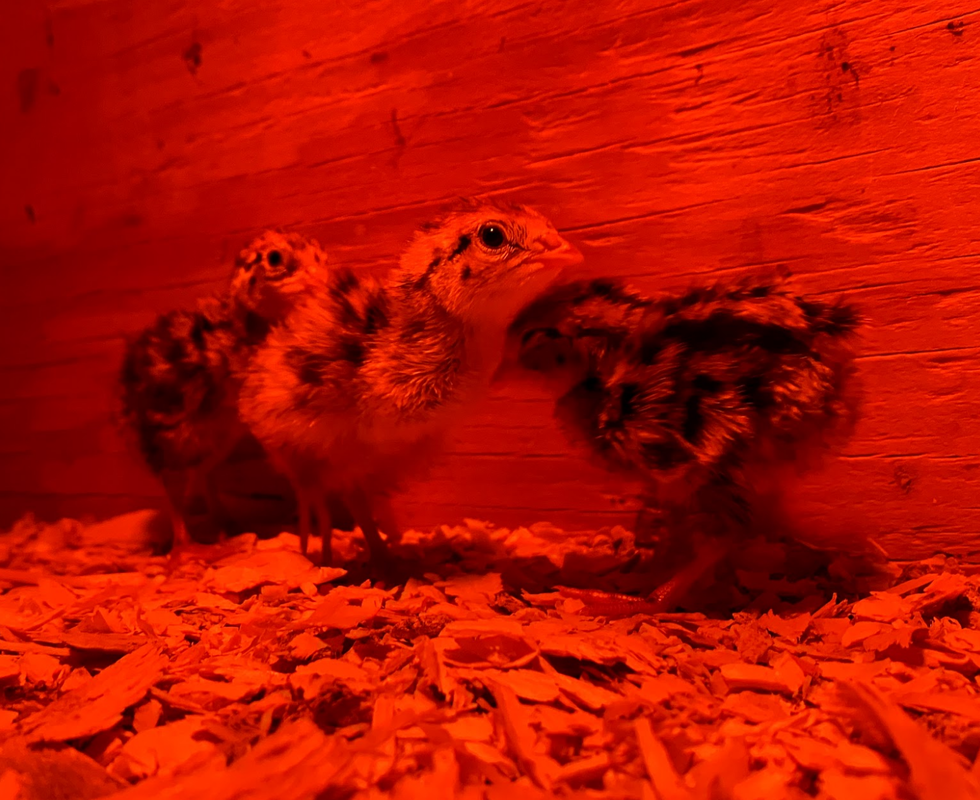
Once 48 hours have passed since the last egg hatch, you may move the chicks to the brooder. Remember, you have 72 hours in total for each chick before they must have food and water, so keep an eye on the amount of time that has passed. Move chicks quickly to the brooder. Dip their beaks gently in their waterers to teach them how to drink and set them under the heat lamp.
What if there are still unhatched eggs after 72 hours? Remember hatch rates are very rarely ever 100%. You most likely will have unhatched eggs after 72 hours in your incubator. Move hatched and fluffed chicks carefully and very quickly to a tupperware container. Quickly spritz the incubator and eggs three times to get humidity back up and close up the incubator as quickly as possible. Then move the chicks to the brooder. I wait until day 5 to call it quits on the quitters (eggs that started to develop but stopped for whatever reason). You can then open the eggs to inspect and see if you can identify a problem. I like to use this university publication that clearly lists out issues and probable causes. What Could Go Wrong During Hatching?
Hatching eggs is a science that is not easily perfected. We don’t live or operate in a sterile laboratory environment so it's important to consider and watch out for a few issues while incubating hatching eggs. Remember to also be forgiving of yourself when not all the eggs hatch and sometimes, in some hatches, we just have bad hatch rates. I know how disappointing it is to spend 21 days turning eggs, filling the humidity trays and waiting patiently, only to have few, or no, chicks hatch. So how do you investigate into what went wrong?
Not all hatch problems are caused by human error. On a good hatch I make it to 70 percent. More regularly I have a hatch rate of 65%. I recently learned that living at an altitude above 7,000 feet will lower a hatch rate by a whooping 12%. It also takes a while to learn your equipment and environment. I mentioned we live in a dry climate so it’s easier for me to do a method called dry hatch. Find a method that works for you and keep trying. Happy hatching!
3 Comments
3/24/2021 01:07:09 pm
Thank you for clearing up how people will have their own favorite incubators. I want one that will do more than just hatch chicks though. That would be a plus but I'd like to have one for things like microbiology too.
Reply
Palesa Julia Mochochoko
10/25/2021 10:38:41 am
Thank you so much for the information. This is the best teaching. Looking forward to start my own business at the backyard in Lesotho.
Reply
Leave a Reply. |
Meet Kelsey,Thanks for stopping by Green Willow Homestead! From chicken rearing to composting, we've got our hands full and we love sharing what we've learned along the way. Follow along as we turn the 80 acres we call home into a farm that serves its community and a homestead that nourishes us throughout the seasons. Grab the EbookListen in!FREE Guide!Tune in to our YouTube ChannelInspirationsCategories
All
Favorite Books of 20241. Erosion
2. Braiding Sweetgrass 3. As Long As Grass Grows 4. The Small Scale Poultry Flock 5. The Zero Waste Solution Archives
April 2024
|
FOLLOW KELSEY ON INSTAGRAM!
As an Amazon Associate I earn from qualifying purchases. |

