|
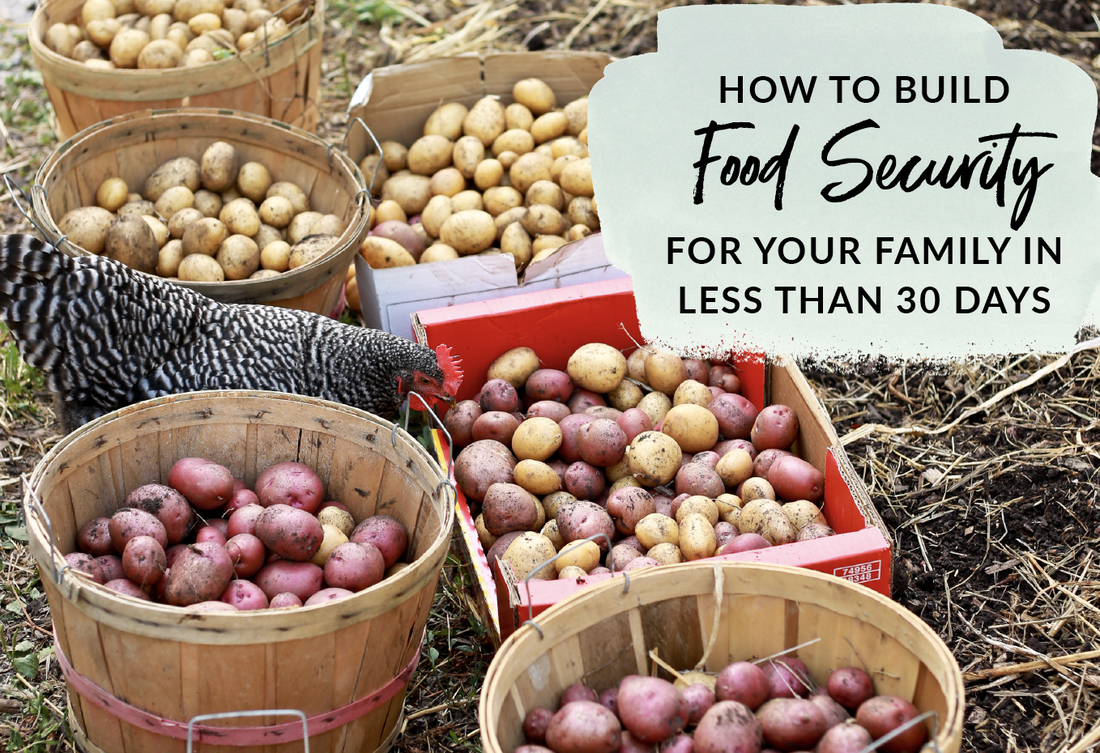
If you are here to learn how you can build food security for your family in less than 30 days, you are in the right place. When I started out with homesteading six years ago, I knew that food security was important to me. Never did I guess that our entire world would come to a standstill and leave the majority of our society scrambling to build food security for themselves and their families.
For decades, homesteading has been a way for families to increase their self sufficiency not just out of rejection of a failing industrialized food system, but out of our love for the land, our connection with animals, and our focus on growing nutritious and safe food. This 30-day Food Security Plan will be broken up into four weeks. We will focus on Week 1 in this post. For the next four weeks, I will share with you the simple and straightforward things you can do to boost your family's food security during this uncertain time. So if you are in need of guidance and help navigating how to get started with your first veggie garden or your first flock of chickens - you are in the right place!
Please note: Some of the links below are affiliate links, meaning at no additional cost to you, I will earn a commission if you end up clicking and purchasing an item. I worked hard to find my trusted favorites and I want to share them with you so you don't have to deal with all the crappy junk I had to go through. Nuff said.
What Does Food Security Mean?
Having a sense of food security means you will always have food for your family to eat. Food security comes in all shapes and sizes depending on where you live (an apartment or a suburban lot), your local climate (Hawaii vs. Montana), and what your local laws are (chickens are legal to own or not).
Food security doesn’t mean you are growing everything yourself. It can also mean you create direct relationships with local farmers, growers, ranchers, beekeepers, etc who provide you with sustenance directly, without you having to rely on fulfillment centers, grocery stores, or drivers. By forging a direct relationship with a producer local to you, or even regional (tri-state area), you are creating resilience to an industrialized and corporatized food system that is much more fragile than we realize. Please know this post isn’t here to induce panic or fear. Building food security is about making wise choices and having a plan in place to keep your family fed. Taking action and putting your hands in the dirt can bring you and your family a sense of purpose and groundedness during this uncertain time. I have been working toward food security for six years, and it has always come from a place of joy and curiosity, not a place of fear. In sharing this 30-day Food Security Plan with you, I hope it brings you a sense of joy, purpose, and wonder. We can do so much right in our own backyards! The Realities and Limitations of Food Security
Please know that you can’t replace every item in your pantry (nor should you have to) from the get-go in a local or regional sense. It’s important to understand that building food security is also a way to simplify and focus on what your family eats on a daily basis.
It’s highly unlikely you are going to be able to make your own olive oil or mine your own salt (and that is okay)! To address these issues, during Week 2, I'll share a “Local Sourcing” checklist for you to find the things you need directly from a farmer or artisan food maker in your community. Since we live in Wisconsin, there are certain food items we are unable to source locally or regionally. To level with you, here are the things our family orders online, directly from a company:
How 30 Days Of Action Can Feed You (And Others!) For Years
I like to think of this 30-day plan as both instant gratification but also an investment in the future. While you can immediately source local honey and enjoy it the same day - planting an apple tree in your yard won’t produce food for about three to four years.
In the meantime though, that apple tree will draw in honeybees that potentially provide pollen for your local beekeeper! It’s vital to acknowledge the give and take that exists in creating resiliency and food security on a local level. The act of planting an apple tree helps not just your family, but others in your community too. The same goes for raising chicks. While you won’t have eggs immediately, you will have daily breakfast in about four to five months. Then your hens will lay consistently for the next four years. That’s a lot of delicious quiche! Organizing Your 30-Day Food Security Plan
.To help you divide and conquer, I have split up your 30-day Food Security Plan into five categories: Gardening, Foraging, Chicken Keeping, Locally Sourcing, and Homemaking.
Here’s a quick overview on each category: Gardening: Everything you need to have on hand and step-by-step instructions for the next 30 days to get your first vegetable garden up and running. Foraging: All the info on what wild foods are available to you right in your own backyard and in local parks. Chicken Keeping: All the supplies and knowledge you need to successfully raise chicks for the next 30 days. Locally Sourcing: The top items you can search for and secure with local farmers, growers, ranchers, and beekeepers. Homemaking: The easiest activities you can do and products you can make at home to decrease your dependence on the grocery store. The next 30 days will be divided up into four weeks, where you can take each week’s checklist and work through it in your own time. By no means should you feel like you have to do absolutely everything I teach you about in the next 30 days. Pick and choose what works for you and your particular situation. The other extremely important thing to note is you do *not* have to order all of my suggestions online, especially with orders getting back up. If things are out of stock, feel free to turn to your local Facebook Groups or local apps like Next Door to see what you can find in your area. Be mindful of social distancing and opt to pay for things via PayPal or Venmo instead of using cash. This 30-day Food Security Plan is going to get you started on the absolute best foot. Don’t hesitate to reach out with questions in the comments below! 30-DAY FOOD SECURITY PLAN - WEEK 1
During Week 1 we are going to focus on getting supplies for your garden and for chicken keeping. Next week, we will cover planting, caring for baby chicks, getting supplies for homemaking, and how to get started with local sourcing. Let's dive in!
Gardening
First and foremost, you need to know what USDA growing zone you live in. Use the USDA Zone Website to figure yours out using your zip code. This number will tell you everything you need to know about what you can plant and when.
Why is that? Because your growing zone number is based on the last day of the year your area sees a frost (on average) and it also tells you the first day of the year you can expect a frost. Think of these two dates like bookends to the growing season for your area. Now there certainly is wiggle room with these dates, and there is plenty to do to establish food security when it’s cold out. I live in growing zone 5b, so my last frost date on average is April 15th, and my first frost date is October 15th. Even if you realize that you missed planting certain things at certain times, there is always something you can plant (indoor or outdoors) to build food security. Let’s dive in! Action Item #1. Order Vegetable Seeds
My two favorite companies to order seeds from are Grow Organic, Baker Creek Heirloom Seeds and Seed Savers Exchange. Both companies offer non-GMO, heirloom (meaning the seed are open pollinated and pass down their nutritious traits between parent and child plant) and organic seeds that you can order from their online stores.
Due to the overwhelming volume of people ordering seeds, some back up companies are: Territorial Seed, Johnny Seed, Harris Seed, and Fedco Seed. Please know that many companies are experiencing shipping delays of 2-4 weeks. If you can find local homesteaders or famers in your community who have seeds for sale, then by all means purchase from them. The best way to locate farmers or homesteaders in your area is to do a Google search or ask on a community Facebook Page or website, like NextDoor. Do not over purchase or hoard seeds. You will only need one or two seed packets of each of the following veggies:
Cool Season Seeds
Meaning you can plant them directly in the ground when it’s between 32 and and 60 degrees Fahrenheit.
Warm Season Seeds
Meaning you can plant these seeds in the ground when it’s between 55 and 85 degrees (F).
Start Indoor or Transplant Warm Season Seeds
Meaning depending on your growing zone, you'll want to get a 3-week head start before your last frost date indoors and then plant them in the ground once it’s between 65 and 85 degrees. If you missed the window on starting these warm season crops from seeds, reach out to your local nurseries or greenhouses and see if you can get seedlings to transplant instead.
Herbs
Start these seeds indoors anytime
Action Item #2. Order Garden Supplies
You will need a few things to get your seeds started successfully indoors as well as some garden equipment essentials for working outdoors. While it may seem early to buy this stuff right now, it’s better to purchase as early as possible due to backed up orders on most gardening websites. You can also purchase these items at a local home improvement or garden store if they are still open:
Action Item #3. Order Perennials and Root Crops
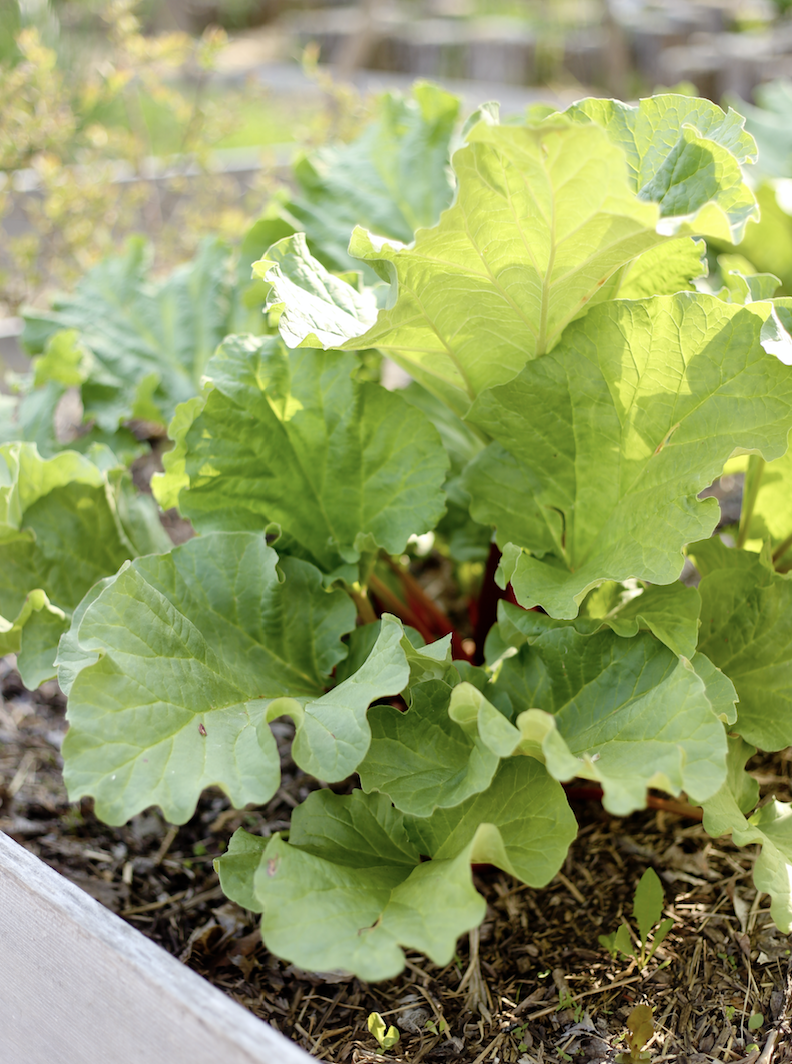
Perennials are plants that come back every year without you needing to put another seed into the ground. Some of the plants listed below are considered annuals depending on your growing zone (meaning they need to be planted every year). Keeping in mind your growing zone, there are a few perennials and root crops every home should be planting to bolster food security.
Order any of the following now in case of backed up orders and shortages. My specific instructions on how to plant and care for these plants will be shared in the coming weeks - but for now - order them:
Next week we will cover how to build raised garden beds and how to plant each of these plants. so be sure to sign up at the end of this post and check back! Action Item #4. Order Fruit and Nut Trees
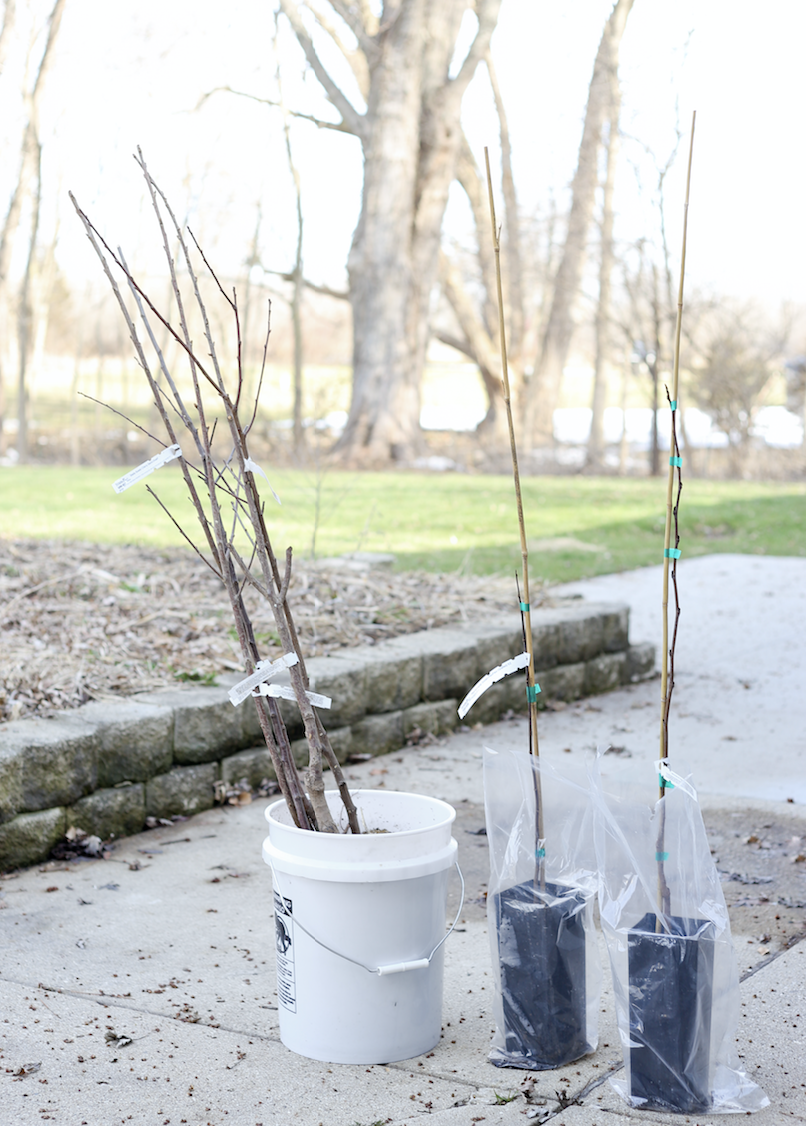
Depending on your growing zone, there are tons of fruit and nut trees you can order in all shapes and sizes to accommodate your situation. The first thing to note is what can grow in your area based on your USDA growing zone. Many local or online nurseries will include this growing info with their trees. Only order trees that fall within your growing zone.
Second, you need to identify if the tree is cross-pollinated or self-pollinated. If a tree is cross-pollinated it will need a buddy to cross-pollinate with or you won’t get any fruit! Simple rule of thumb is to get self-pollinated (it’s what we did!) and you will find this info in the tree’s description. Next, you need to know if your growing conditions will be suitable to the tree. Most fruit and nut trees require full sun (meaning 6+ hours of direct sunlight) and well draining soil. If you don’t have 6+ of direct sunlight, consider purchasing a few potted blueberry plants and get a grow light for each of them. Then, be sure to select a tree(s) that will fit where you want to plant it. Trees come in dwarf (grows 8-10’), semi-dwarf (grows 12-15’), or standard (grows to 18’ or more). We have five acres, purchased semi-dwarf trees, and plant them 12-15’ apart from each other to give them plenty of room to grow. Keep in mind both the mature height and width of the tree you buy so it will fit once it reaches maturity. There’s no harm in getting outside with a measuring tape! Lastly, be mindful of where your tree will cast shade once it’s fully grown. If you plant it right over your garden then your poor veggie garden won’t get any sun in a few years! My rule of thumb is to always plant trees to the north side of gardens to minimize shading. My favorite and trusted website to order trees from is Stark Brothers or Burpee but you can also check with local nurseries and garden stores. Here are the fruit and nut tree options you need to look into, select, and then order:
Next week we will cover how to plant your bare-root or potted trees. So be sure to sign up at the end of this post for updates and check back! Chicken KeepingAction Item #5: Order Chicks or Hatching Eggs
Getting started with your first flock of chickens means you need to decide if you want to hatch your own eggs or purchase day-old chicks. So what’s the difference?
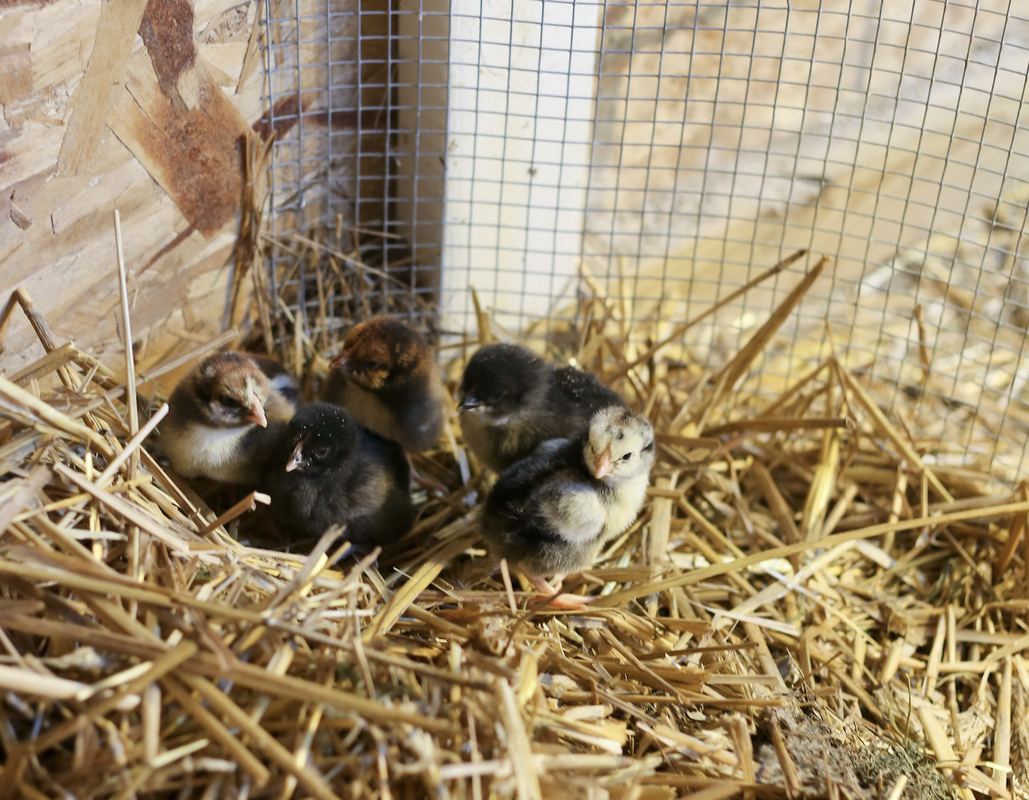
When you order day-old chicks online (recommendations to follow), they get shipped through the USPS system. Chicks can only survive for 72 hours without food or water once they are hatched. Right before they hatch, the chicks absorb the moisture and nutrients from the yolk sac which will keep them nourished for three days. Right now I think it best to not order day-old chicks for fear of a slow-down in shipping. While the USPS will remain open during a crisis, my heart hurts knowing little chicks are stuck in the dark without food or water and could possibly die. Instead, if you want to start with chicks right off the bat, I recommend contacting a local farmer or chicken keeper and purchasing chicks directly from them. On the other hand, when you order hatching eggs, you have to incubate the eggs yourself for 21 days in an egg incubator. The hatching eggs will be sent through USPS in protective packaging and when they arrive you set them immediately in the incubator all at the same time. 21 days later, baby chicks hatch! Essentially you get a 21-day head start when you begin with chicks instead of hatching eggs. I can’t stress enough how important it is to choose a small hatchery over a large one because of the severe ethical and moral issues that large hatcheries pose. Large hatcheries treat their breeding hens horribly, genetic lines of breeds can be weak in some cases, and the treatment of male chicks is gruesome (since no one wants roosters they grind them up alive or let them slowly suffocate in large barrels). To circumvent these ethical and moral issues, I wholeheartedly recommend small hatcheries like Alchemist Farms, Silver Fox Farm, or Sky Girl Farm. Again, you can also reach out to local farmers or chicken keepers and ask for hatching eggs. FAQs for Hatching or Raising Chicks
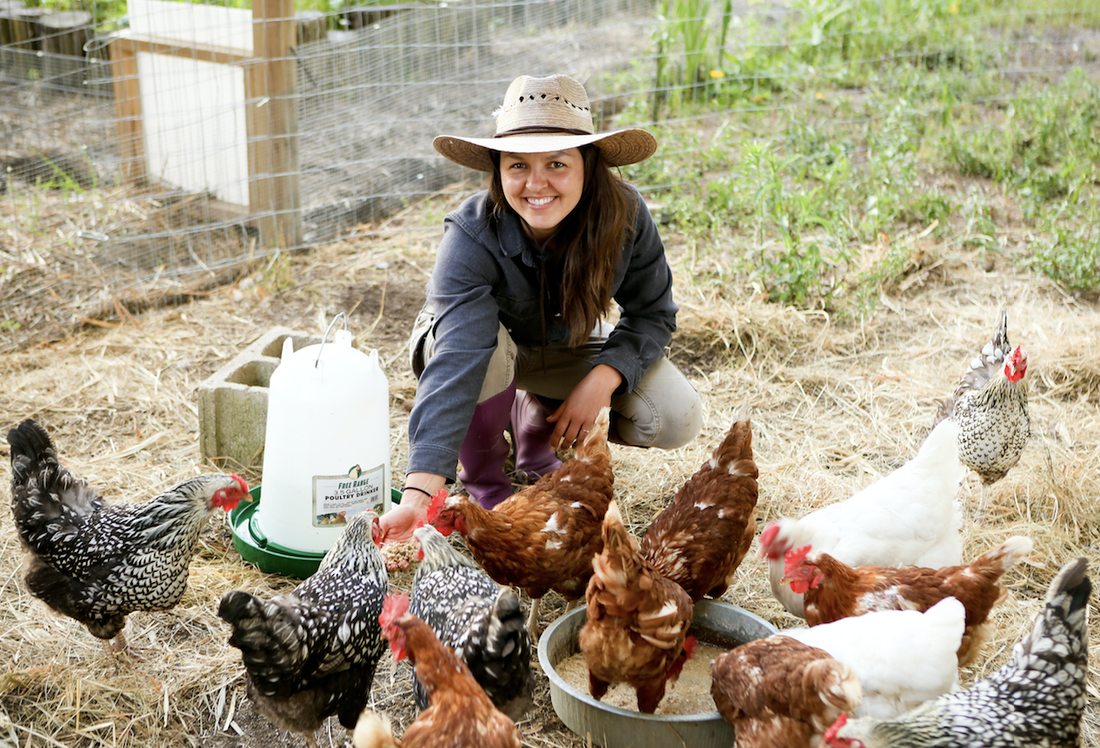
How many chicks should I get? My rule of thumb is one to two chickens per member of your household. Also, check in with your local laws because many municipalities have a limit on the number of chickens you can own.
What breed of chickens should I get? My advice is to get a highly productive egg laying breed that lay once every day or every two days. My personal favorites are Barred Rock, Wyandotte, ISA Browns, and Rhode Island Reds. If you work with a local farmer, you’ll have to be flexible with breeds. So what supplies do I need to have for raising chicks? I recommend looking online as well as in tractor supply or feed stores for these items. You definitely don’t want to be caught with chicks and no supplies so be mindful of shipping dates when you go to order online.
Next week we will discuss how to care for your baby chicks and what to do in case of baby chick health emergencies (they happen!) so be sure to sign up at the end of this post to stay updated. WEEK 2 FOOD SECURITY PLAN
Woohoo!Check your inbox to confirm your subscription to the 30-Day Food Security Plan.
4 Comments
Sandy
4/8/2020 05:46:37 am
I have started basil under a grow light in garage and all the leaves have turned yellow. Do you think I can save it? Looking forward to week 2 :)
Reply
Kelsey
4/8/2020 09:07:25 am
Hi Sandy! The issue with your basil is that you are overwatering it. Basil leaves turn yellow when they are being drowned. You only need to water when the top 1 - 2" of soil are completely dry. Basil doesn't mind dry!
Reply
Stephanie
6/12/2020 05:31:11 am
Do you have a root cellar or any plans for one in the future? We just bought a 3 acre farmette in Burlington, WI. So imagine the excitement reading your blog, that we are nearly neighbors. So excited to follow you!
Reply
Kelsey
6/12/2020 08:32:10 am
Hi Stephanie - that is so exciting! We do not have plans for a root cellar first because our water table is so high, we'd be underwater if we constructed something from scratch. Right now we store winter squash, potatoes, and root crops in our basement with stays at about 55 degrees with 50% humidity. Our veggies do okay in this scenario!
Reply
Leave a Reply. |
Meet Kelsey,Thanks for stopping by Green Willow Homestead! From chicken rearing to composting, we've got our hands full and we love sharing what we've learned along the way. Follow along as we turn the 80 acres we call home into a farm that serves its community and a homestead that nourishes us throughout the seasons. Grab the EbookListen in!FREE Guide!Tune in to our YouTube ChannelInspirationsCategories
All
Favorite Books of 20241. Erosion
2. Braiding Sweetgrass 3. As Long As Grass Grows 4. The Small Scale Poultry Flock 5. The Zero Waste Solution Archives
April 2024
|
FOLLOW KELSEY ON INSTAGRAM!
As an Amazon Associate I earn from qualifying purchases. |

