
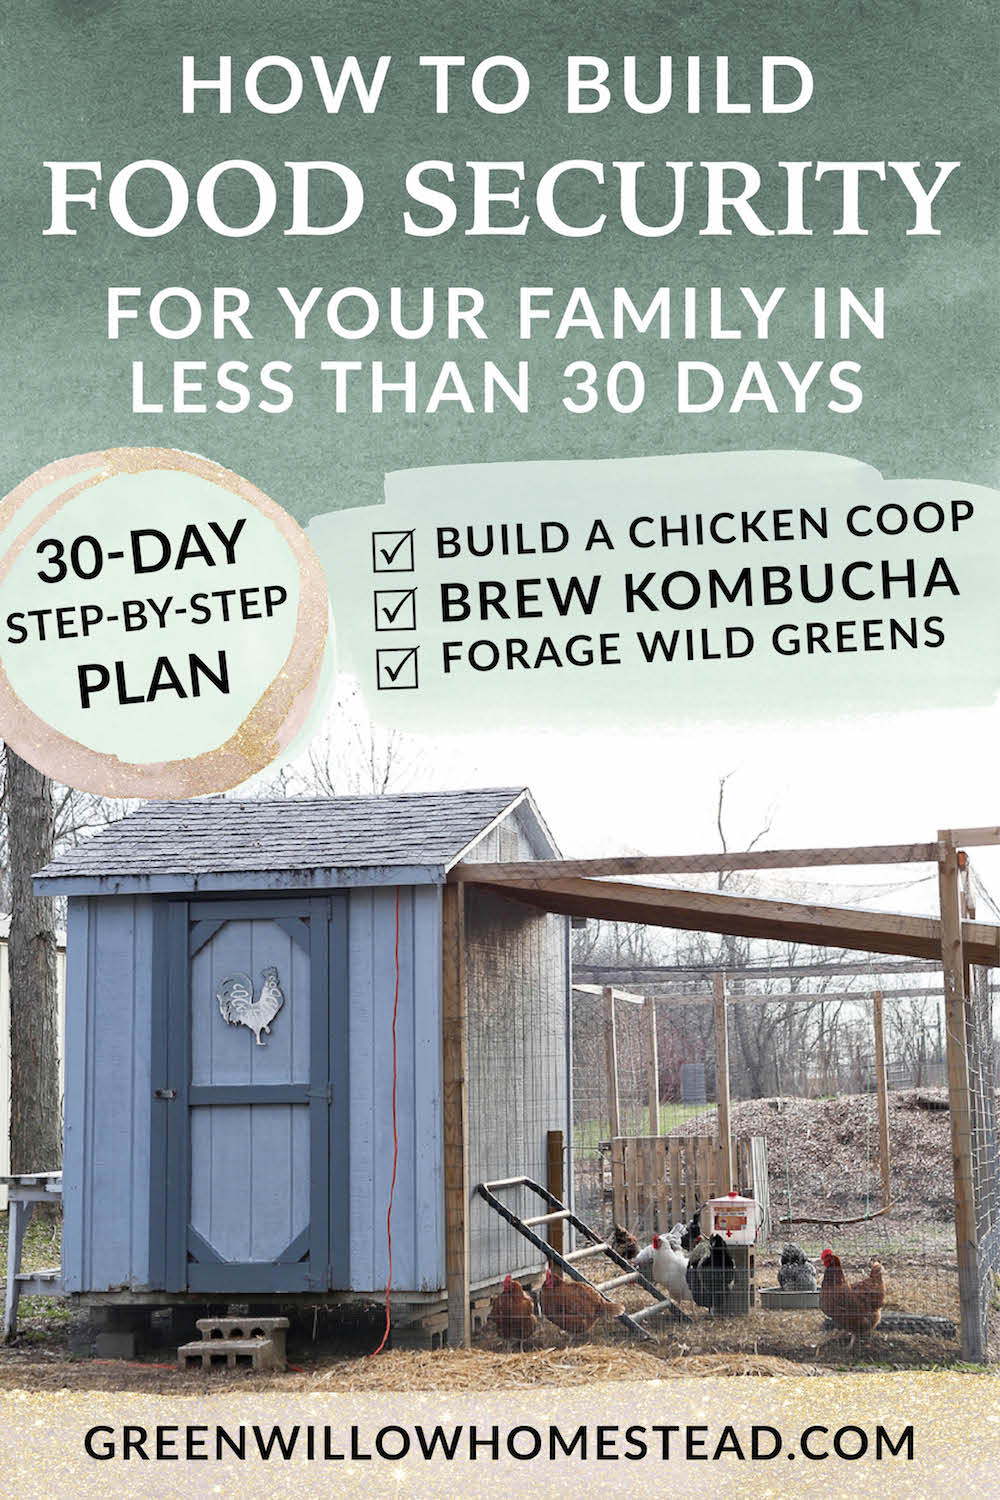
Welcome back to Week 3 on how to build food security for your family in less than 30 days. In Week 3 of our Food Security Plan, I am going to teach you (click to jump!):
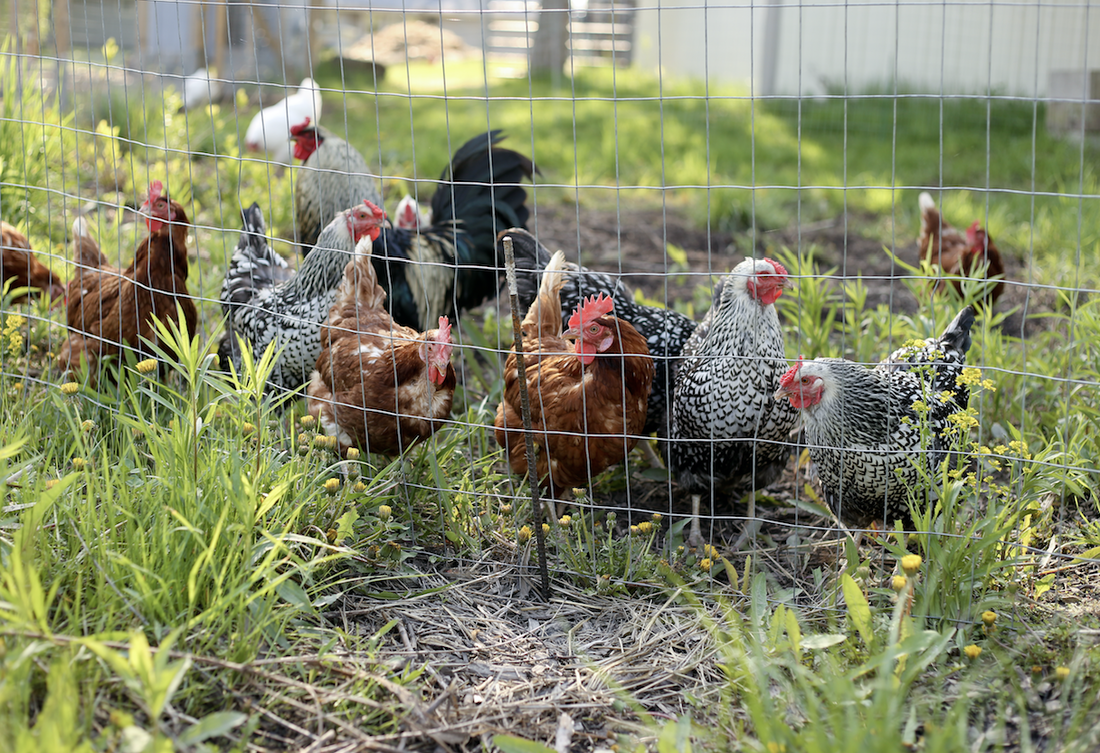
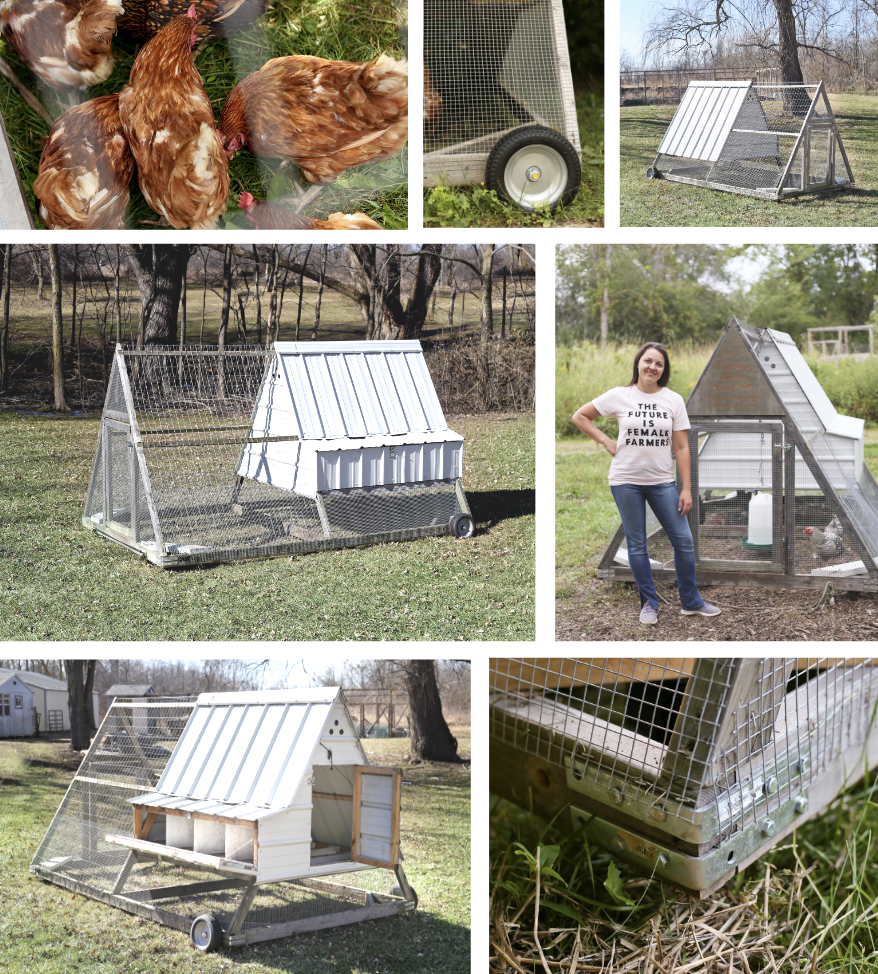
If you just found this series, be sure to head back to Week 1 so you can learn how this Food Security series works and get started on the right foot! I want you to remember that you are completely capable of starting something new (like chicken keeping). Sure, you're probably going to make some mistakes in the process as you learn but the payoff is worth it. Doing these things with a loved one or your kids will bring you some fun and purpose during this uncertain time. Let’s dive into Week 3!
Please note: The links below are affiliate links, meaning at no additional cost to you, I will earn a commission if you end up clicking and purchasing an item. I worked hard to find my trusted favorites and I want to share them with you so you don't have to deal with all the crappy junk I had to go through. Nuff said
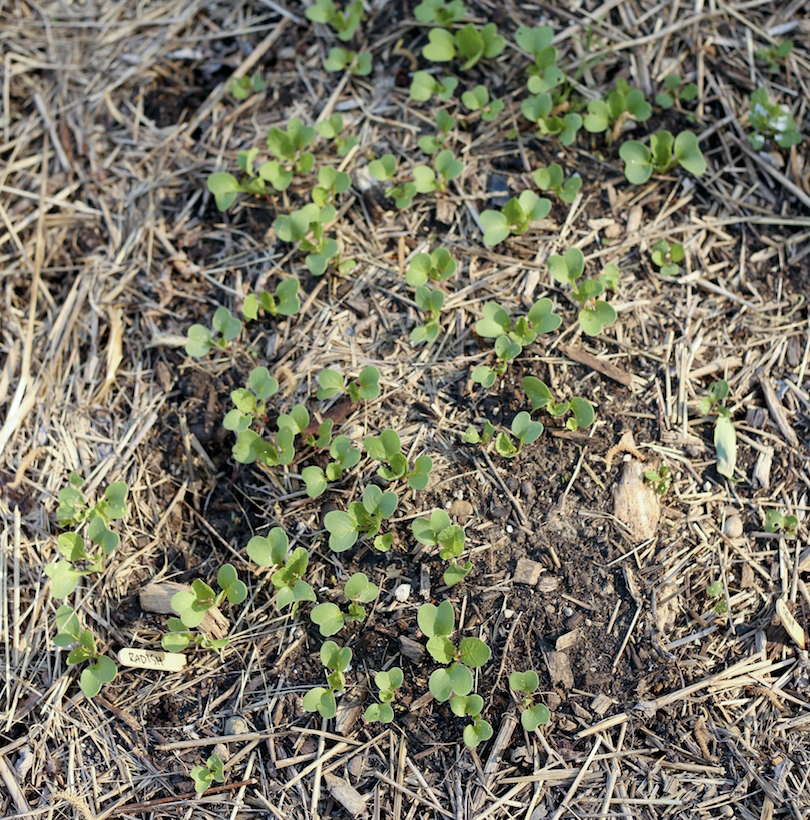
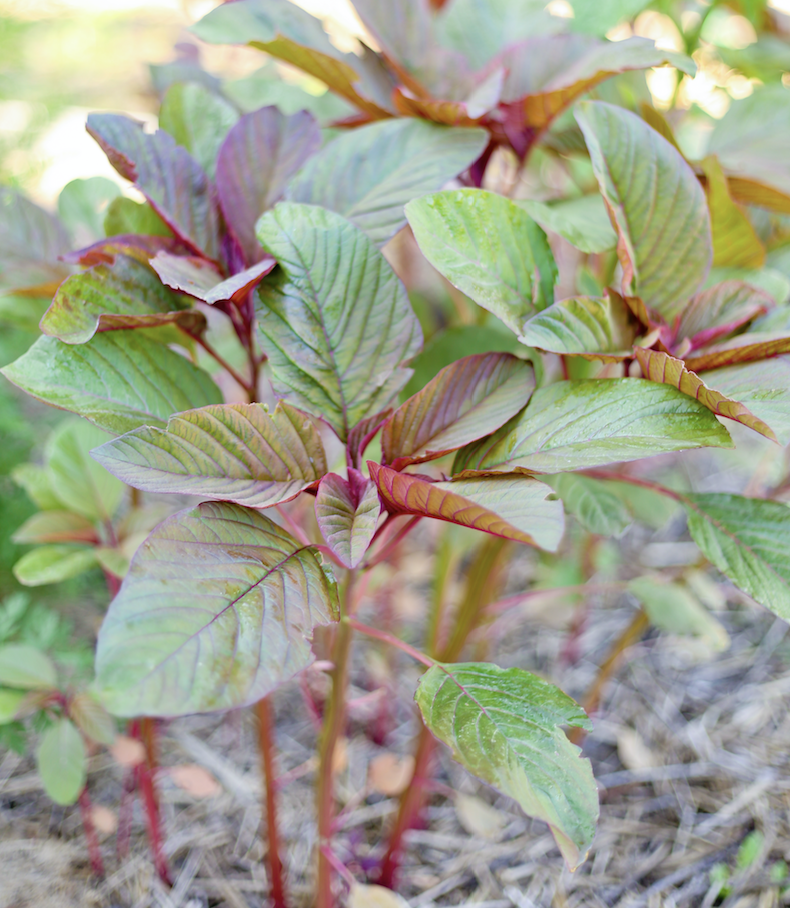
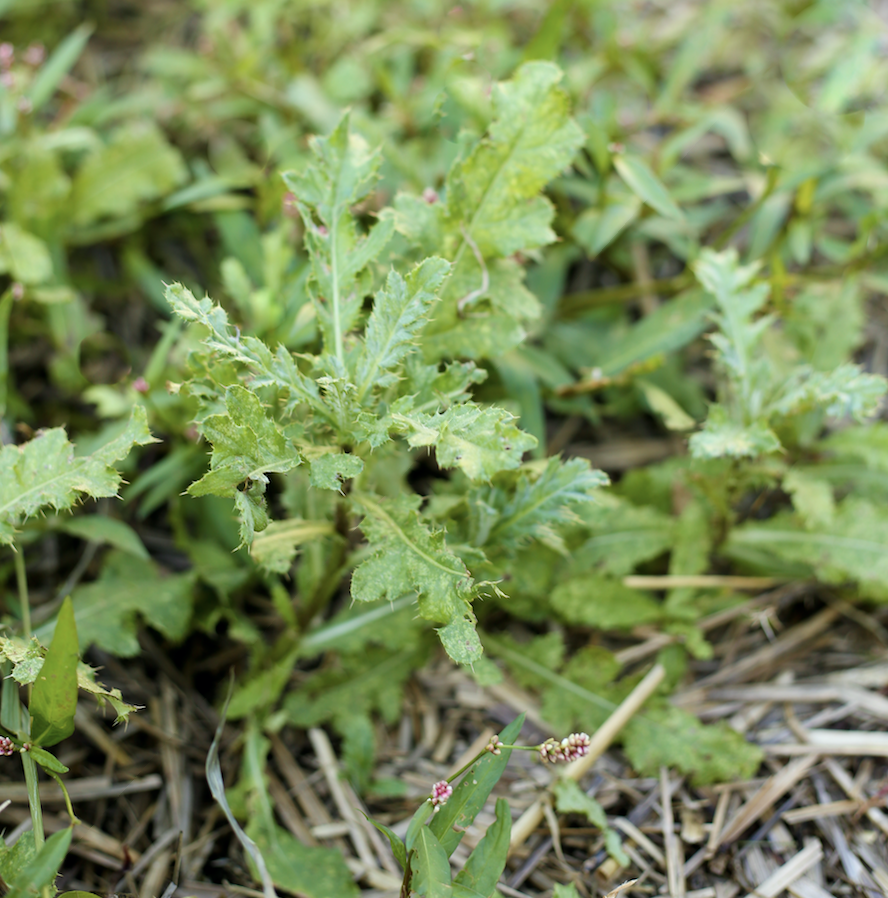
Gardening
|

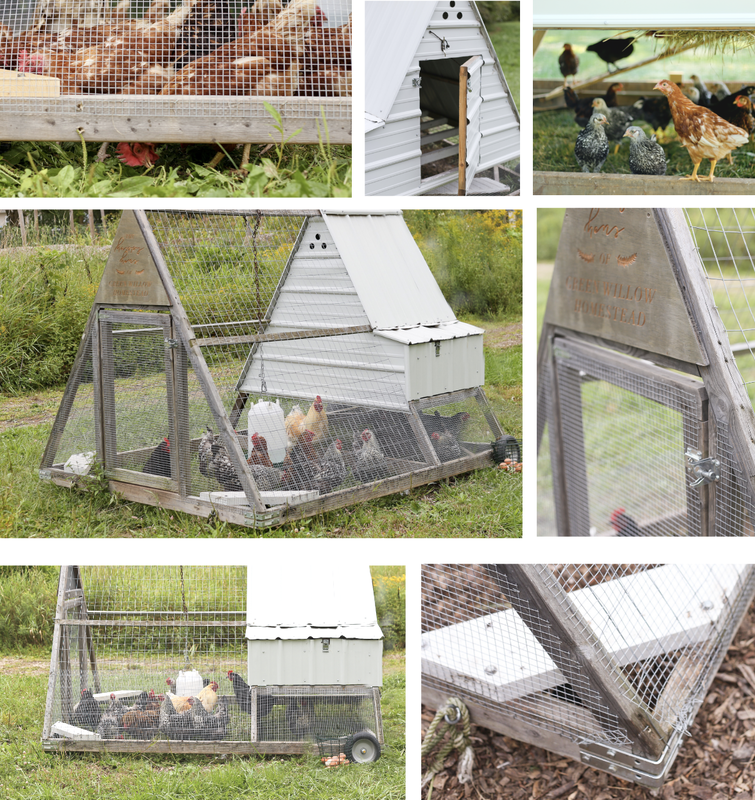
Meet Kelsey,Thanks for stopping by Green Willow Homestead! From chicken rearing to composting, we've got our hands full and we love sharing what we've learned along the way. Follow along as we turn the 80 acres we call home into a farm that serves its community and a homestead that nourishes us throughout the seasons. 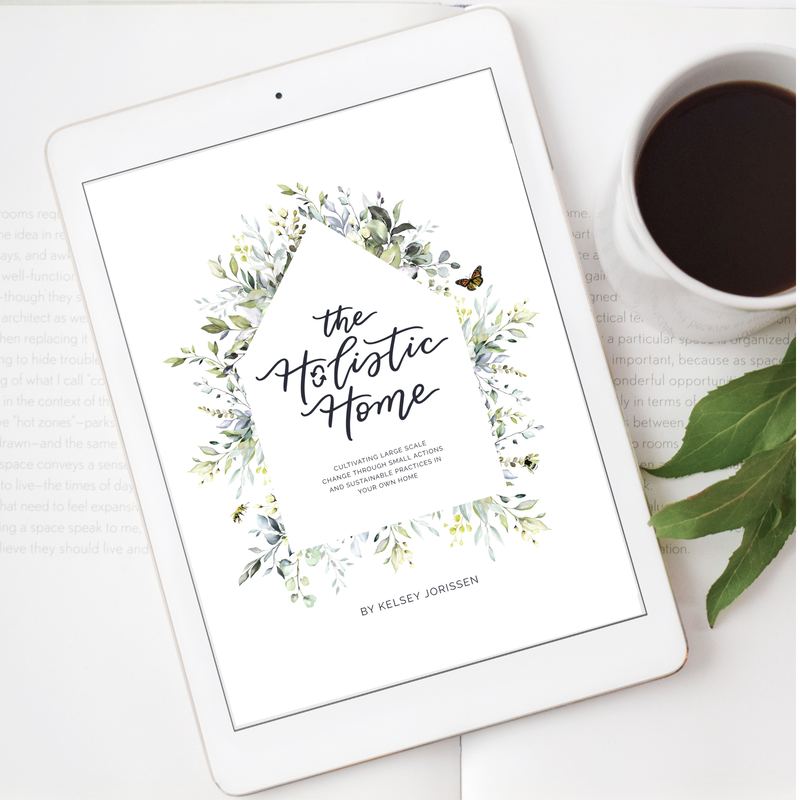
Grab the EbookListen in!
FREE Guide!
Tune in to our YouTube ChannelInspirationsCategories
All
Favorite Books of 20241. Erosion
2. Braiding Sweetgrass 3. As Long As Grass Grows 4. The Small Scale Poultry Flock 5. The Zero Waste Solution Archives
April 2024
|


FOLLOW KELSEY ON INSTAGRAM!
|
|
As an Amazon Associate I earn from qualifying purchases. |
|