|
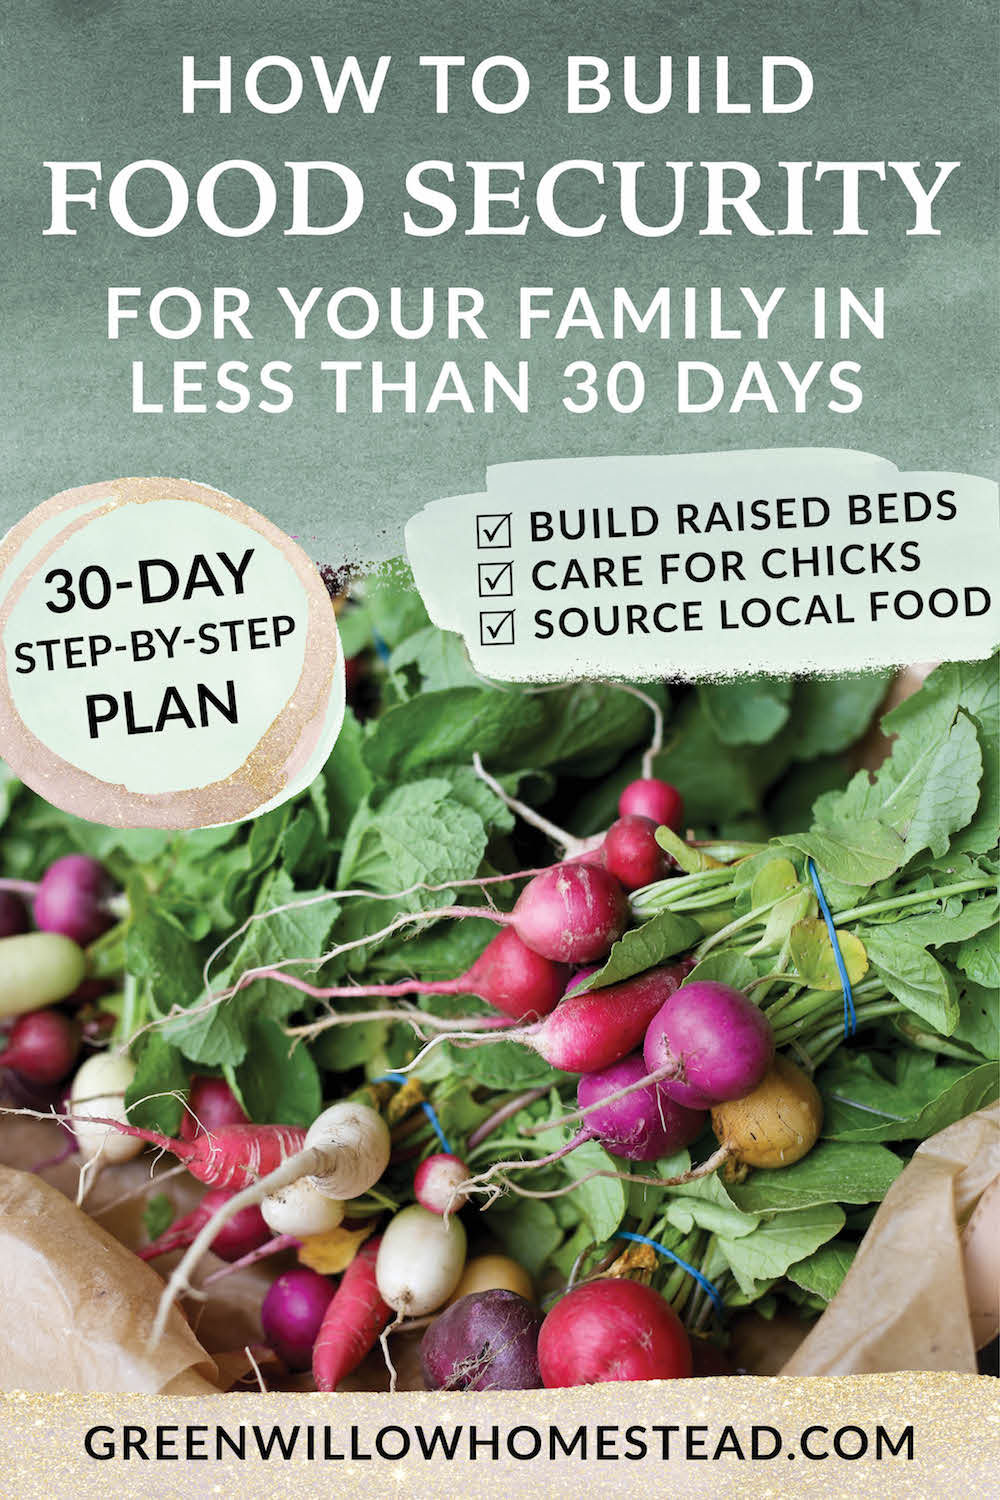
Welcome back to Week 2 on how to build food security for your family in less than 30 days. In Week 2 of our Food Security Plan, I am going to teach you the straightforward step-by-step on (click to jump!):
To head back to Week 1 of this series to learn about food security, its inherent limitations, and how this four-part series works click here. I want you to remember that you are completely capable of starting something new (like chicken keeping). Sure, you're probably going to make some mistakes in the process as you learn but the payoff is worth it! Doing these things with a loved one or your kids will bring you some fun and purpose during this uncertain time. Let’s dive into Week 2!
Please note: Some of the links below are affiliate links, meaning at no additional cost to you, I will earn a commission if you end up clicking and purchasing an item. I worked hard to find my trusted favorites and I want to share them with you so you don't have to deal with all the crappy junk I had to go through. Nuff said.
Organizing Your 30-Day Food Security Plan
To help you divide and conquer, I have split up your 30-day Food Security Plan into five categories: Gardening, Foraging, Chicken Keeping, Locally Sourcing, and Homemaking.
Here’s a quick overview on each category: Gardening: Everything you need to have on hand and step-by-step instructions for the next 30 days to get your first vegetable garden up and running. Foraging: All the info on what wild foods are available to you right in your own backyard and in local parks. Chicken Keeping: All the supplies and knowledge you need to successfully raise chicks for the next 30 days Locally Sourcing: The top items you can search for and secure with local farmers, growers, ranchers, and beekeepers. Homemaking: The easiest activities you can do and products you can make at home to decrease your dependence on the grocery store. The next 30 days will be divided up into four weeks, where you can take each week’s checklist and work through it in your own time. By no means should you feel like you have to do absolutely everything I teach you about in the next 30 days. Pick and choose what works for you and your particular situation. The other extremely important thing to note is you do not have to order all of my suggestions online, especially with orders getting backed up. If things are out of stock, feel free to turn to your local Facebook Groups or local apps like Next Door to see what you can find in your area. Be mindful of social distancing and opt to pay for things via PayPal or Venmo instead of using cash. This 30-day Food Security Plan is going to get you started on the absolute best foot. Don’t hesitate to reach out with questions in the comments below! GardeningAction Item #1. Decide where to put your garden.
The success of your garden depends solely on three things: sun exposure, soil health, and watering. This week, we are going to cover sun exposure and soil health.
Sun exposure: If you want to grow heat loving plants like tomatoes, squash, cucumbers, beans, and peppers, your garden spot must receive at least 8 hours of direct sunlight every day. This means directly in the sun (it doesn’t matter if it’s a sunny day, your plants need the sunlight directly on them). You can confirm the amount of hours your garden spot receives with a sunlight audit. On a sunny day, observe and note when direct sun first hits your proposed garden spot. Then check back to note the time at which the spot becomes shaded in the evening. That will give you the total hours of direct sun exposure. What if you have an apartment patio or garden spot that doesn’t get 8+ hours of direct sun? If you receive less than 8 hours of direct sunlight, you can still grow plenty of cool season crops. Here’s a quick rundown for you: 3 - 4 Hours of Sun
4 - 6 Hours of Sun
If your garden spot falls between 6-8 hours of sun, you can most certainly try planting heat loving crops - they will just mature a week or two slower. Action Item #2 Construct Your Raised Garden Beds Or Prep Planting Site
Remember your garden’s success depends on sunlight, soil health, and watering. So now we are going to talk about soil health.
The soil you have or choose to use directly affects the health of your growing plants. So how to decide whether to build raised beds and fill them with soil or plant your garden in your existing soil? Existing Soil Pros:
Existing Soil Cons:
Raised Bed Soil Pros:
Raised Bed Soil Cons:
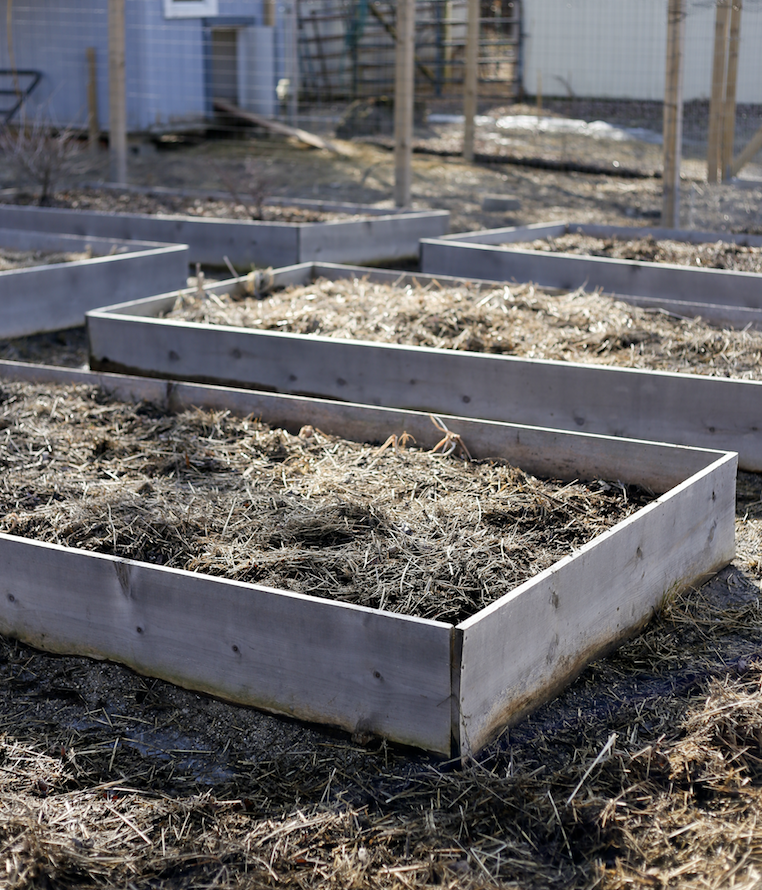
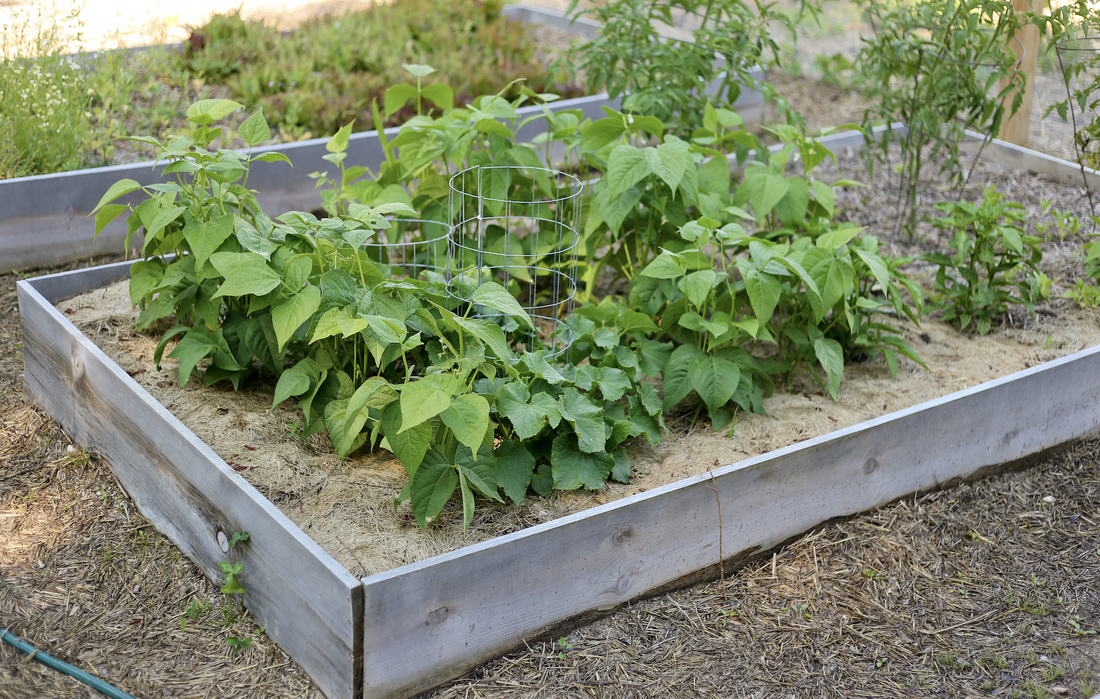
What you decide to do is entirely dependent on your specific situation. If you live in an apartment and only have a patio, then of course you should purchase some small portable raised beds and fill them with soil. If you have a ¼ acre backyard that gets 8+ hours of direct sun, then you should consider tilling up some grass, adding some compost, and planting directly into your soil.
Getting a raised bed garden started on your apartment patio is straightforward. First you’ll need to order supplies.
Apartment Dweller Garden Supplies:
How To Build Raised Garden Beds For Your Backyard As for building raised garden beds yourself, click here to read my in-depth post on how we built 12 raised garden beds for $37.50 a bed. How To Prep Your Existing Soil For A Garden As for tilling up grass and mixing in compost, the process is just like it sounds. You can check with a neighbor and barrow a tiller or rent one from a big-box store like Menards, Home Depot, or Lowes. Then purchase compost to mix into the soil from your local gardening store or online:
How many raised beds should you build or how big should your garden plot be?
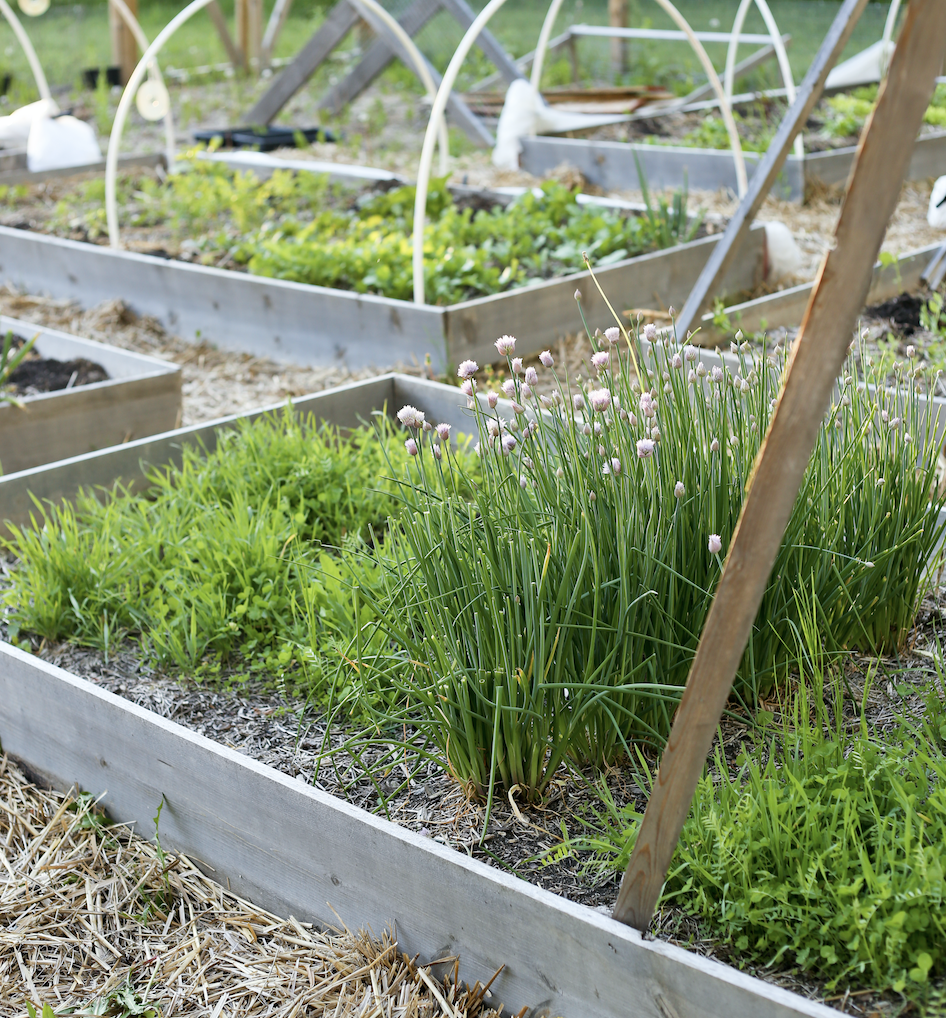
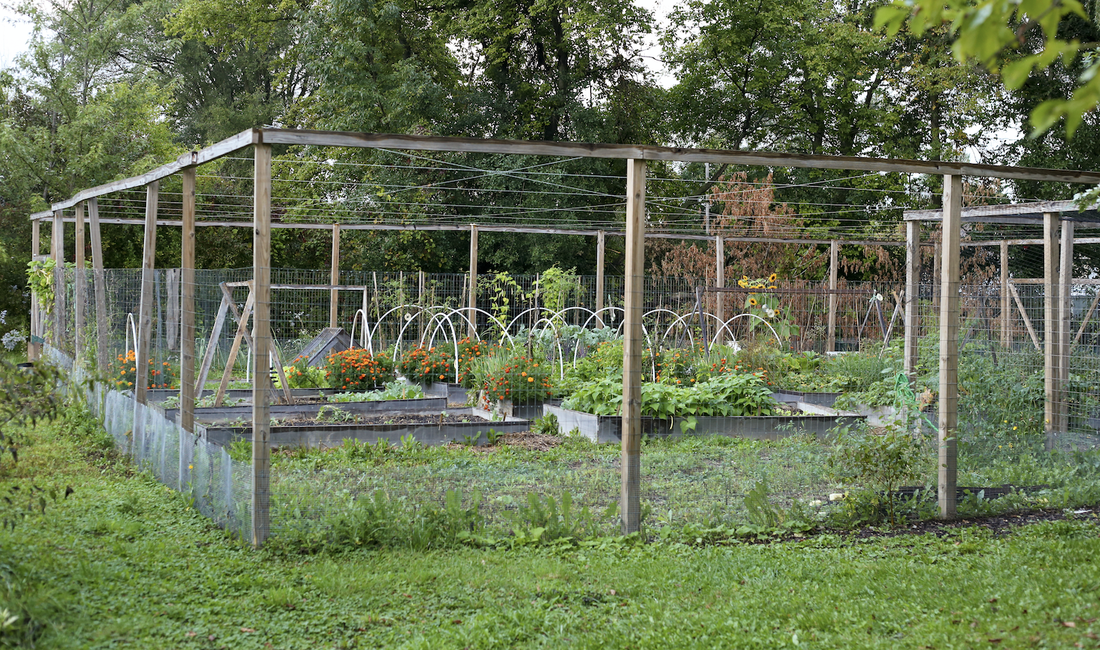
My rule of thumb is one 4x8’ or 5x10’ garden bed/plot per family member, plus one extra garden bed/plot for planting certain plants like potatoes, asparagus, garlic, and rhubarb. You can also plant perennials in a Fruit Tree Guild (more on this in the next section!). So an example for a family of four who also wants potatoes, garlic, and asparagus - that would equal seven raised garden beds/plots sized at either 4x8’ or 5’x10’. We have 12 raised garden beds on our farm, but that’s because we sell our produce to our community. When I did the math, I realized that planting for just my husband and myself is about the size of three garden beds (one extra bed for potatoes). If you want to make more beds or plant more than just one garden bed of potatoes - by all means go for it! Action Item #3. Start Seeds Indoors Or Sow Seeds Directly In Your Garden
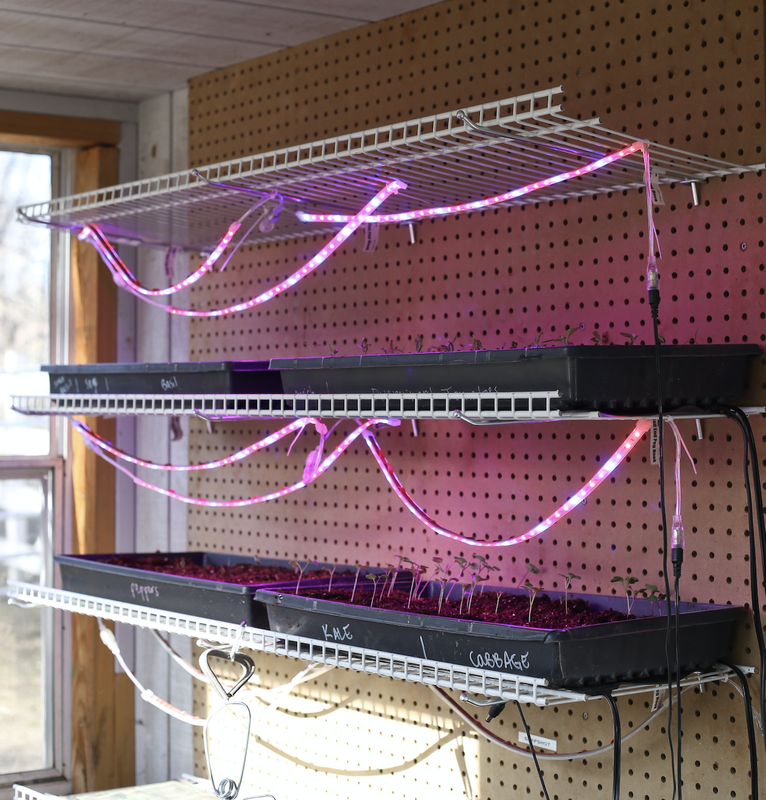
As I write this in the second week of April in USDA growing zone 5b, we have started the following seeds indoors:
We have direct sowed (meaning planted right in the ground):
If you live in USDA growing zone 3, 4, 5, 6, or 7 you can do the same. April is a great month for planting seeds both indoors and outdoors. I love the Veggie Harvest Website because it always helps me understand what I can plant when (once you pick your zone, scroll down to see the planting chart). I love this chart because I can reference what seeds can be started indoors as well as what I can plant directly in the ground outdoors. Remember! If you missed the seed starting indoors window, you can always purchase seedlings at a garden store or farm. I purchased tomato and pepper seedlings at garden stores my first few years of gardening, so don’t feel the pressure to have to start your tomatoes or peppers from seed. So how to plant your seeds indoors or outdoors using the supplies you ordered during Week 1? I put together a whole separate blog post to help you get started with starting seeds and direct sowing.Click here to read on and learn how to start your seeds and directly sow in your garden. Action Item #4. Plant Trees, Bushes, and Perennials in Fruit Tree Guilds
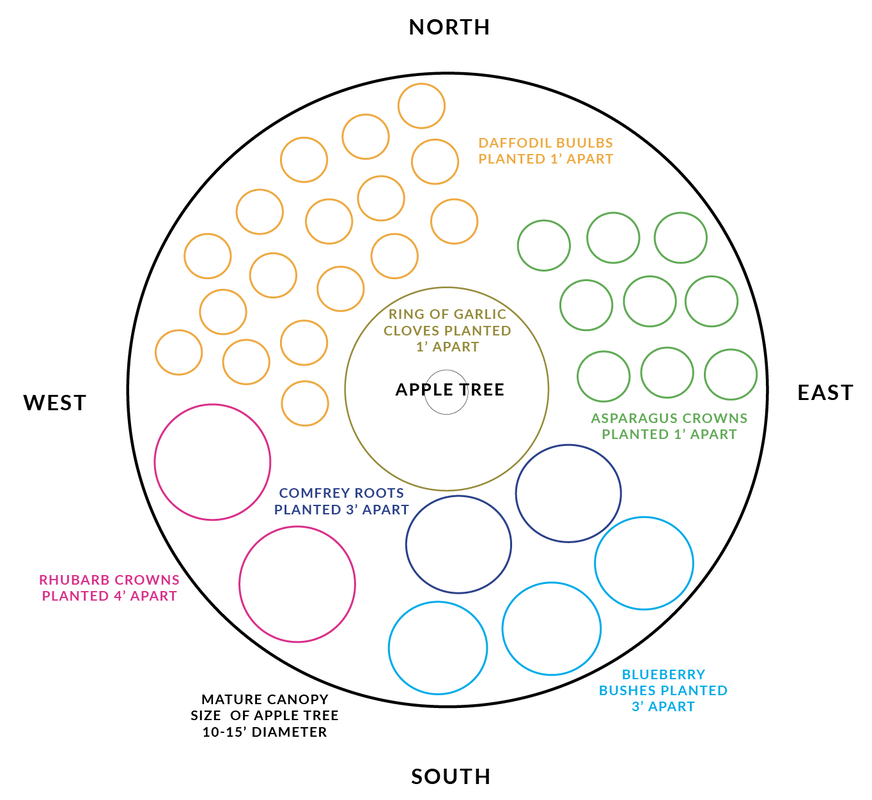
I like to create what’s called a Fruit Tree Guild with my fruit trees, berry bushes, and perennials. A Fruit Tree Guild is a grouping of plants and trees that work together to benefit each other. Think of your fruit (or nut) tree like the leading lady of the Fruit Tree Guild. The berry bushes and perennials are like supporting characters which are planted around the tree.
My go-to Fruit Tree Guild Planting Plan for Zone 5 looks like this:
Be sure to pay attention to the cardinal directions because the sunlight plays a direct role in where you place your plants within a Fruit Tree Guild.
To get more ideas on how to layout your own Fruit Tree Guild, Google: Your Growing Zone Number + Fruit Tree Guild and click over to the "Images" section. There are so many amazing Fruit Tree Guild combinations - get creative and have fun!
How do you plant your fruit or nut trees?
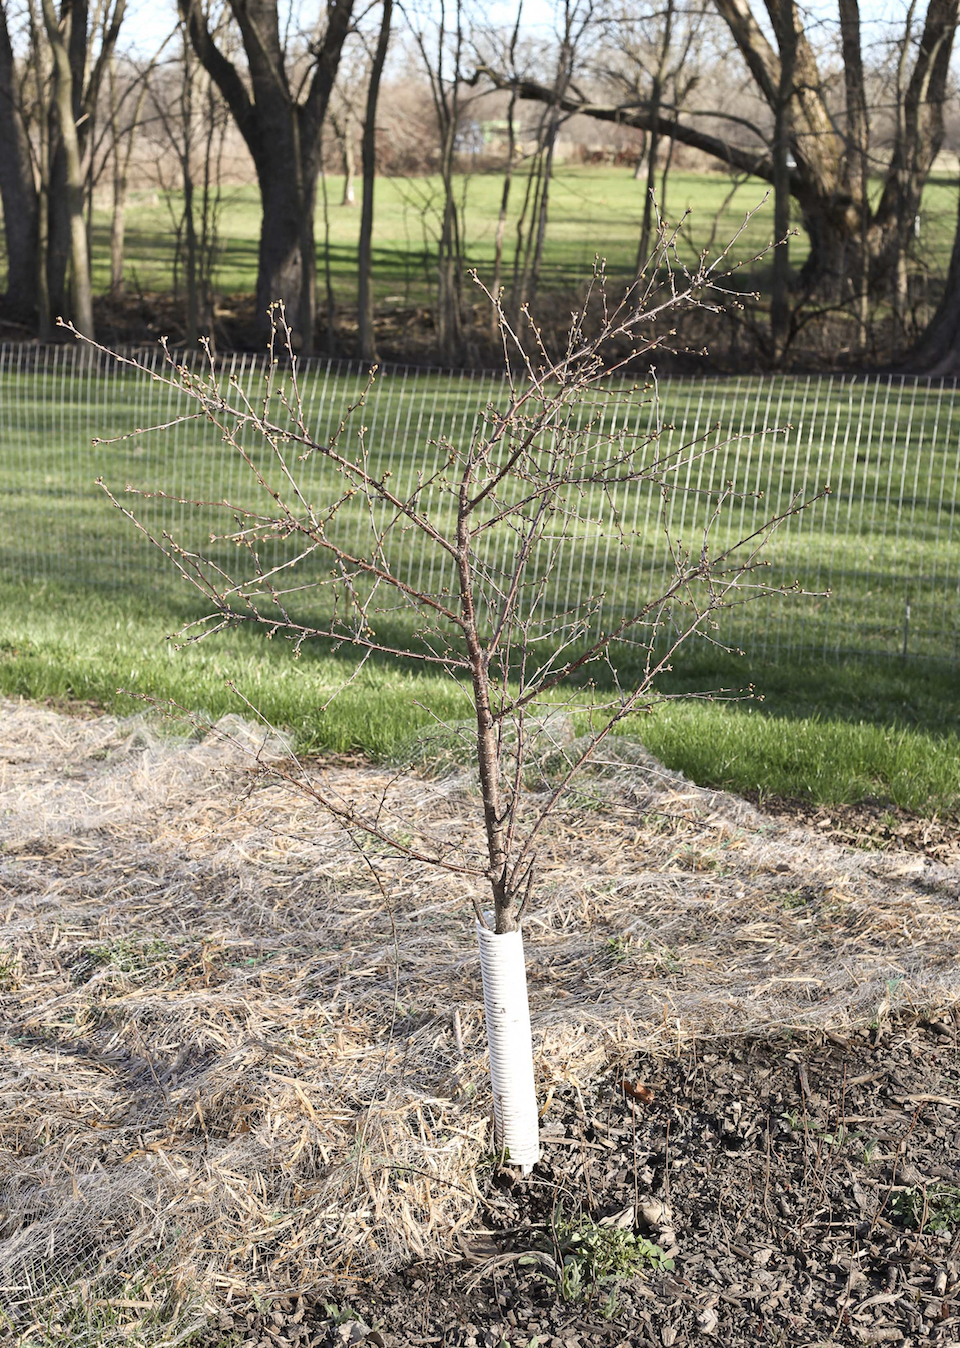
If you ordered fruit/nut trees and berry bushes it’s time to put them in the ground. Remember to keep in mind that most trees require 8+ hours of direct sunlight. If you ordered more than one tree, be sure to space your trees 10’ - 15’ apart from each other so they don’t grow into one another. It’s best to plant trees as soon as you receive them, so I think it easiest to prep your tree site even before your order arrives. How to prep your tree site:
Most trees are shipped bare root. This means that the company wraps the tree’s bare roots in wet material to keep them from drying out during shipping. Once you receive your trees, unwrap them immediately and submerge their roots in a five gallon bucket of water if you can plant them immediately. If you can’t plant your trees immediately, then trench the bare root trees in a temporary spot. This means you dig up a shallow trench of soil, lay the trees’ root systems in the soil, then bury them with soil, and water them thoroughly. Trenching can buy you an extra few days before you need to plant. How to plant your tree:
If you live in a windy area, I recommend staking and supporting your tree so it doesn’t blow over before the root system can anchor it. Here are the supplies you would need to stake and support your tree.
How do you plant perennials (like berry bushes, Comfrey, rhubarb, asparagus, etc?)
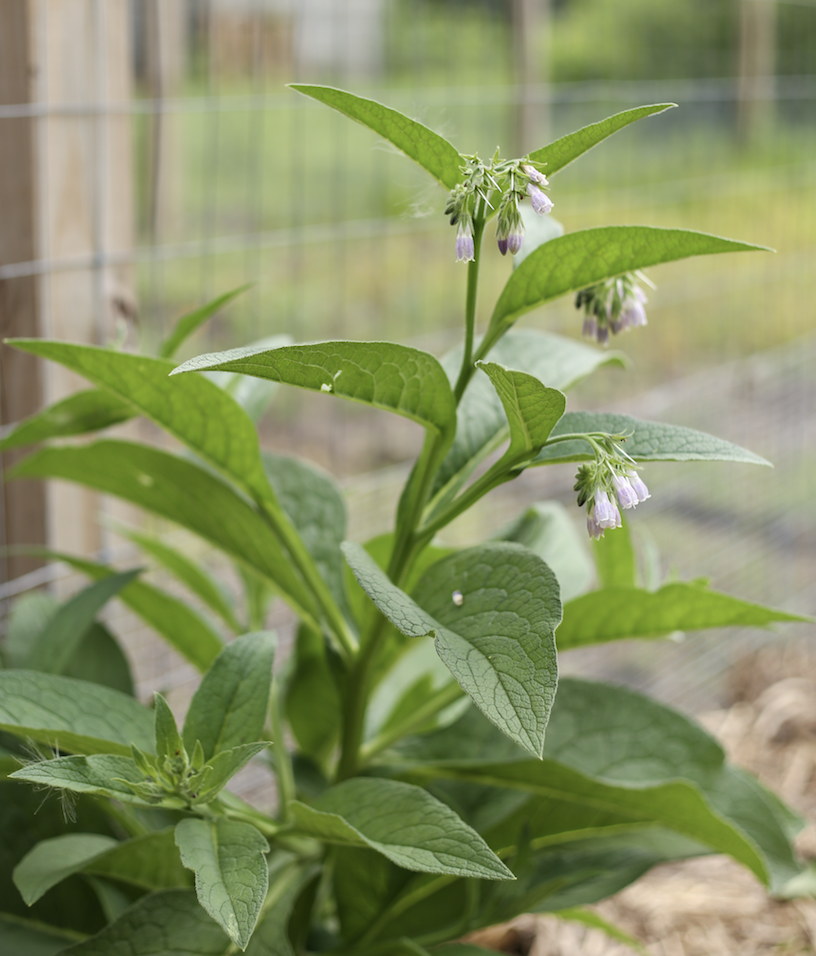
The roots, seeds, bulbs, or crowns that you order should come with instructions on how to plant them. If not, find your perennial below for instructions: Asparagus: Dig a hole 8" wide and 6" deep. Place the crowns 1' apart. Cover up crowns with 3" of soil and water thoroughly. Comfrey: Dig a hole 6" deep and 6" wide. Place the Comfrey roots 3' apart. Cover with compost and soil and water thoroughly. Rhubarb: Dig a hole 6" deep and 6" wide. Place the rhubarb crowns 4' apart. Cover with 3" of soil and water thoroughly. Garlic: Dig a hole 6" deep and place garlic clove (with peel still on) in the hole. Place garlic cloves 6" to 1' apart. Cover with 4" of soil and mulch with straw. Spring Bulbs: Dig a hole 4" deep and place bulb with the pointed end up. Space spring bulbs 1' apart. Cover with 4" of soil and water thoroughly. Berry bushes: Dig a whole twice as wide and then as deep as the root system in the pot. Space blueberry bushes 3' apart, gooseberry bushes 5' apart, and currant bushes 3' apart. Chicken Keeping
Action Item #5. Set Up Your Broody Box and Chick Supplies.
If you ordered hatching eggs, feel free to read through these instructions now to get yourself acquainted. You’ll have about a month before you need to dive into chick prep. For those who have got live chicks on the way - read on!
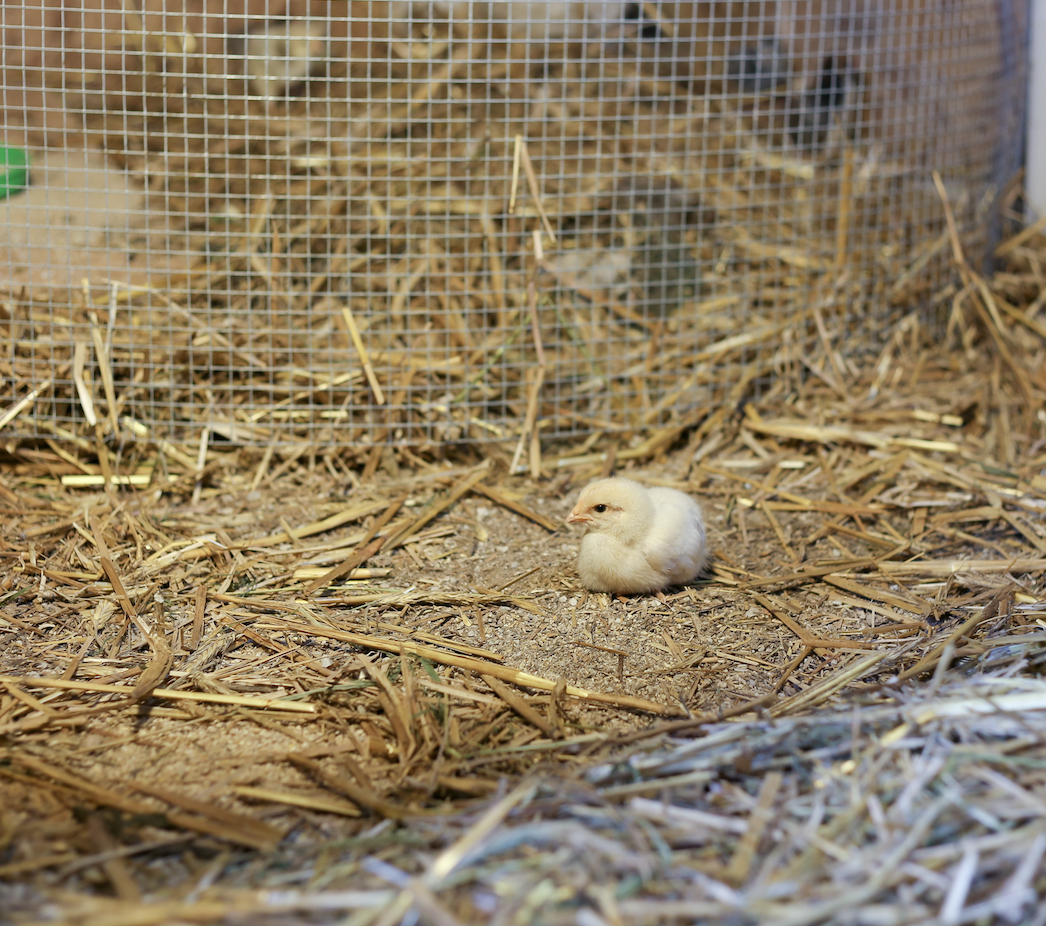
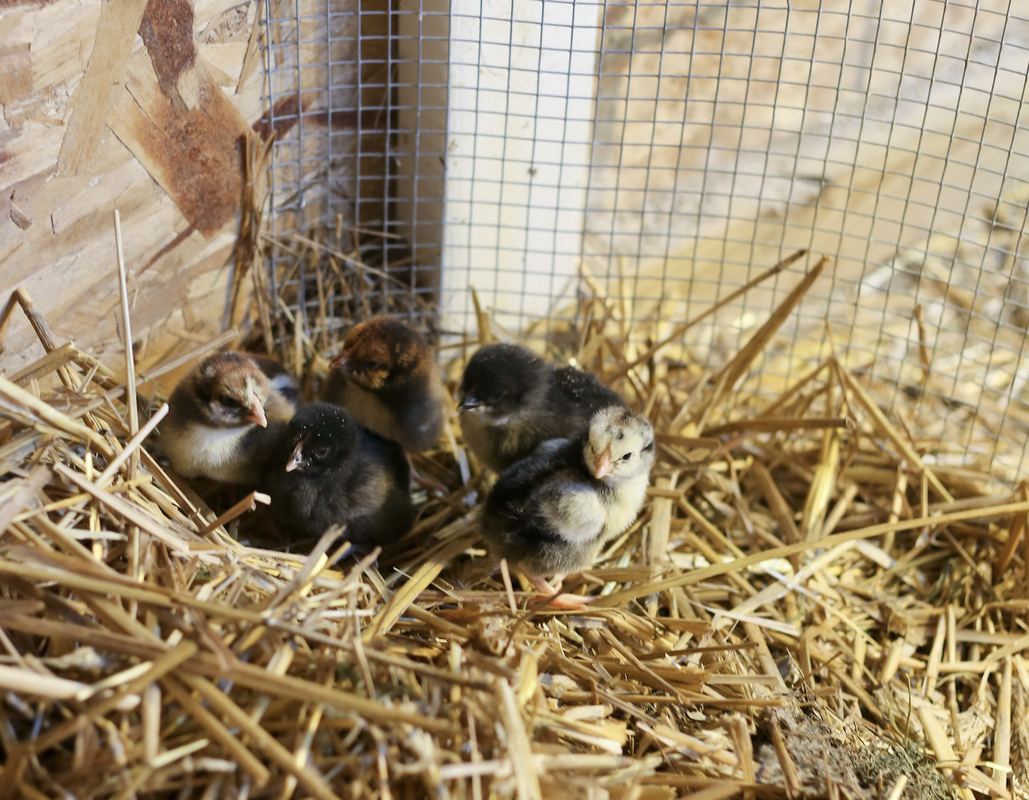
Getting a spot prepared for your chicks can be as simple as setting up a big cardboard box. I’ve used plastic totes, old shipping boxes, and even a kiddy pool to house my chicks. For those who want something more official, I recommend this Chick Brooder Box. How big should your broody box be for chicks? I’ve learned that the best size for a broody box has a 4 square foot minimum, and then from there allow 3 chicks per additional square foot. So for example if you are getting 6 chicks, your box should be 6 sq ft in total. If you are getting a dozen chicks, your box should be 8 sq ft. This sizing rule allows for your sweet chicks to grow into the box for up to 10-12 weeks. At that point you should move them outdoors to a coop or chicken tractor. How should you set up your broody box? Bedding: For the first two weeks you want to use a few layers of paper towels as bedding for your chicks. This is so they don’t eat their bedding (like pine shavings) and it makes clean up easier on you (just lay down another layer of paper towels!). Heat Plate: Set your heat plate close to a corner so the chicks feel more secure and safe. Follow your chick heat plate’s instructions on how to set it up because every heat plate is slightly different. The day you know your chicks are arriving, turn on your heat plate so it’s nice and warm by the time you set them in the broody box. Food + Water: Set the feeder and waterer about 6 inches away from the heat plate. This is so the chicks don’t have to go too far to find hydration and nourishment. I like to add a tsp of organic molasses to the water for an electrolyte boost for when the chicks first arrive. Have the feeder and waterer filled and ready to go for your chicks.
What does the first week of care look like for chicks?
Feeding: Make sure the feeder stays full. Chicks eat a ton and you shouldn’t ever let the feeder go empty. Water: Always have fresh clean water available for your chicks. Chicks make quite a mess pooping and eating, so keep your eye on it and dump it if it gets poopy. You also need to wash the waterer with soap and water daily to keep it clean and sanitary. Poops: Chicks poop. A lot. Having a hefty stack of paper towels ready for the next 14 days is crucial. Lay down a fresh layer of paper towels twice a day to keep the exposed chick poops at a minimum. After seven days, clean it out and replace the paper towels. Vet Care: Listless Chicks and Pasty Butt Watch for listless chicks that aren’t regularly eating and drinking. Chicks will go from eating to sleeping face down with the snap of a finger so don’t worry about that (it’s hilarious though) but do watch for the chicks that seem listless. If you have a listless chick, dropper feed it very gently with a 5:1 warm water and molasses mixture. Chicks’ stomachs are tiny, so three drops is enough to hydrate them every hour. Touch the drop gently to the chick’s beak and let gravity do it’s magic into the chick’s mouth. You can dropper feeder simply with your own finger or a plastic syringe if you have one on hand. Then, add a small dap of VetRX to the sides of the chick’s beak. VetRX for Poultry helps with respiratory issues and can be a good catch all with a listless chick. Pasty Butt happens when the temperature in the brooder is too hot, the chicks are suffering from a bacterial issue, or they suffered cold conditions when shipped through the mail. The chick’s poor little vent (their anus) crusts over with poop, ultimately blocking it and backing up their digestive system. This is a very dangerous issue if not treated immediately. Check chicks as soon as you receive them in the mail or from a local farmer for pasty butt by turning the chick over and looking for dried, pasted feces over their little bottom. You also need to check your chicks daily for the first three weeks. One of the best precautions against pasty butt is to add 1 tbsp of apple cider vinegar per 1 quart of water to the chicks’ waterer. To fix pasty butt:
Know that nature will take its course and dead chicks do happen. I’ve lost five chicks over the course of my chicken keeping years and it's never easy. You will do your best and nature takes care of the rest!
Snuggles: Your chicks should have ample contact with you as they grow. This ensures their bond to you solidifies and they don’t get too spooked by humans. Gently pick up your chicks, hold them, talk to them, and enjoy their fluffy little faces!
Next week, you will learn all about the different styles of chicken coops, what activities you can do with your growing chicks, as well as incubation tips if you decide to go with hatching eggs. Be sure to sign up for updates at the bottom of this post! Action Item #6. Source Locally Available Food For Your Family
Please know that you can’t replace every item in your pantry from the get-go in a local or regional sense - and you shouldn’t feel like you have to do so. It’s highly unlikely you are going to be able to make your own olive oil or mine your own salt (and that is okay)! Local sourcing is a way for those that don't have the capacity or space to grow food or keep chickens to have access to food security.
There are a number of ways you can source and secure local food items:
Local Sourcing Checklist
Work through this list and try to secure as many items as possible with local farms and makers. Remember to be flexible with producers and farmers. Covid-19 has changed a lot of protocols for us. Our local farmstand has made some major changes to prevent the spread of Covid-19 and luckily our customers have been understanding. Choose kindness and thank your local farmers! WEEK 3 SNEAK PEEK
Woohoo!Check your inbox to confirm your subscription to the 30-Day Food Security Plan.
1 Comment
4/12/2020 03:20:02 am
We need security and to feel secure is one of the most important things that we can have in this life. A life that is filled with many challenges yet there is a solution to every problem that we encounter. We can always make that change that we want in this life. Life is a series of ups and downs and it is like a roller coaster, a ride that will show you how beautiful it is even though it looks scary. It will give you the strength that you need. A strength that will pull you up. We can all make it even if it seems impossible.
Reply
Leave a Reply. |
Meet Kelsey,Thanks for stopping by Green Willow Homestead! From chicken rearing to composting, we've got our hands full and we love sharing what we've learned along the way. Follow along as we turn the 80 acres we call home into a farm that serves its community and a homestead that nourishes us throughout the seasons. Grab the EbookListen in!FREE Guide!Tune in to our YouTube ChannelInspirationsCategories
All
Favorite Books of 20241. Erosion
2. Braiding Sweetgrass 3. As Long As Grass Grows 4. The Small Scale Poultry Flock 5. The Zero Waste Solution Archives
April 2024
|
FOLLOW KELSEY ON INSTAGRAM!
As an Amazon Associate I earn from qualifying purchases. |

