|
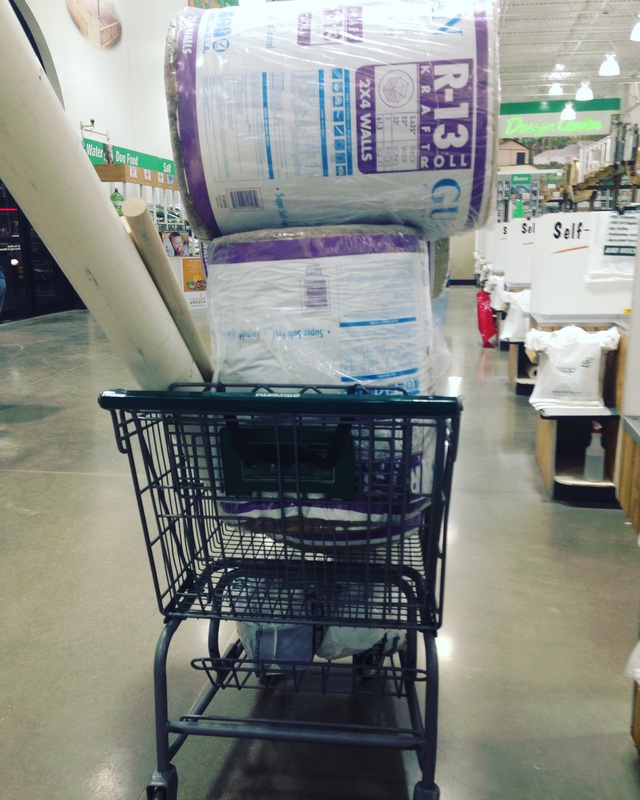
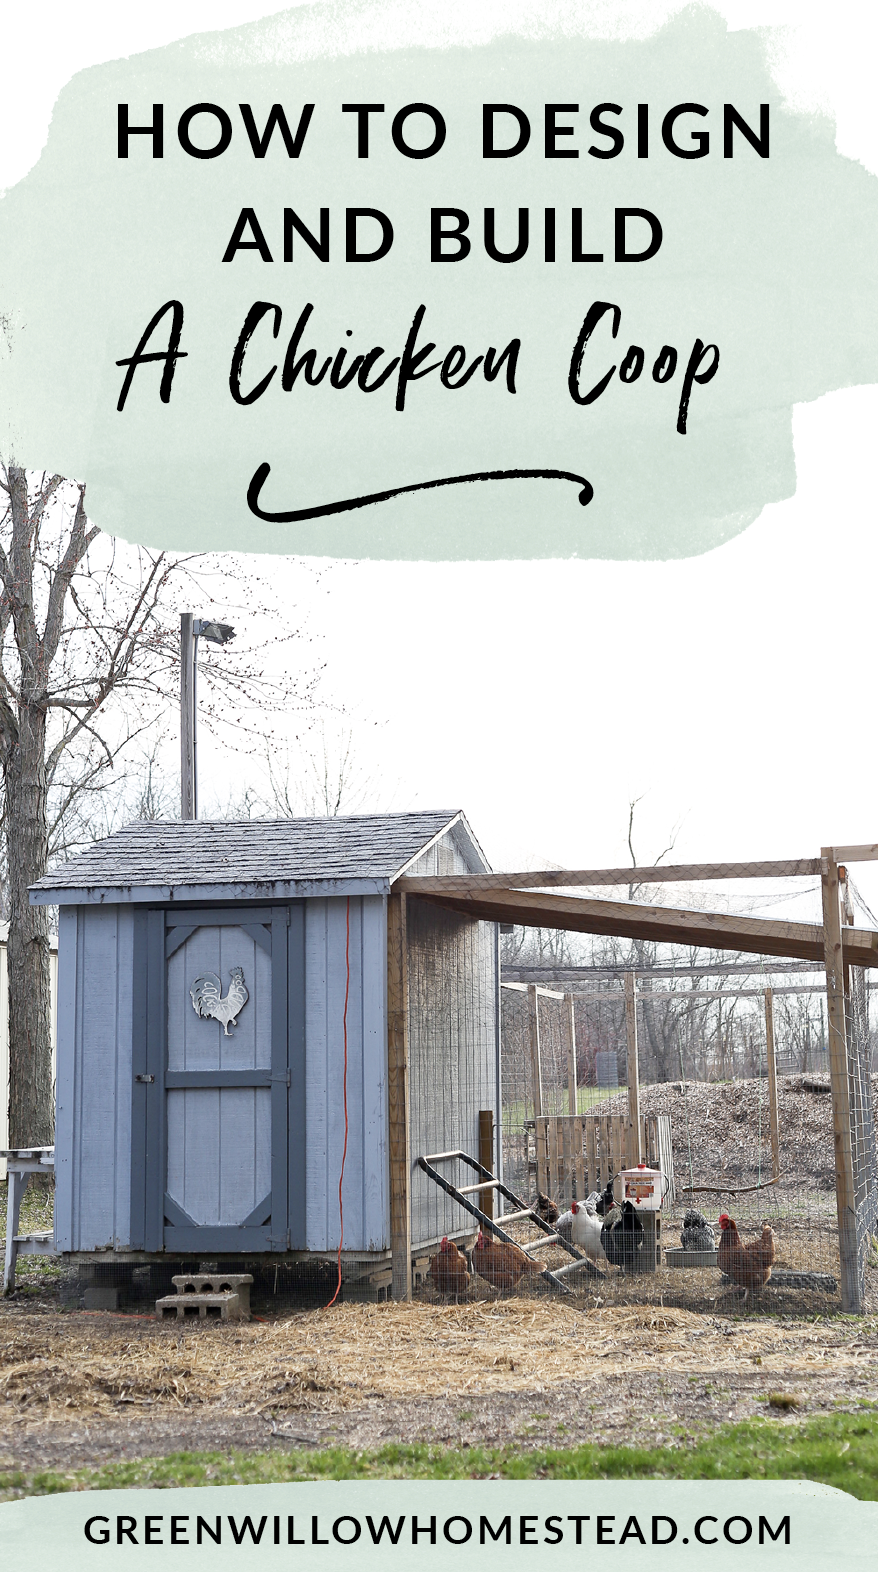
We are on our way to a finished chicken coop thanks to some serious planning and one huge Menards trip. Paul and I like to joke that Friday night is date night at Menards, the place of serious romance.
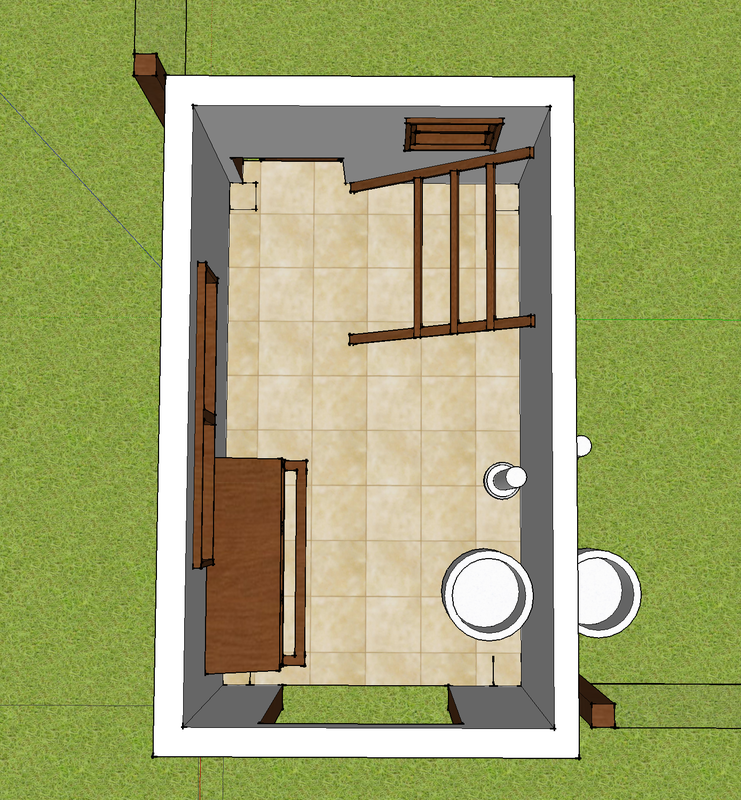
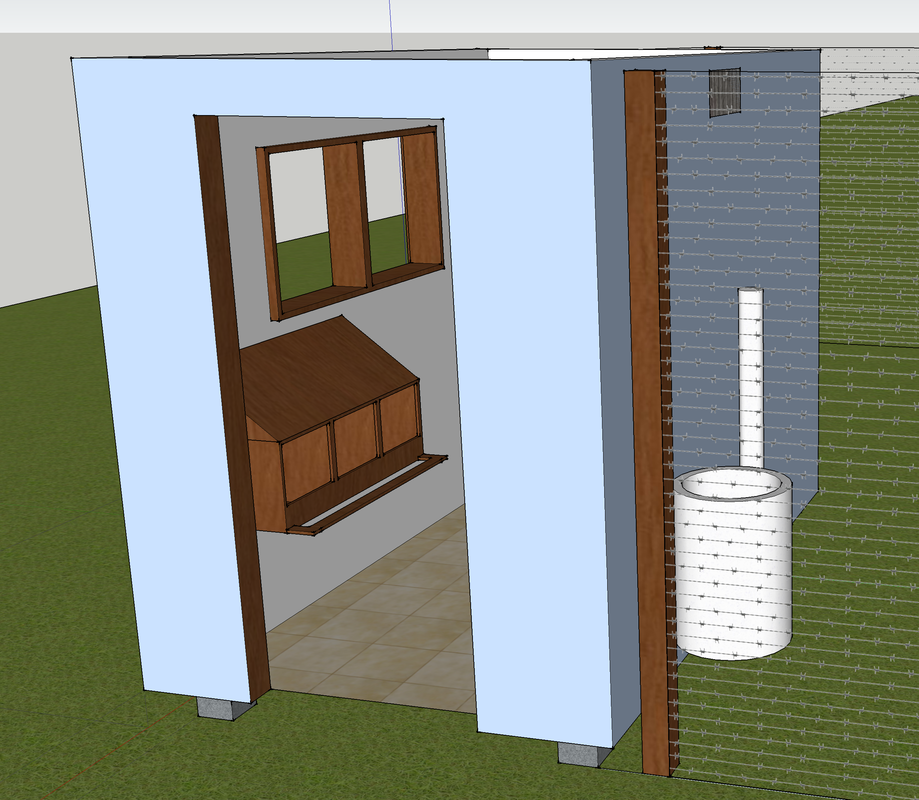
All joking aside, going in to Menards with a plan is what saved our heads on renovating and updating this chicken coop ourselves. I started by mapping out how I wanted the chicken coop to look on the inside by using SketchUp Make. The plan went through a lot of changes as I did more research. But below you can see how everything shook out. PSST! If you've got some intense building codes where you live, we also built our own mobile chicken tractors! That way you can protect your hens and give them all the benefits of bing free-range on pasture with none of the risks. You can read all about the mobile chicken tractors here. Scroll down to grab the plans on how to construct a nesting box from one piece of plywood!
Please note: The links below are affiliate links, meaning at no additional cost to you, I will earn a commission if you end up clicking and purchasing an item. I worked hard to find my trusted favorites and I want to share them with you so you don't have to deal with all the crappy junk I had to go through. Nuff said.
It is important to having the nesting boxes and the roosting bars on opposite walls. This is so the hens don't jump up to perch on the nesting boxes at night and poop all over them. You can see the three seater nesting box on the lower left side and the roosting bars on the upper right side.
I decided to go with the deep litter method for the inside of the coop mainly because it's low maintenance and also creates perfect compost for my garden. We put down vinyl flooring to making cleaning and sanitizing a breeze - I highly recommend this over an earth, wood, or concrete floor. If you get pests, mites, or a chicken is sick - it makes hitting the reset button on the coop so much easier. The non-porous surface of vinyl lasts, is water resistant, and so much easier to sanitize. I highly recommend spraying the coop down with a DIY Poultry Protector Spray to keep lice and mites at bay. For the deep litter method, I layer chopped straw (not hay - which is full of seeds that will end up sprouting in your garden!) on the linoleum floor to about 6" deep. As the chickens roost at night and their droppings build up under the roost, I sprinkle extra chopped straw and my DIY Coop Refresher Recipe over their manure to keep things smelling neutral. A deep coop cleaning takes place every two months. When it comes time to clean, I simply open either the front door or the coop door and sweep out the straw with a shop broom, then give the linoleum a vinegar and essential oil scrub down. Super easy!
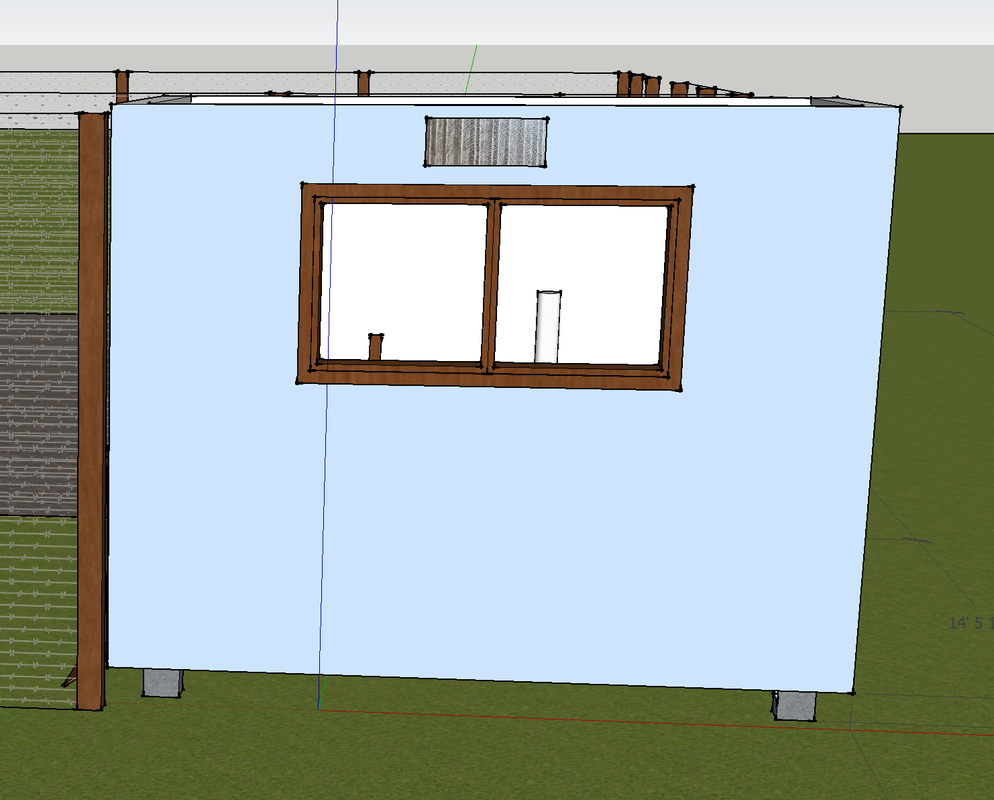
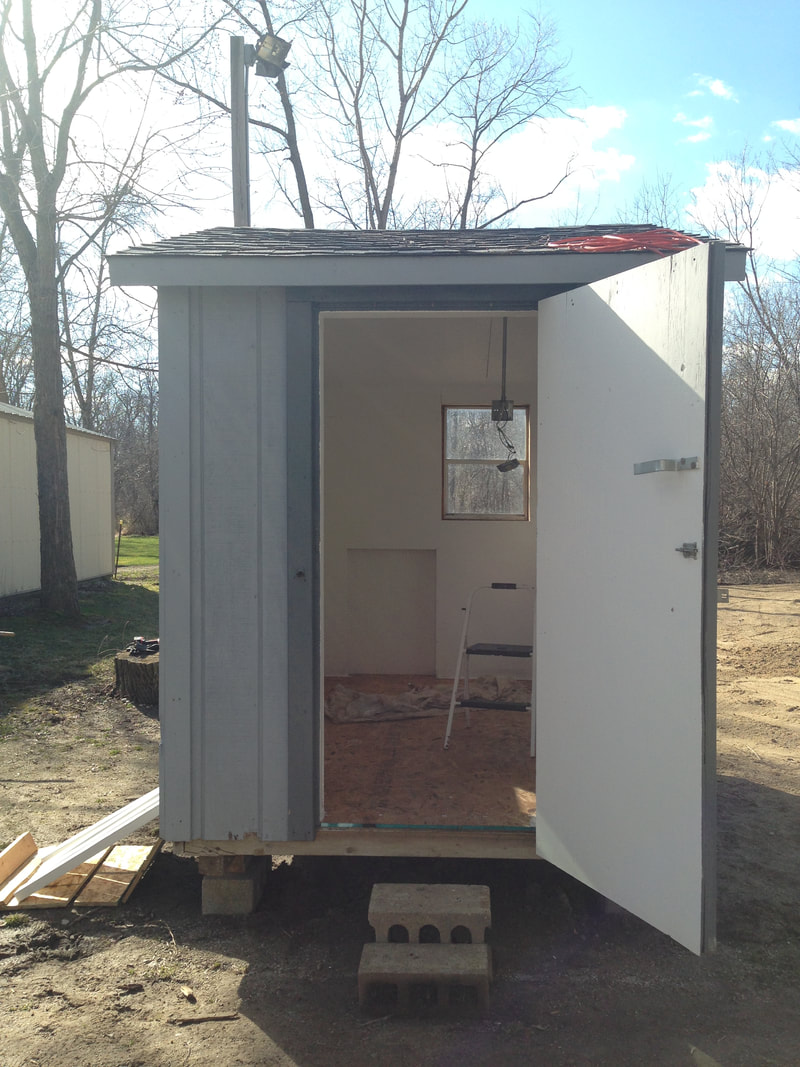
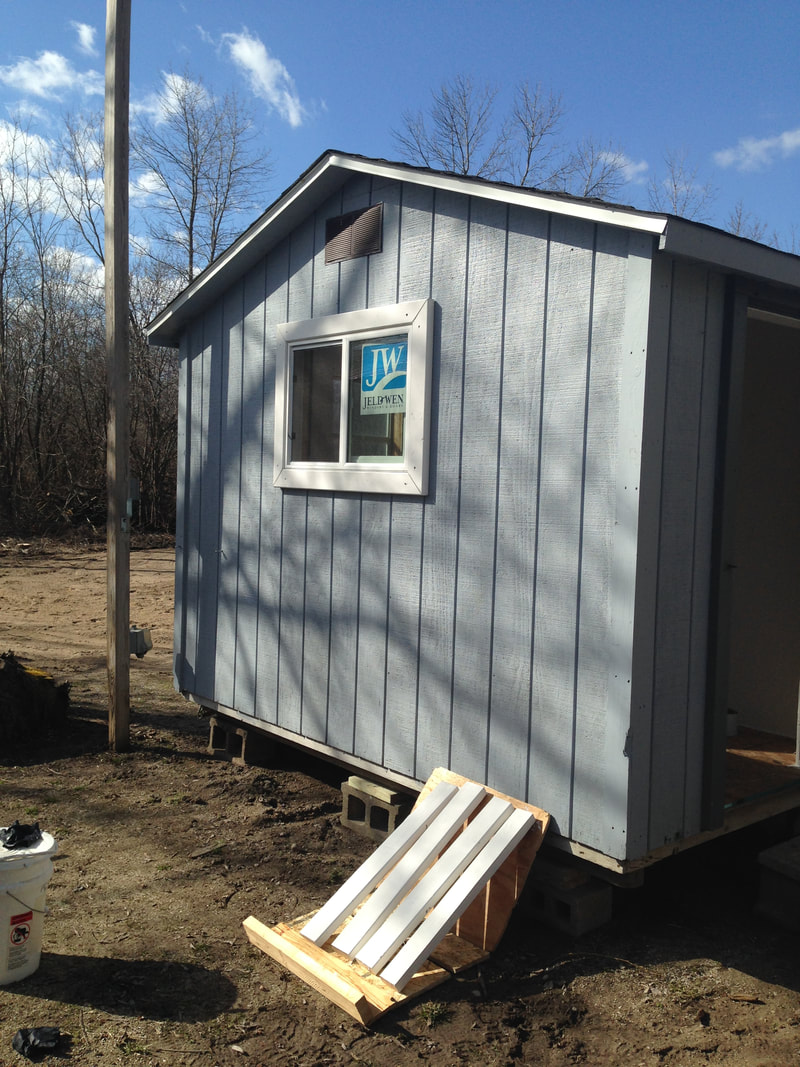
We installed a south facing slider window with a screen to keep ventilation at a premium. The south facing window also provides natural light to help with egg production. We decided to go with a 36" x 24" version which was fairly affordable, we got it for for $68.
Then we bought a 4" x 5' PVC pipe to cut in half and made two feeders. We have an inside feeder and an outside feeder for the hens. Then we installed Chicken Nipple Waterers inside and outside as well. I like the nipple waterers because the bucket has a nice cover that keeps the girls from pooping in their water plus it's heated in the winter so it doesn't freeze. Both the DIY feeders and nipple waterers hold a good amount so leaving the hens for two or three days isn't a huge issue.
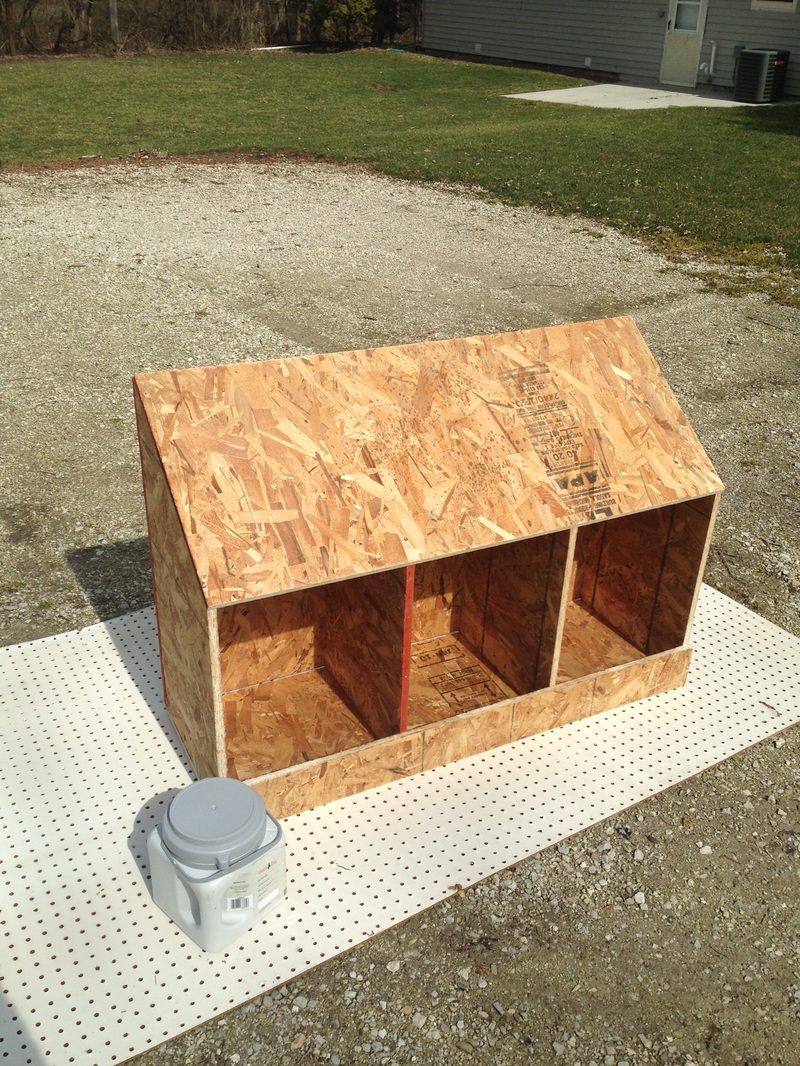
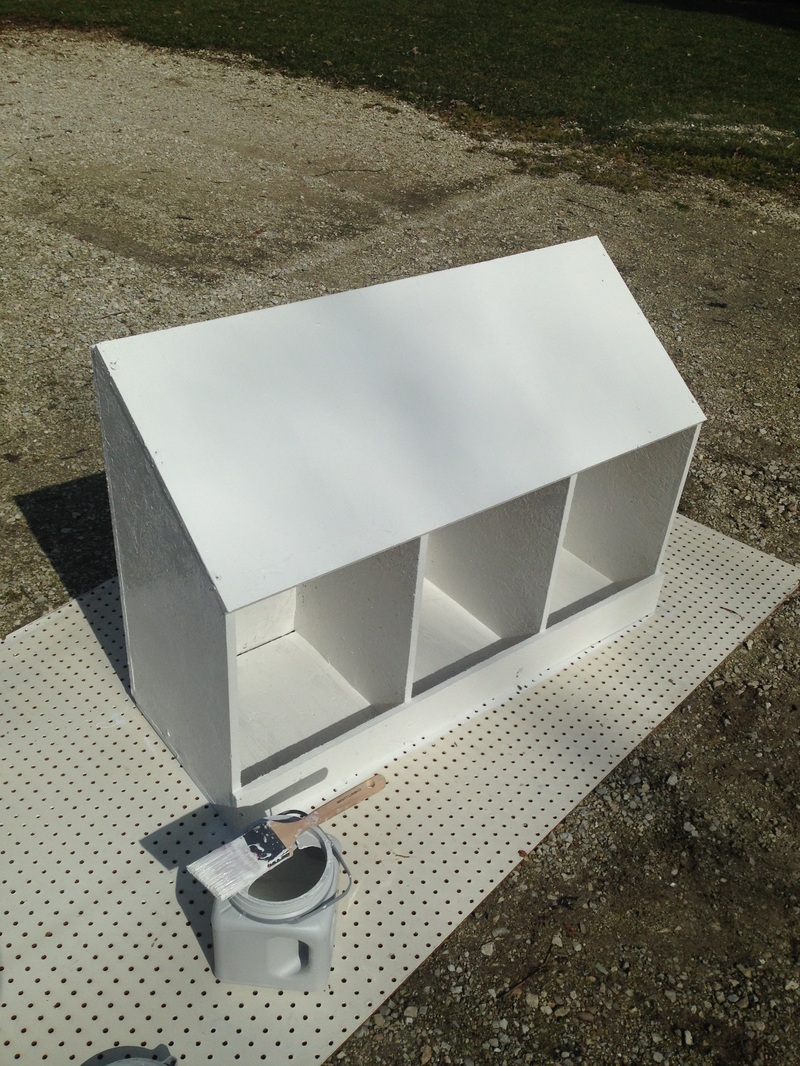
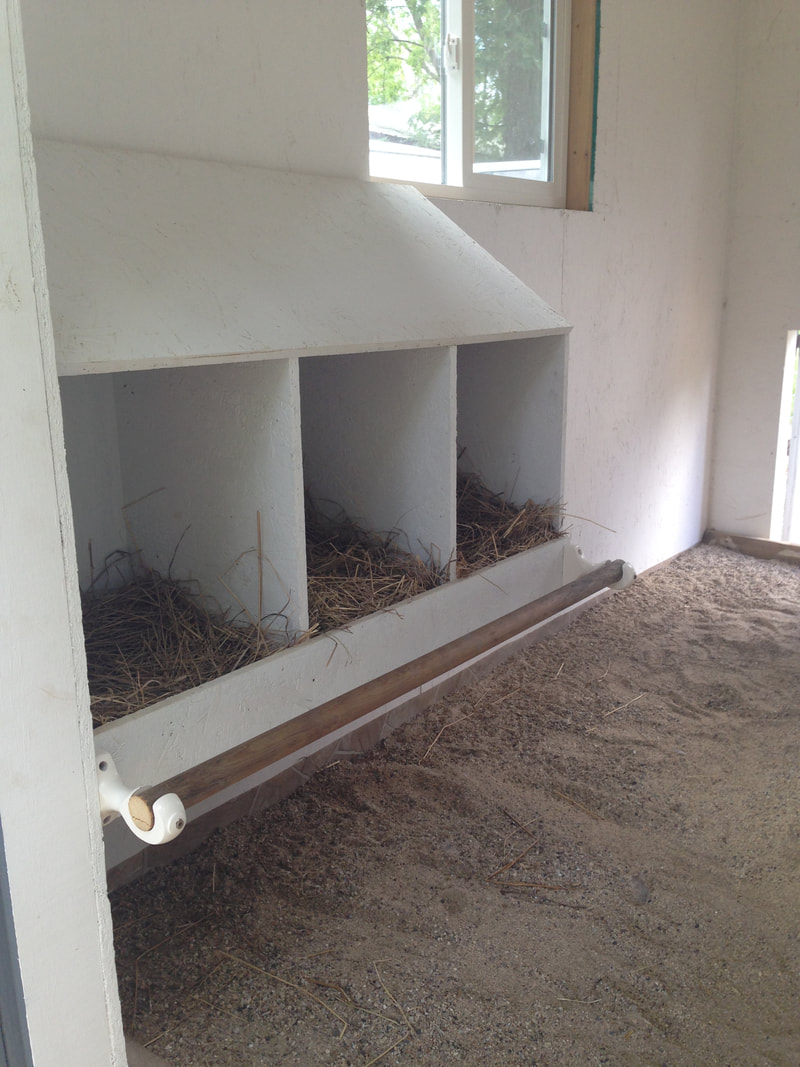
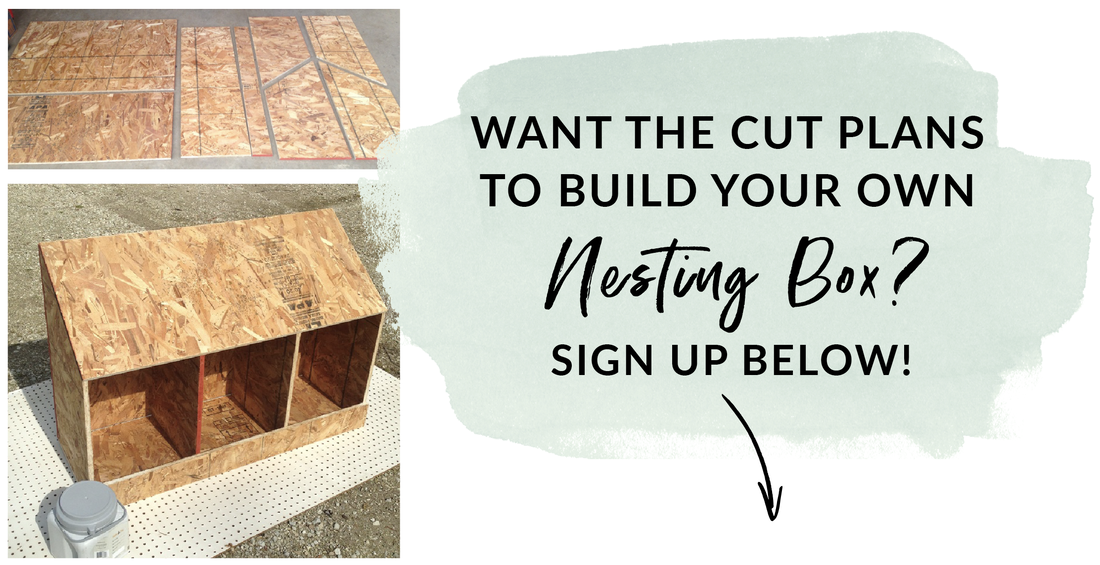
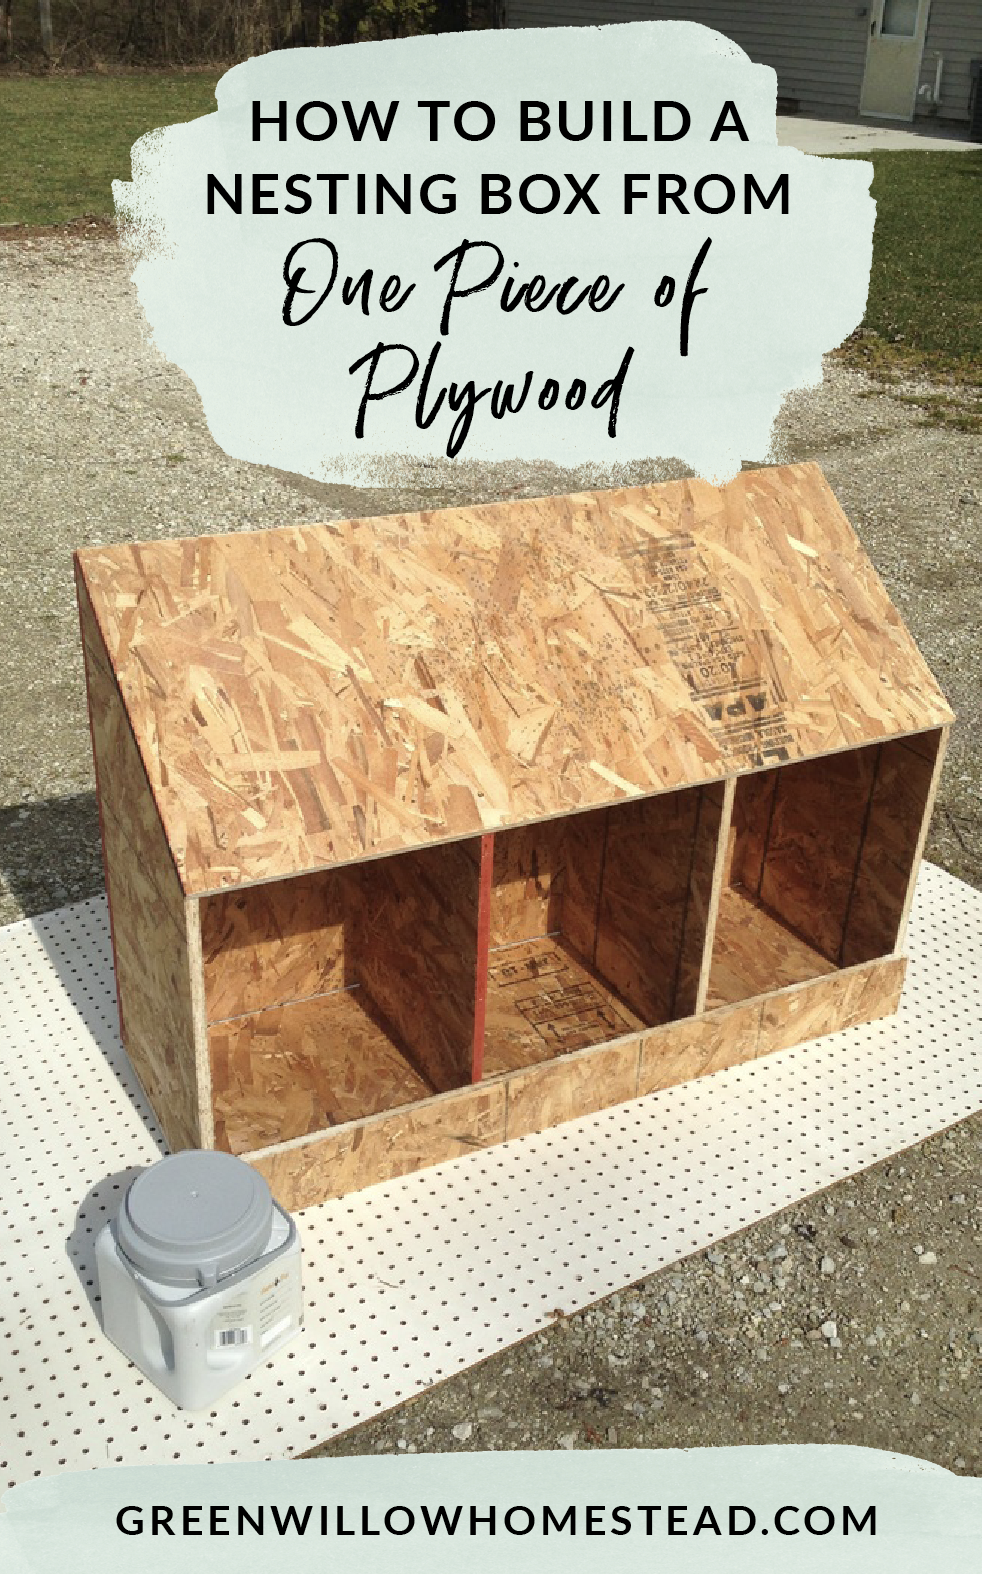
Then on the wall closest to the door we put a DIY nesting box. What's awesome about this three-seater nesting box is you can make it from one piece of 8x4' plywood, sign up below to nab the cut plan! Three nesting boxes are more than enough for seven or eight hens.
Yes ma'am, send me the cut plans on how to build a nesting box from one piece of plywood!Thank you!You have successfully joined our subscriber list.
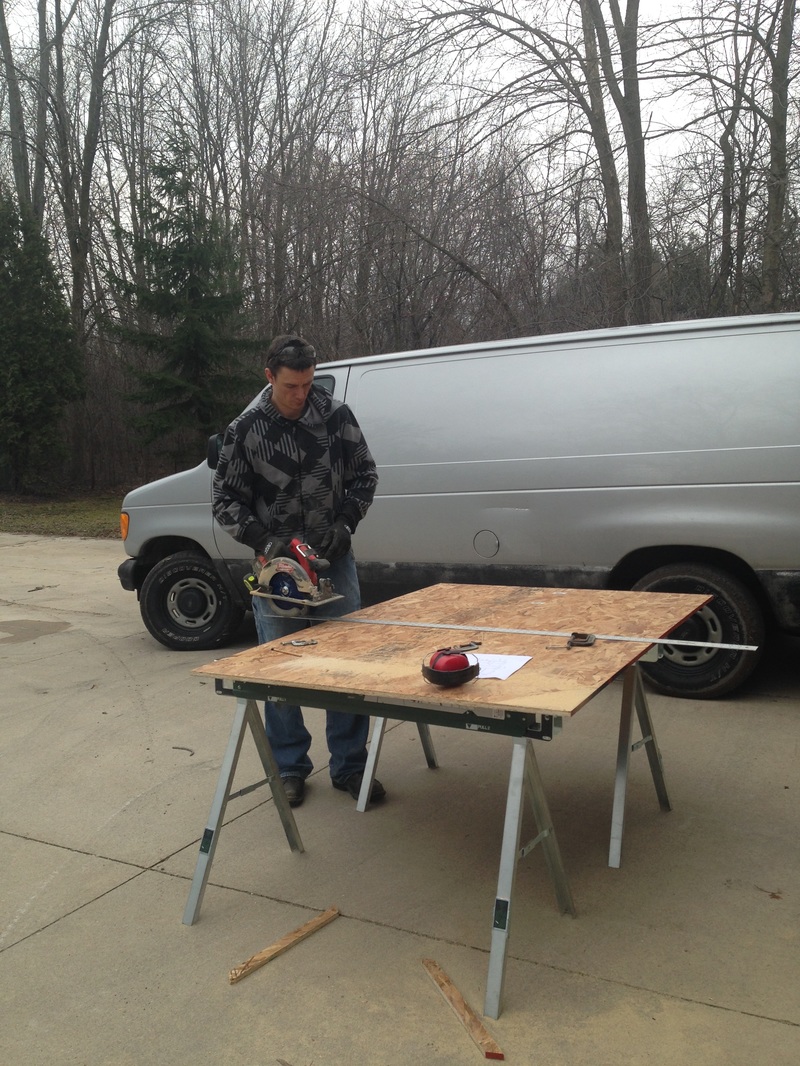
So Paul took this plan and then went at it with an 4'x8' piece of plywood. From there I assembled the pieces with 1 and 5/8" screws and a cordless screwdriver. We started with the back piece first (the largest piece) and screwed in the four angled walls.
Then we screwed on the bottom, then the roof, and finally the front 4" tall front piece. We marked everything out first with a pencil using a tape measurer. I found it extremely helpful to mark both the center point for the screw as well as both the right and left side of the placement of each piece. Be sure to not use plywood any less thick than 5/8" otherwise you will split the wood when you screw into it!
Then I painted the wood to keep the mites from being able to burrow into it and get at the hens over time. I used a no VOC interior mildew resistant paint. I love this paint because if my chickens ever DO eat it, they won't get sick. Next, I'll line the bottom with these chicken nesting box pads - I swear by these pads because they are compostable!
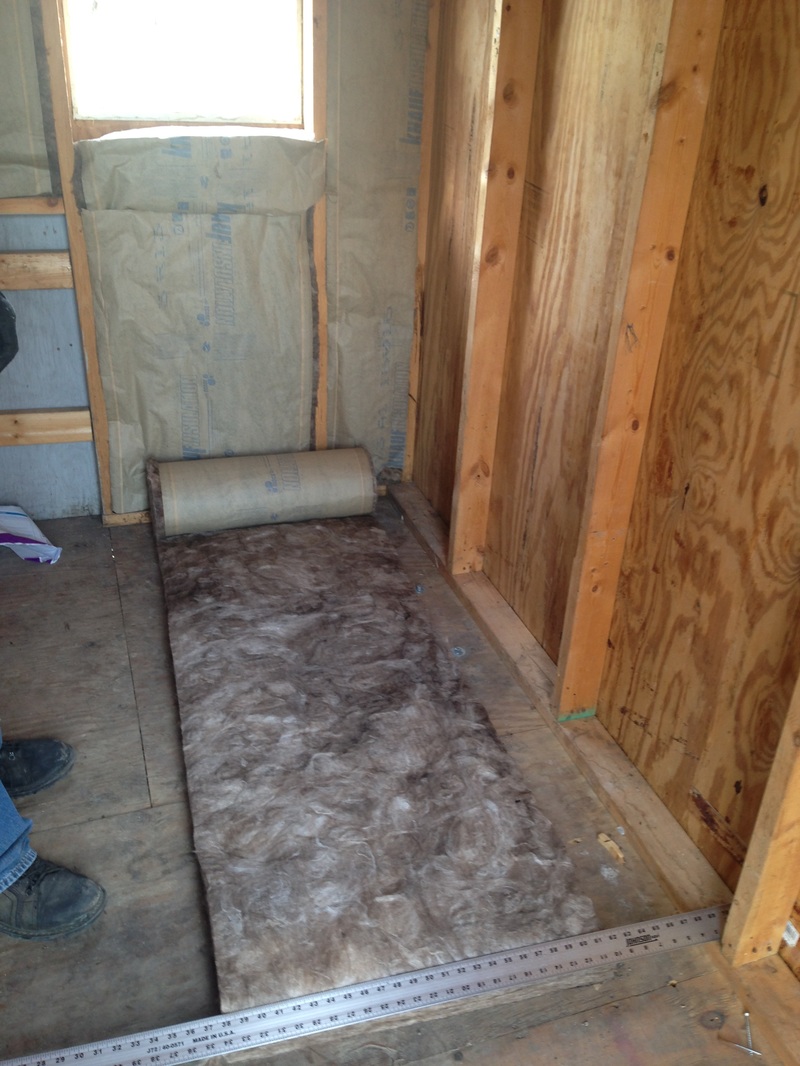
Next up is getting the interior of the coop insulated. It gets cold here in WI! Paul did some measuring between the studs and found that 32" wide insulation would fit best. We plan on insulating the roof and walls for the hens to keep things warm from November to April. We choose not to insulate the floor because the deep litter method actually generates some heat as it decomposes. Below you can see Paul laying out the insulation to measure and cut it. Then he finished off one wall with the plywood to seal everything up.
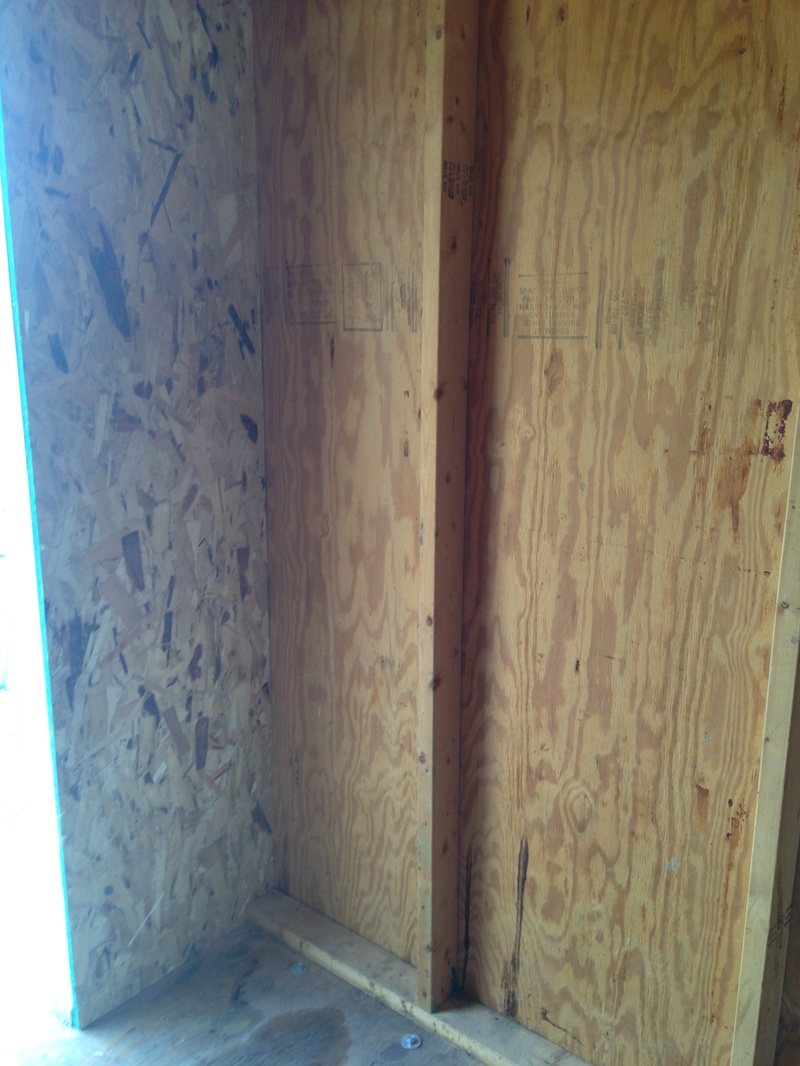
Once the insulation was up we put in 3/4" plywood and painted it white with a low VOC exterior grade paint.
[EDIT: It's been two years and we've had NO issues with the chickens eating the paint or it peeling. We also can CLEAN the walls when there are poop explosions (which there are), cleaning and scrubbing would have been impossible had we not painted.]
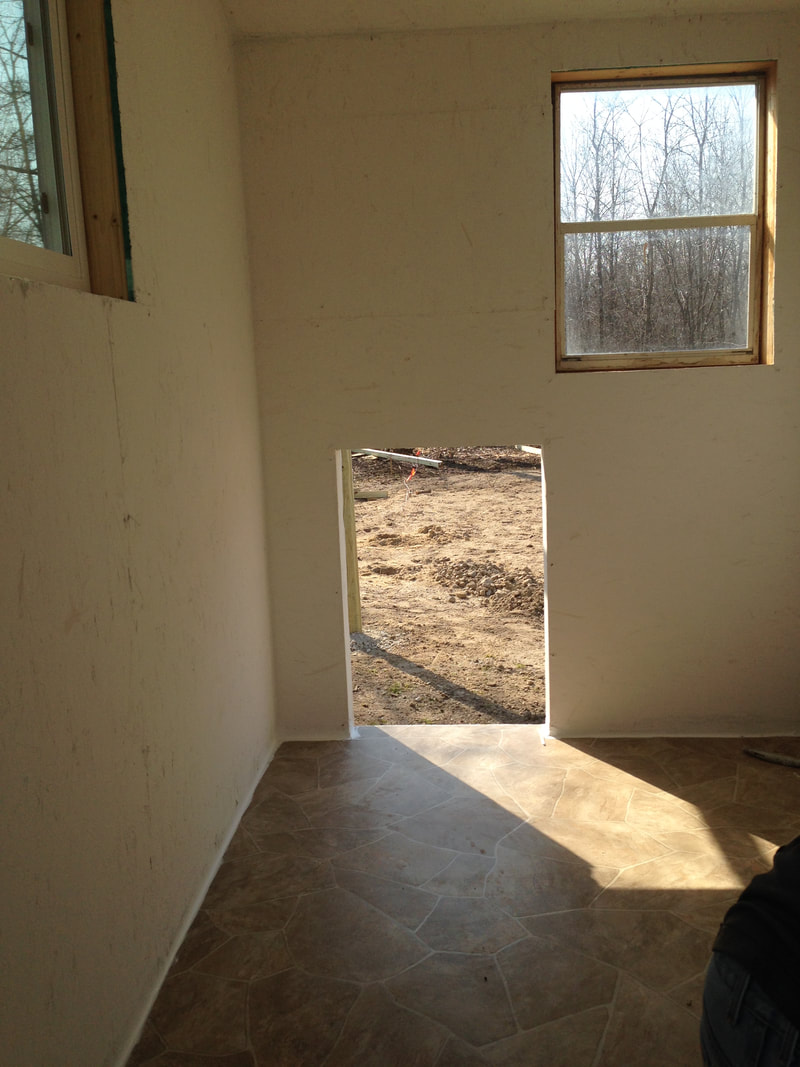
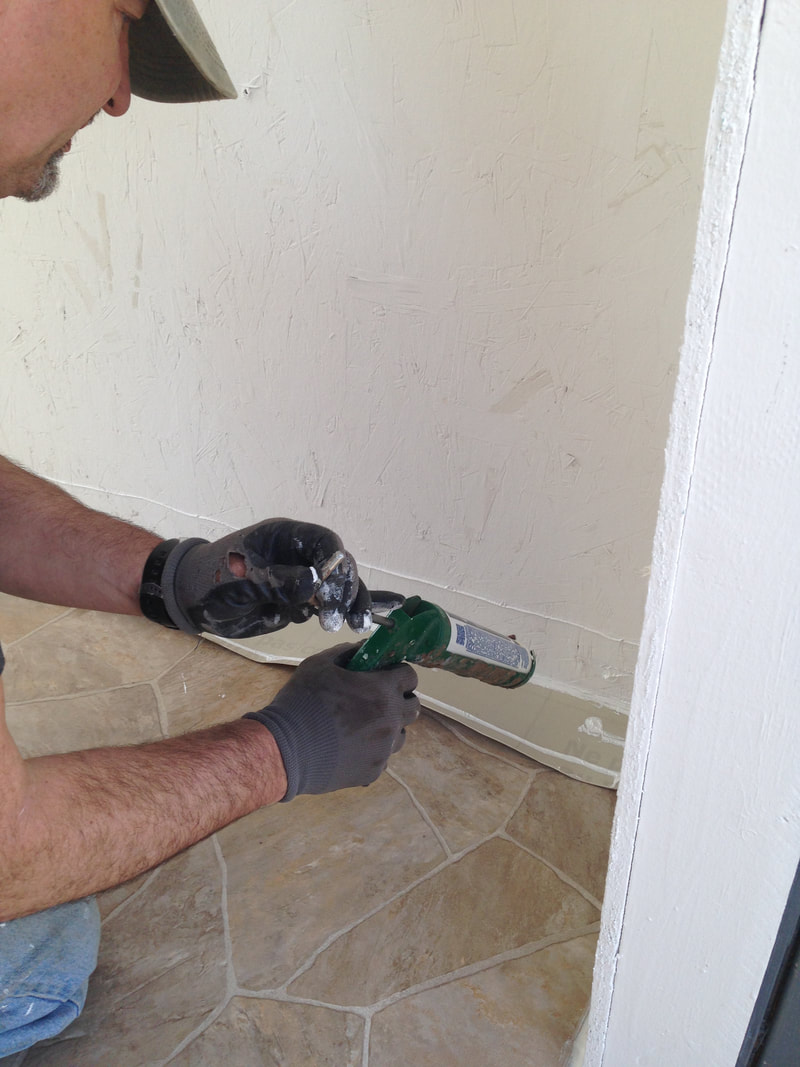
Once the paint was dry, we put down the cheapest vinyl flooring we could find and sealed it with an exterior grade waterproof caulk. The vinyl flooring is a must to keep the floor washable. We can't have a bare earth floor where the coop sits because we are on a flood plain and everything would be sopping wet.
We also installed a south facing window so the girls will get ample sunlight even if they are cooped up (hah) during the winter months. South facing windows are also wonderful for solar gain during the cooler months of the year.
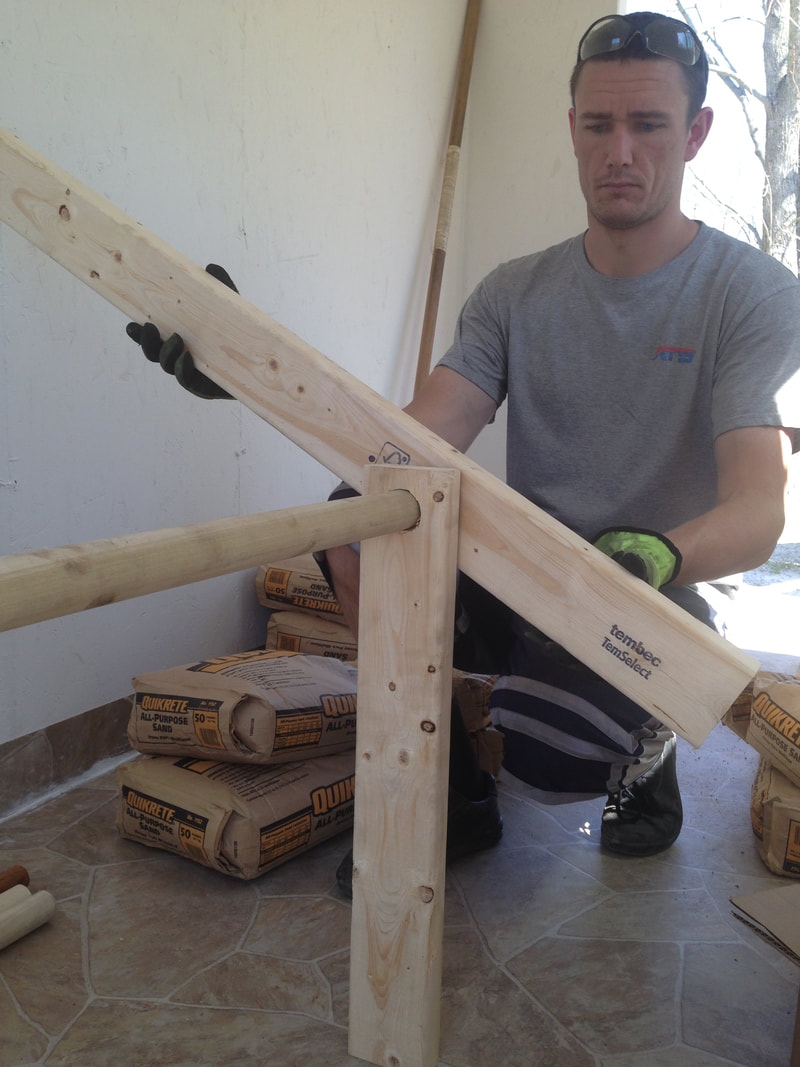
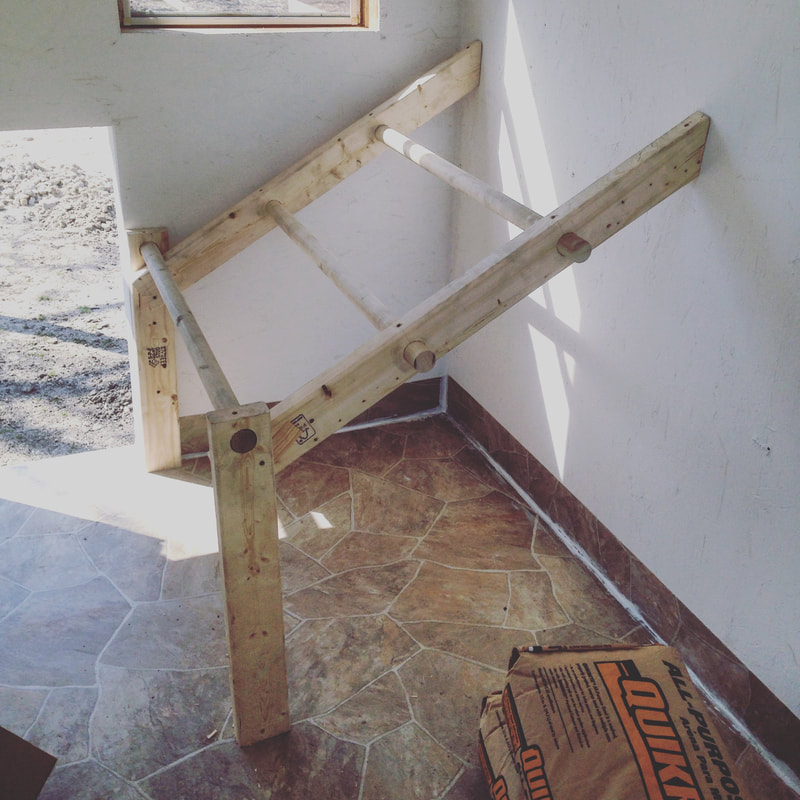
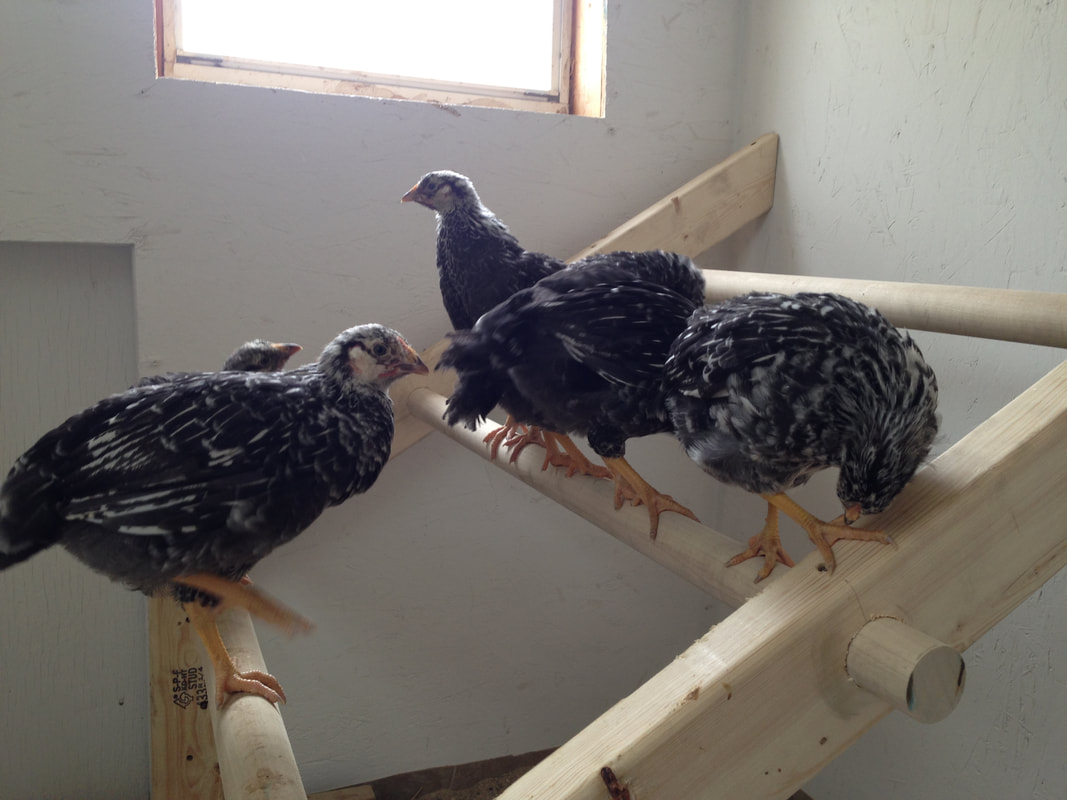
Next, we built our roosts. Honestly, we winged this design and used what we had on hand. It ended up being three 1" thick wooden dowels and a few 2x4"s. Our roost design gives 12 hens enough room to comfortably roost every night.
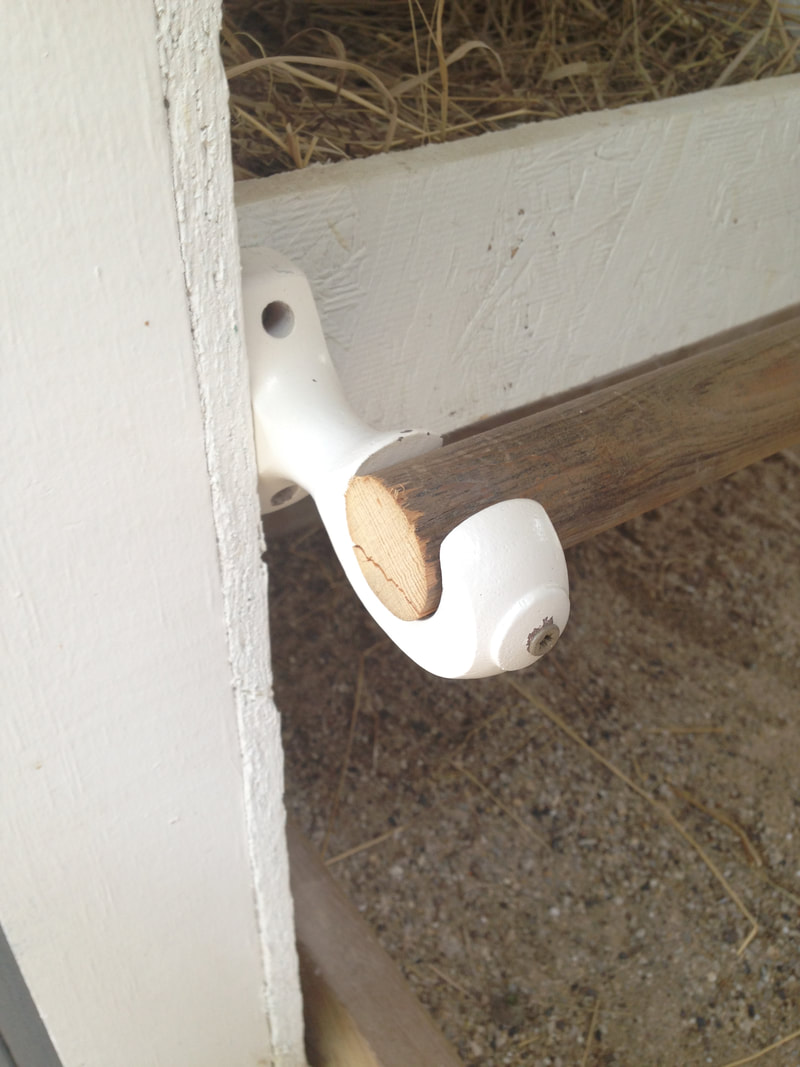
The nesting boxes were installed next. We used these wooden curtain rod holders and a spare wooden dowel for the girls to jump up to lay. If you want a metal option (which is also cheaper) these metal rod holders also work great.
At this point the girls were old enough to be re-homed from their brooder to the newly built coop! We kept the girls in the coop for seven days so that their sense of "home" was reset.
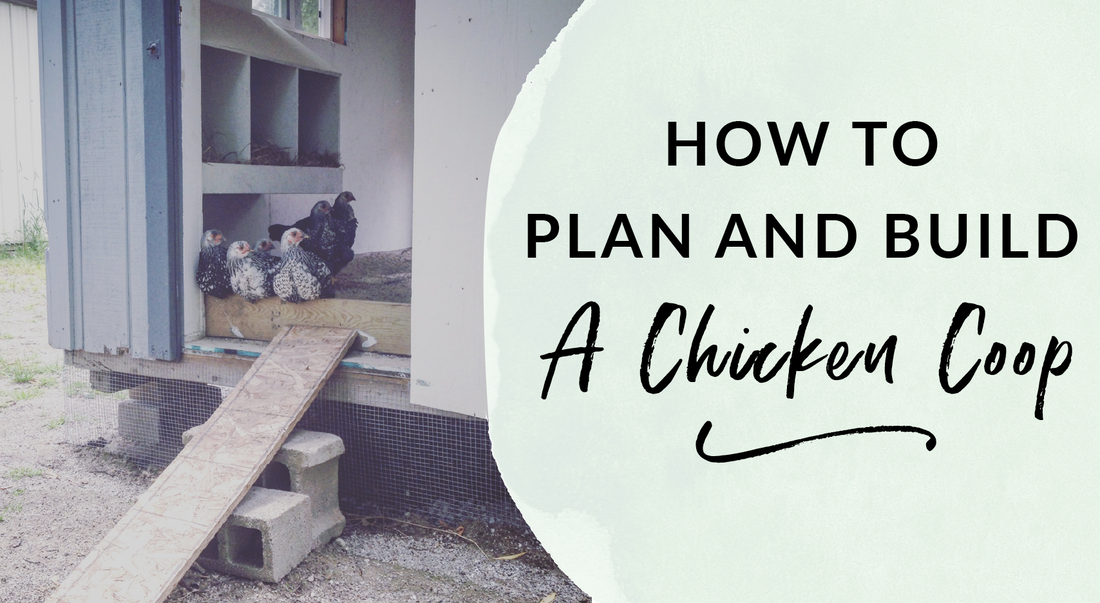
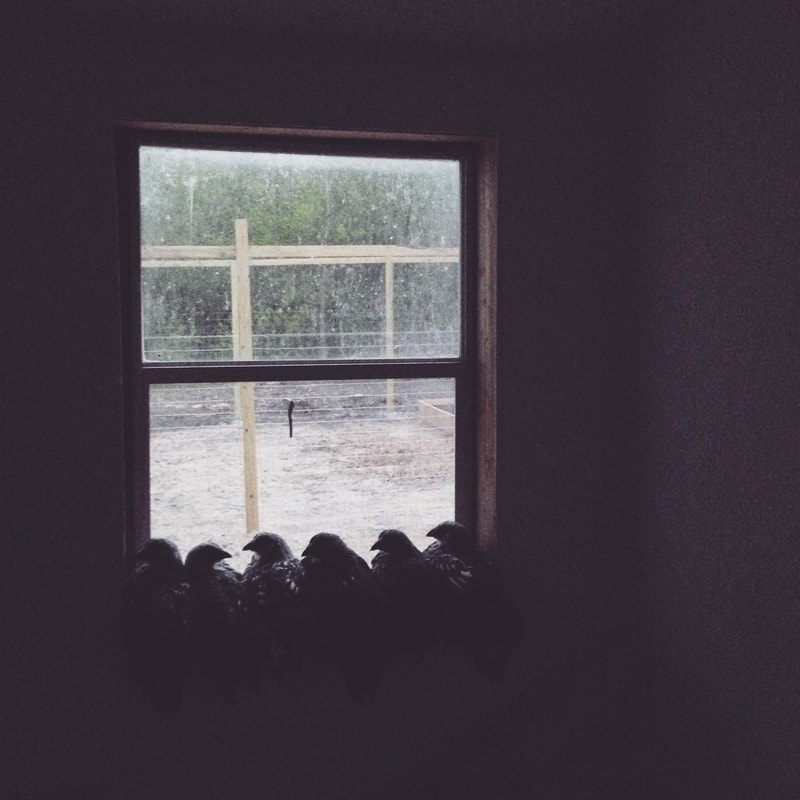
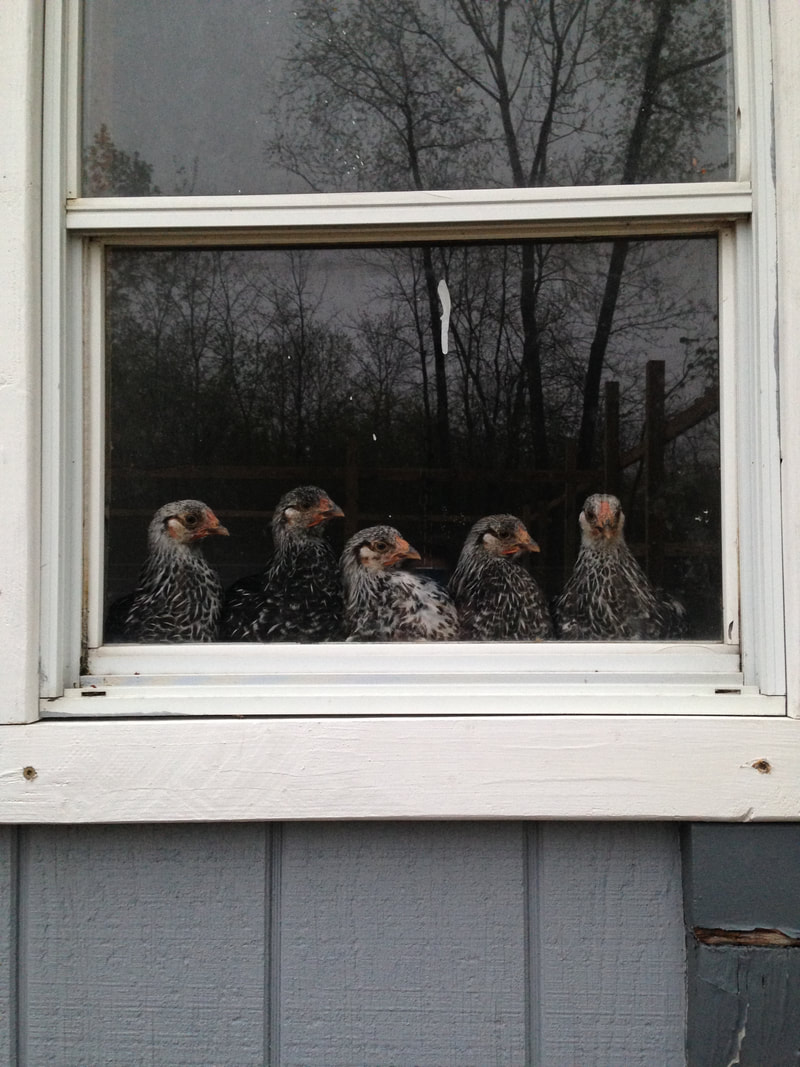
Of course, in usual chicken fashion, the girls found the strangest spot to sit and relax!
We love this coop and it keeps our hens warm in the cold Wisconsin winters. We are so pleased with our chicken coop design and all the features we included. We wouldn't change a thing!
Want to keep learning about all things chicken-care?
|
Thank you!
You have successfully joined our subscriber list.
Really looks nice and easy.. I'm in the process of building a Chicken coop
Hi Karen,
That is awesome! How many chickens are you getting and what breed?
Qhat are the deminsions and cut plans for this?
I know you sent me the instructions. Please forgive me I can’t find where I hid them. Could you please send them to me again ?
super cool nesting box idea. ive used it and it works great. just got my first egg ever this morning.
Can you tell me how the paint has worked out? When I've mentioned painting the boxes to people, they've all voiced concern about it flaking and the chickens eating the paint.
Hi Nicolle,
It worked out great! We used a white outdoor low VOC based paint and it hasn't peeled or flaked. So no chicken eating here. I recommend one without any mildew resistance or mold resistance for the walls because it kills off beneficial microbes as well, which come in handy if you are doing the deep litter method.
Absolutely love your set up! My family and I just moved to just outside of Texarkana and are getting our first set of chicks coming soon. I had been looking for nesting boxes and coop designs and fell in love with how you guys set this up. DIY and homesteading have become a passion for my mom and I. Thank you so much for sharing your experiences!
Hi Brittany,
So glad to hear it! Homesteading is so much fun and there is so much to learn. Wishing you the best of luck as you guys get started!
I originally planned on Dominiques but my husband discovered Bresse chickens-depends on what (if 🙄) we can afford them. Built the pen. Now I am hoping to begin the henhouse soon. Still trying to get some details decided (insulation) - Kentucky winters have been a lot colder than anticipated... I particularly love your chickens looking out the window so I am trying to incorporate a window into the roosting side of the house. I think the nesting box you built is incredible. Great idea using holes to assemble the roosting ladder! Your store looks worth a visit-adorable! I look forward to learning from more of your endeavors... Best regards, Katherine (Salvisa, KY)
(And where did you get the wooden curtain rod holders for the nesting boxes?)
Hi Katherine,
Winters can be so hard on the chickens! Especially if they don't have a rose comb that sits nice and close to their heads and doesn't get frostbite as easily. You should definitely incorporate a window in your coop so your girls get more sunlight, which means more eggs! Thanks so much for the sweet comment about our Farm Stand - we worked hard on making it cute. I got the wooden curtain rod holders at Menards in the curtain section, found the cheapest ones possible LOL.
Best of luck and keep me updated with how your chickens go!
-Kelsey
was very informative thank you
Hi Karen! I switched because it felt like a big ole litter box at the end of the day. The sand can harbor some pretty nasty bacteria I've found and I felt more comfortable with organic straw as bedding. We lay it 6" thick and then clean the coops out completely every 2 months. We compost the manured hay and use it all over our farm.
Can you please send me the plans to build the nesting boxes from plywood. I tried and it said that I was already subscribed...?
I subscribed, as requested, to receive the cutting plans for the wooden nesting boxes (twice now) and I receive the automated message to check my emails. I did both times and still have received nothing. Are you not sending them out anymore? Would so need these plans to build nestboxes for my growing flock.
Hi Isabeau,
I got your email and responded! And you are on the list. Please check your spam folder, promotions folder, and any other filtered folders you have and search for my email at [email protected]
Thanks!
Could I have the nest box building instructions please?
Hi Christy! If you subscribe at the form above they will be sent to you ASAP.
Hi, love your website and blog! I’ve been trying to download the nest box plans but it never seems to connect - just spins and resets. Are the plans still available? Thanks for any help you might give.
Hi Pam! I just sent the confirmation email your way - if you click the blue button in that email you'll get sent the nesting box build plans. Be sure to check your spam or promotional folders too. If you still don't see it, send me an email through my contact page!
Do you have additional ventilation other than the window in the coop? We are building one now in Wisconsin and have heard many times not to insulate and to add additional ventilation towards the top of the coop. We certainly can insulate at this point in the game. Just wondering if you have had any trouble at all with moisture buildup?
Hi Rebecca! We included two vents up near the pitch of the roof on either side. We have not had any moisture issues with both vents up near the pitch of the roof and the window.
Rebecca - I came across your website via Pinterest and love what you are doing. My wife and I want to raise chickens but I am not sure what breed - we want egg layers that could be harvested for meat if needed. We live in central Alabama so I am not sure we would need to insulate our hen house once I build it - thoughts? Thanks for all the great tips.
Barry
Thanks for stopping by Barry - in Alabama you should be fine! No need to insulate. Just make sure there is proper ventilation and the coop is free of drafts.
Have you had any issues with using chipboard? We have a LOT of chipboard we plan to soak with paint and use, but I’m wondering if you’ve seen any issue with how it holds up over plywood.
Hi there! I love all your tips and tricks. However, for some reason the nesting box plans aren’t coming through after subscribing. Any help would be great! Thanks!
Hey Julie! Send me an email through my contact page and I'll send you one right away!
I signed up for your email for the nesting box plans, clicked on the email to activate but haven't received the plans. Can they be sent to me? Hoping to build this weekend!
Just curious how much this cost?
Leave a Reply.
Meet Kelsey,
Thanks for stopping by Green Willow Homestead! From chicken rearing to composting, we've got our hands full and we love sharing what we've learned along the way. Follow along as we turn the 80 acres we call home into a farm that serves its community and a homestead that nourishes us throughout the seasons.
Grab the Ebook
Listen in!
FREE Guide!
Tune in to our YouTube Channel
Inspirations
Categories
All
Broody Hen Care
Farmer Resources
Holistic Healing
Homesteading Plans
Organic Gardening
#PackagingForThePlanet
Raising Dairy Goats
Raising Pastured Chickens
Recipes
Sustainable Living
The Farm Stand
The Food Forest
The Positively Green Podcast
Weekly Homestead Update
Favorite Books of 2024
2. Braiding Sweetgrass
3. As Long As Grass Grows
4. The Small Scale Poultry Flock
5. The Zero Waste Solution
Archives
April 2024
February 2024
January 2024
November 2023
September 2023
August 2023
March 2023
February 2023
November 2022
October 2022
August 2022
July 2022
June 2022
May 2022
February 2022
January 2022
November 2021
October 2021
September 2021
August 2021
June 2021
May 2021
April 2021
March 2021
February 2021
January 2021
September 2020
August 2020
July 2020
June 2020
May 2020
April 2020
March 2020
January 2020
December 2019
November 2019
October 2019
September 2019
August 2019
July 2019
June 2019
May 2019
April 2019
March 2019
February 2019
January 2019
December 2018
November 2018
October 2018
September 2018
July 2018
June 2018
May 2018
April 2018
March 2018
February 2018
January 2018
December 2017
December 2016
November 2016
June 2016
May 2016
April 2016
March 2016
February 2016
January 2016
FOLLOW KELSEY ON INSTAGRAM!
As an Amazon Associate I earn from qualifying purchases. |

