
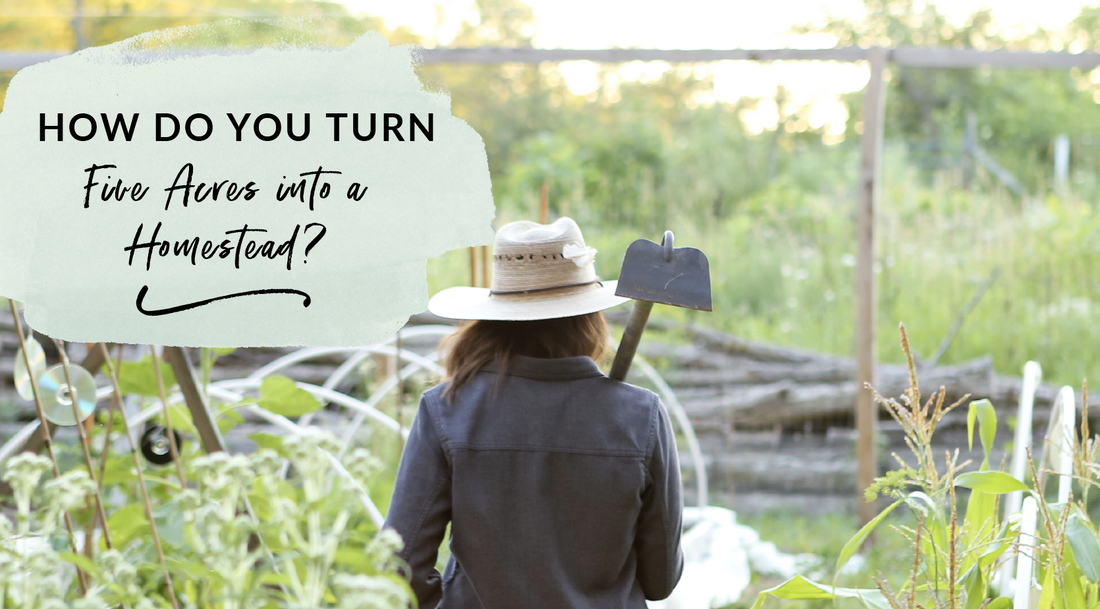
Figuring out how to use your existing property, or a brand new piece of land, and turn it into a homestead can be a daunting task. In this post, I’m going to share with you how we planned out our homestead on five acres over the course of five years. It’s so fun to see where we started when we first purchased our land, and then five years later, how everything turned out.
We’ll go over:
Please note: The links below are affiliate links, meaning at no additional cost to you, I will earn a commission if you end up clicking and purchasing an item. I worked hard to find my trusted favorites and I want to share them with you so you don't have to deal with all the crappy junk I had to go through. Nuff said
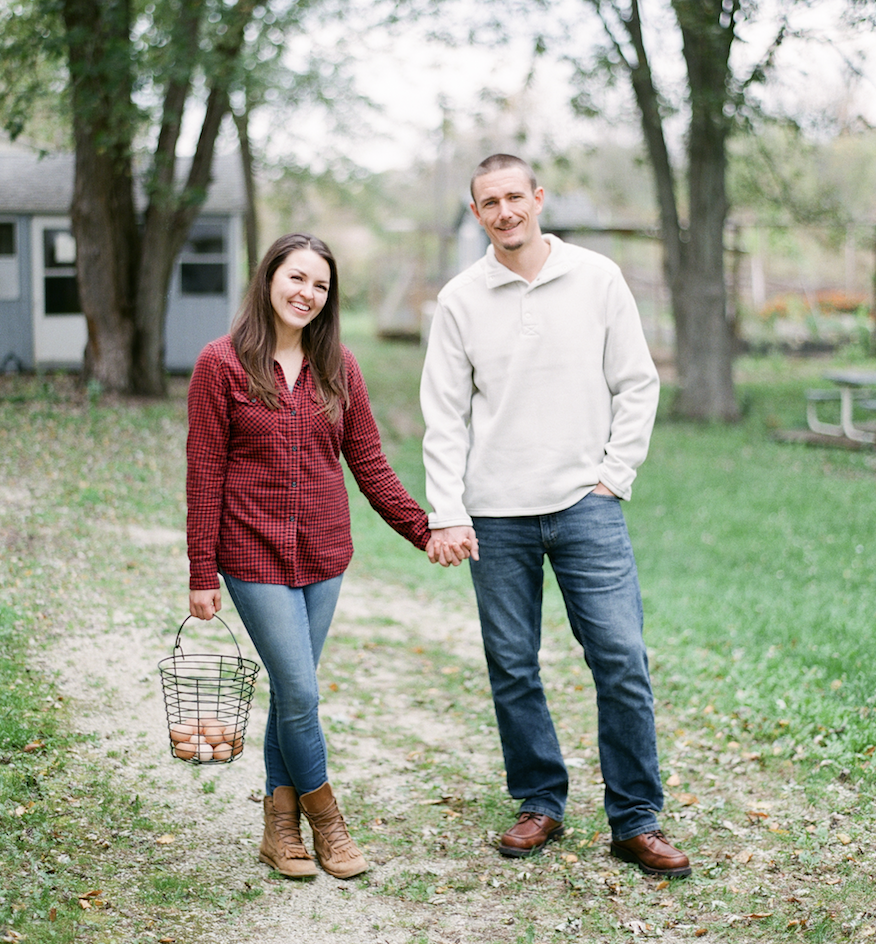
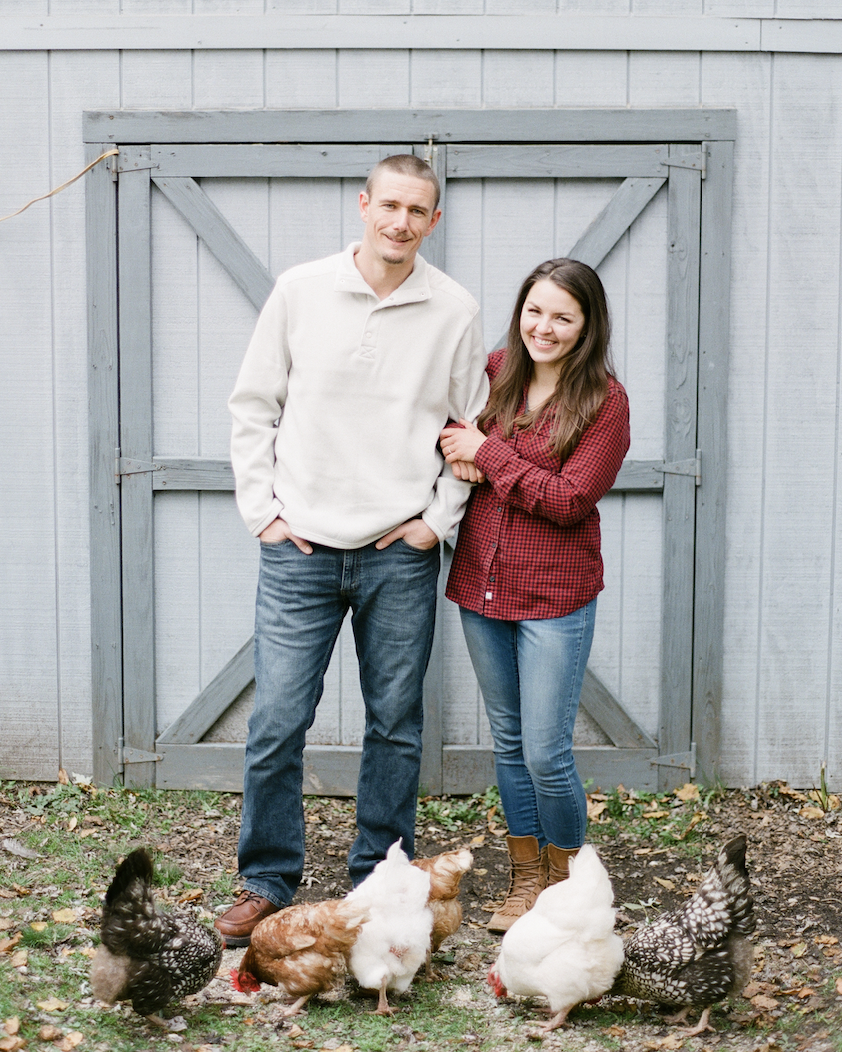
Allow me to quick introduce myself! I'm Kelsey and this is my husband, Paul. We purchased our property, Green Willow Homestead, back in 2016. I am a first generation female farmer and homesteader, and my husband is my go-to guy for all my homestead projects.
If you are at the beginning of your homesteading journey, read on and learn what are the must-haves for a homestead plan, learn from my mistakes, and get a leg up on what works best. Green Willow Homestead has endless resources to help you get started with your own homestead. Consider this post to be base camp for all the useful info and knowledge I have across my blog. Enjoy! HOW WE ACQUIRED LAND / PROPERTY FOR OUR HOMESTEAD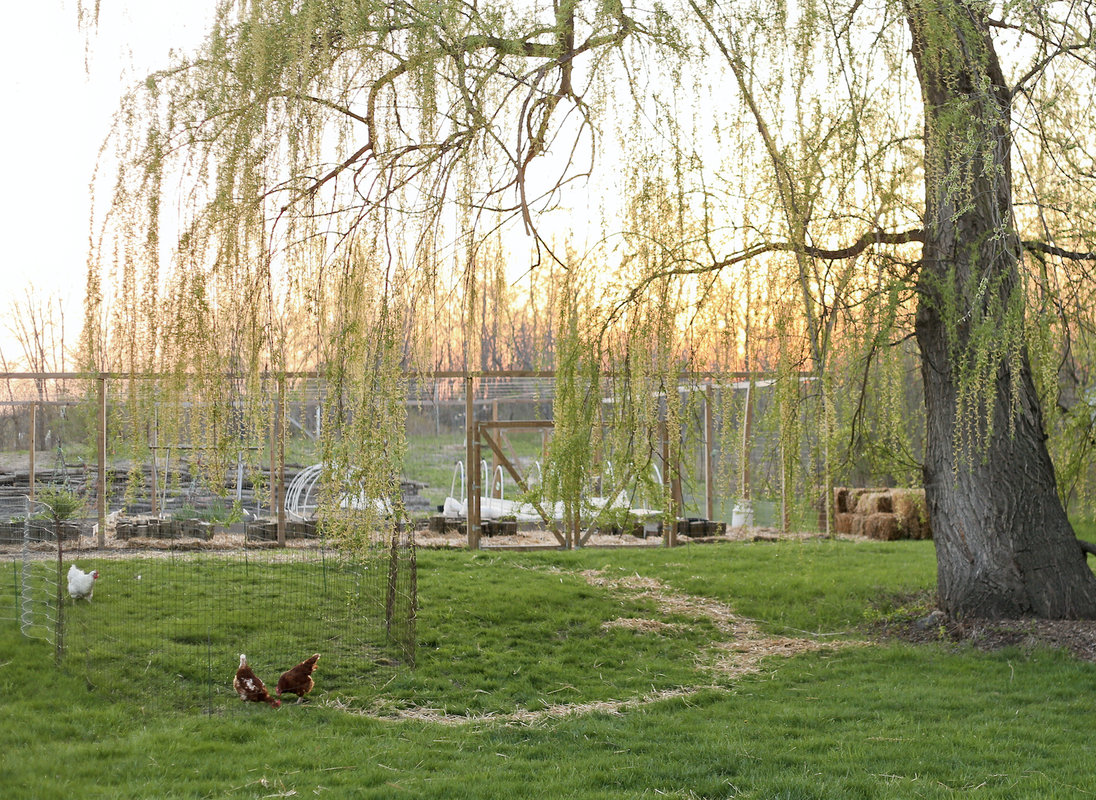
The first step in starting your homesteading journey (aside from getting pre-approved for a loan) is to take a look around. My partner and I saw the property we now call Green Willow Homestead the day it came on the market. Both of us had been combing the public real estate listings on Zillow for months hoping to find a good amount of acreage for a reasonable price that was close enough to his place of work.
Not surprisingly, the search results for land were meager. Everything was either out of our price range or too far away from his workplace to merit a visit. One fateful morning as I was doing my daily search of Zillow, I stumbled across this gorgeous property. It had a Morton building, several well kept outbuildings, a lean-to for animals, and five beautiful acres. Oh, and of course a house! 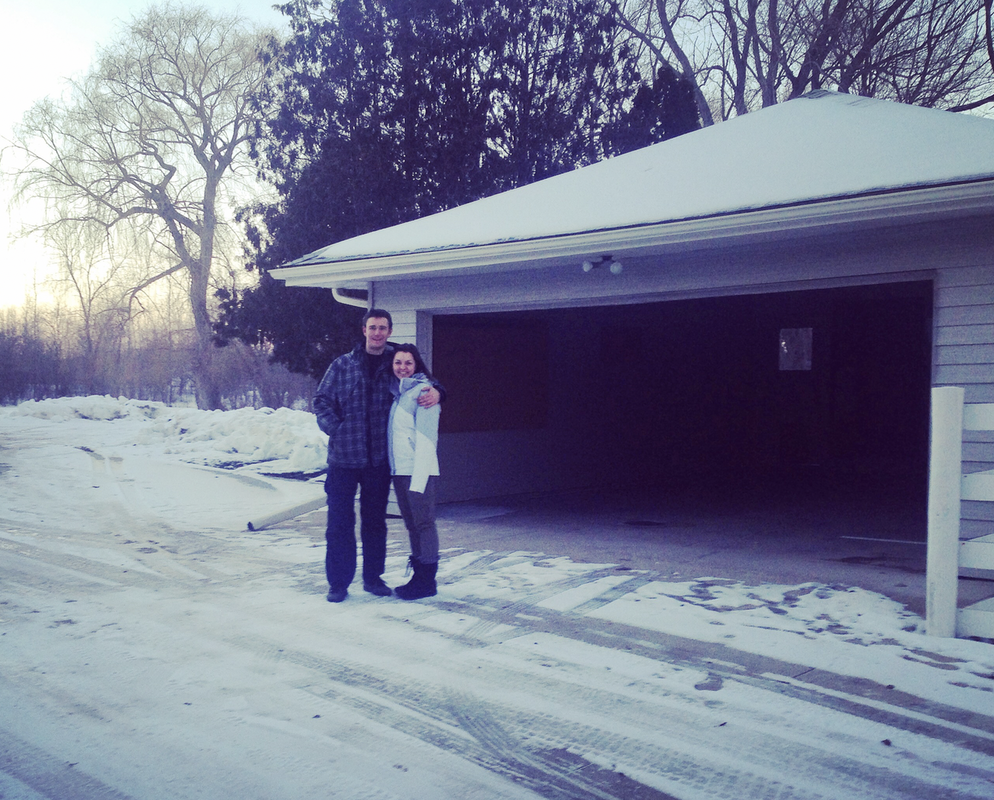
2016: The day we closed on our homestead. We are so young!
Homestead Planning Tip: Purchase a fixer upper on some property or acreage.
Can you tell the house was the last thing we cared about? Well as it turns out, that was the ticket to being able to afford this property. The house is a ranch style home built in the late 50s when not a lot of building codes were in effect, so needless to say, the house was a little confused. With 3 small bedrooms, only 1.5 baths, outdated windows, very old carpet, and the tiniest kitchen the world has ever seen - the ho-hum state of the house was what made this property affordable for us. Purchasing a fixer upper also gave us the financial wiggle room to update and renovate our property as needed. If you want to begin your homesteading journey and don’t have $300k+ to spend, I think the ticket is to not be picky about the house. Of course, you want a house that has a good roof and working utilities, but you need to see past the scuffs and dings. It’s crazy to me how many people walk away from an incredible deal because they can’t bring themselves to replace the flooring or slap on a coat of paint. The property is a long skinny rectangular plot. This layout makes the land feel like more than 5 acres because we have minimal exposure to the road we live on and the property stretches back quite a ways. Lots of privacy! How We Planned Out Our Homestead - Before and After
When we purchased our homestead there were a total of six outbuildings, multiple pastures, lots of dead ash trees, and one heck of a fixer upper. I'm going to take you through how we planned out each aspect of our homestead over the last five years, from workshop to livestock.
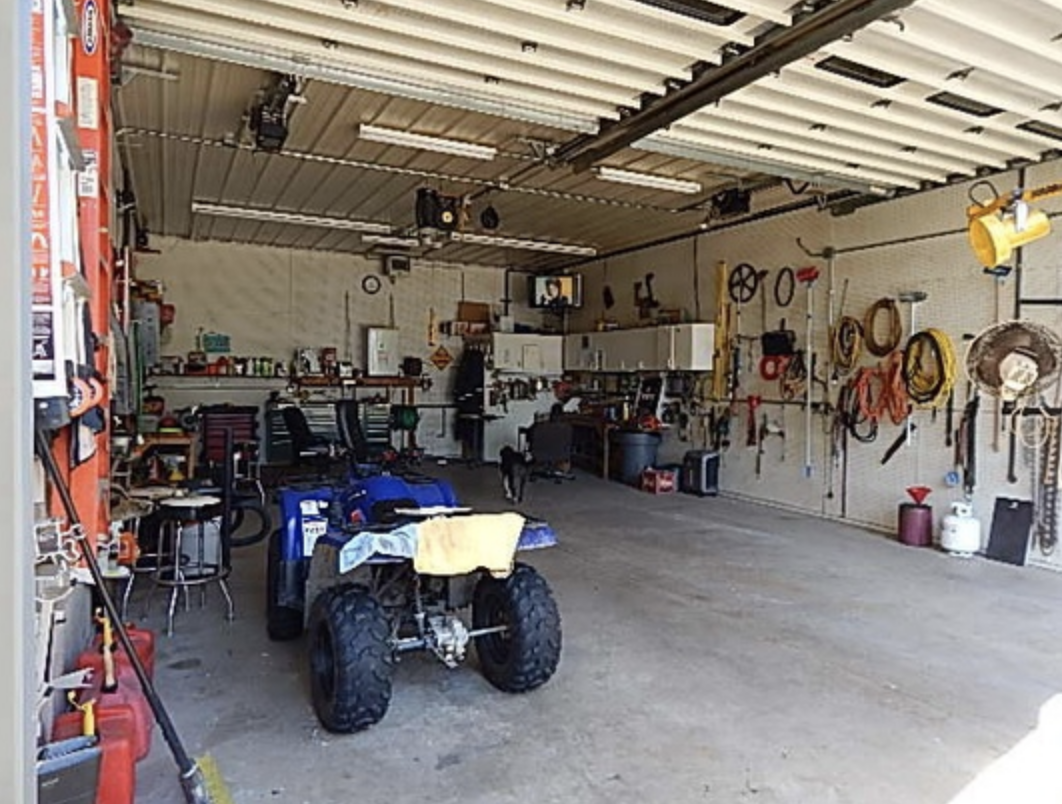
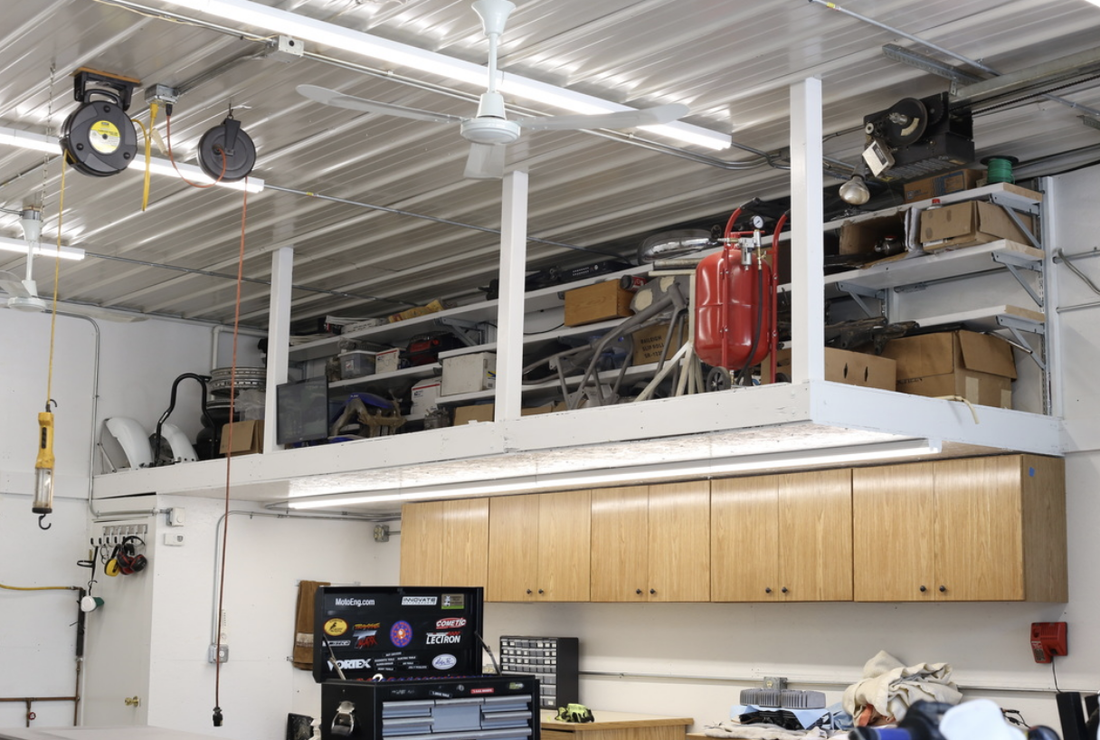
THE HOMESTEAD WORKSHOP PLAN
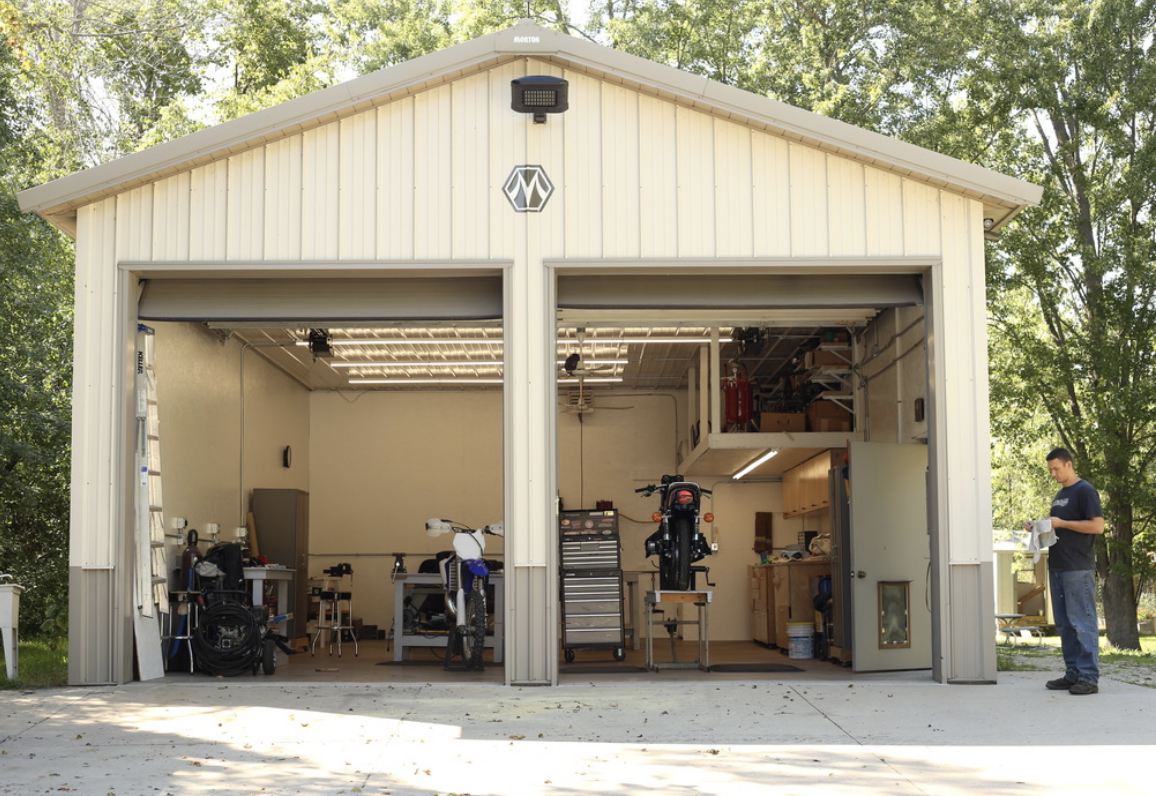
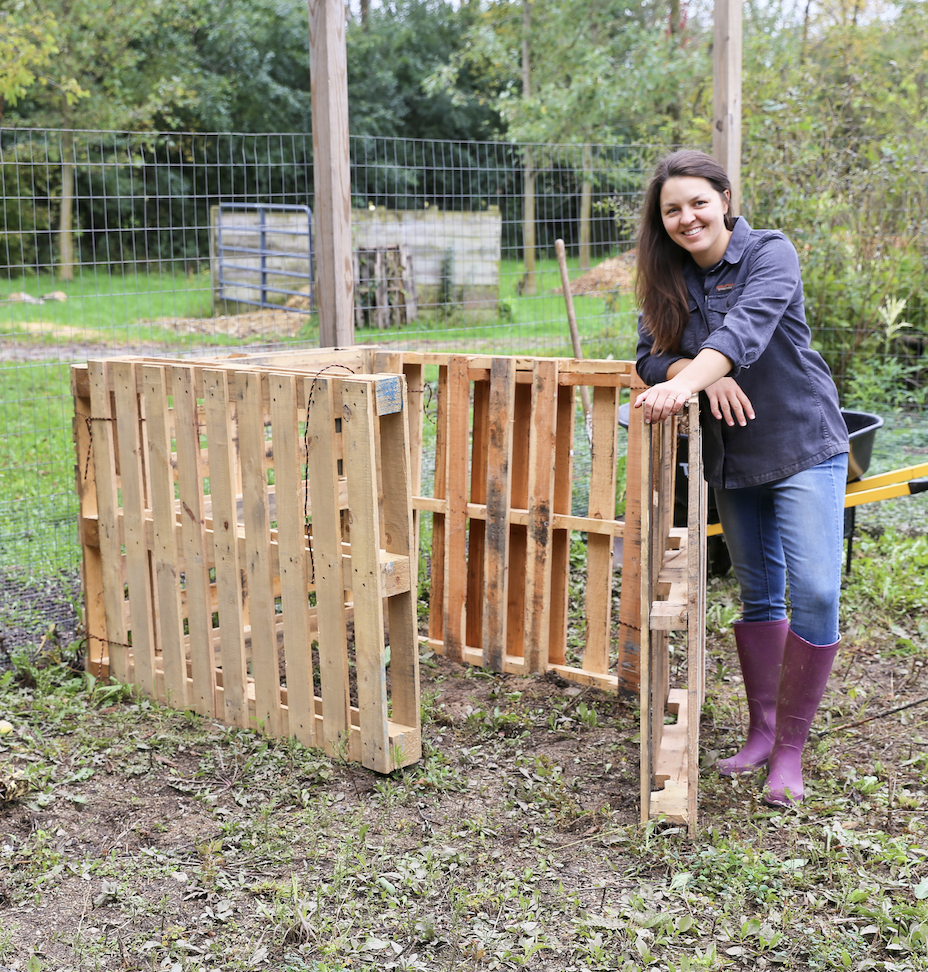
The first and biggest outbuilding is the workshop. We immediately went to work on updating the shop for my husband. There was floor to ceiling pegboard (a real field trip to Hell for the eyes) and it reeked of cigarette smoke. Please know, all the renovations and upgrades we decided to make to the workshop are not required for most homesteading operations. My husband is an engineer and self-taught machinist so many of these upgrades are based on his particular needs.
Homestead Workshop Renovations between 2016 and 2020:
Homestead Planning Tip: Have a space to work on projects that is out of the elements and offers storage.
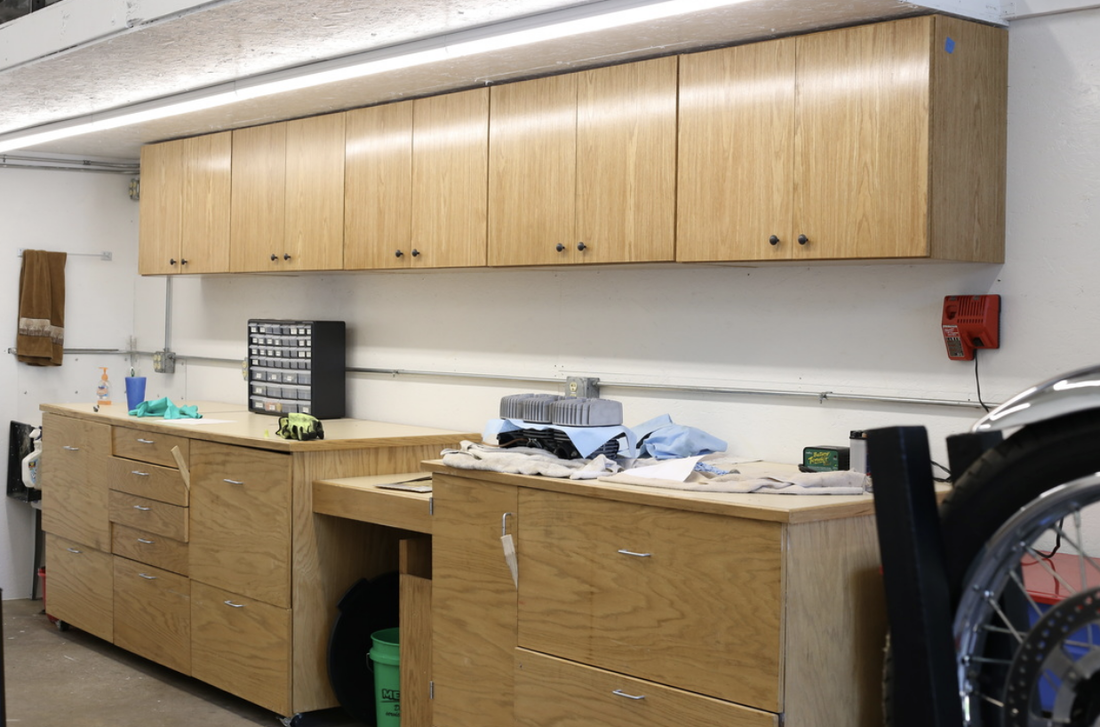
I can’t stress enough how thankful I am for our workshop. Because of this space, we have been able to tackle so many homesteading projects - rain or shine. If that means you are converting an old shed into a working space or using an existing garage- so be it. While my husband laid claim to the Morton Building, many a homestead project was built in there! Be sure to check out the list of our favorite homestead projects at the end of this post.
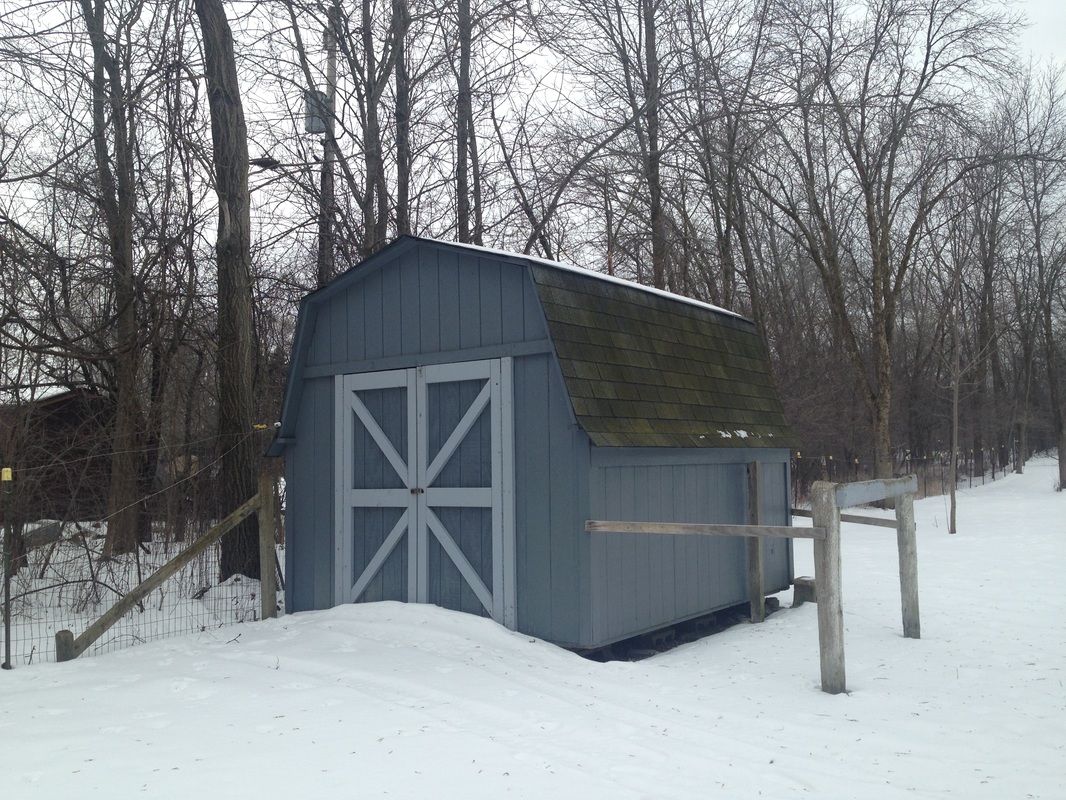
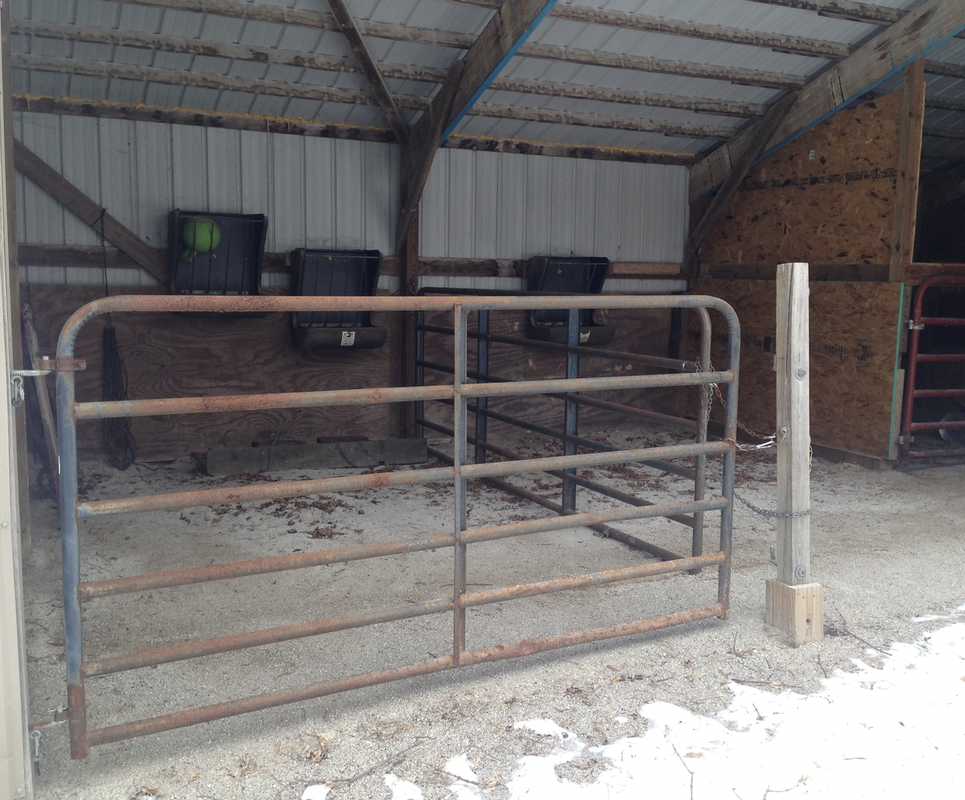
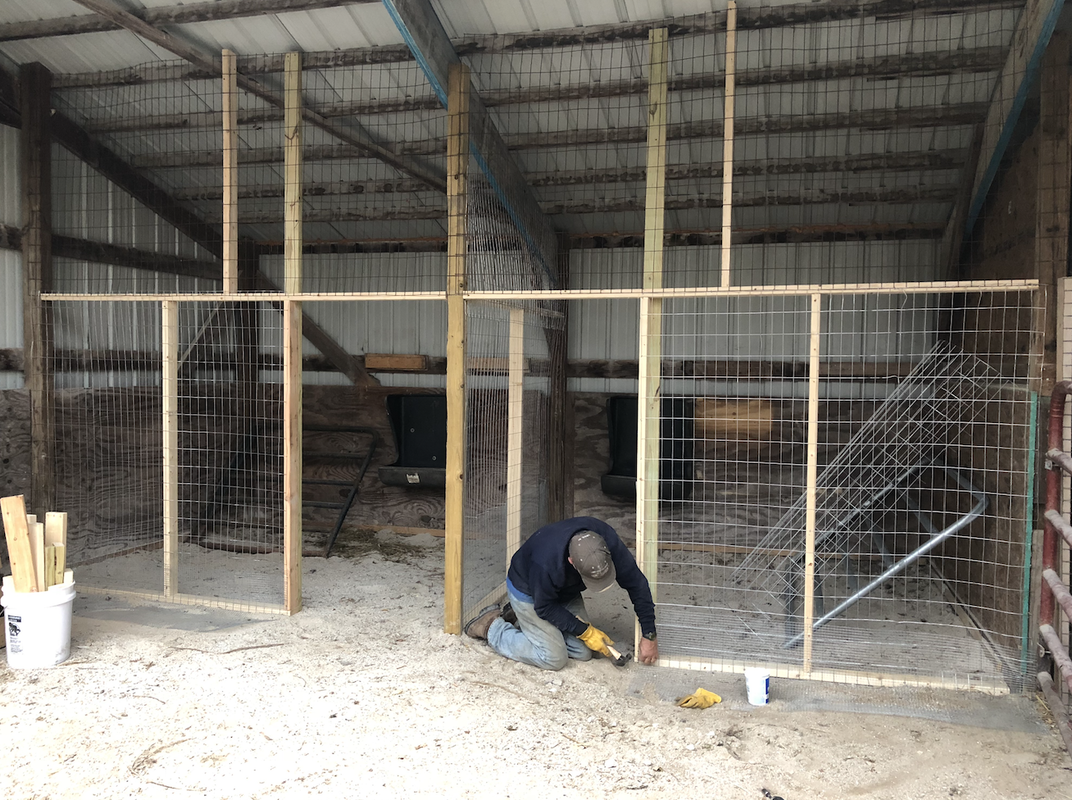
THE HOMESTEAD LEAN-TO BARN PLAN
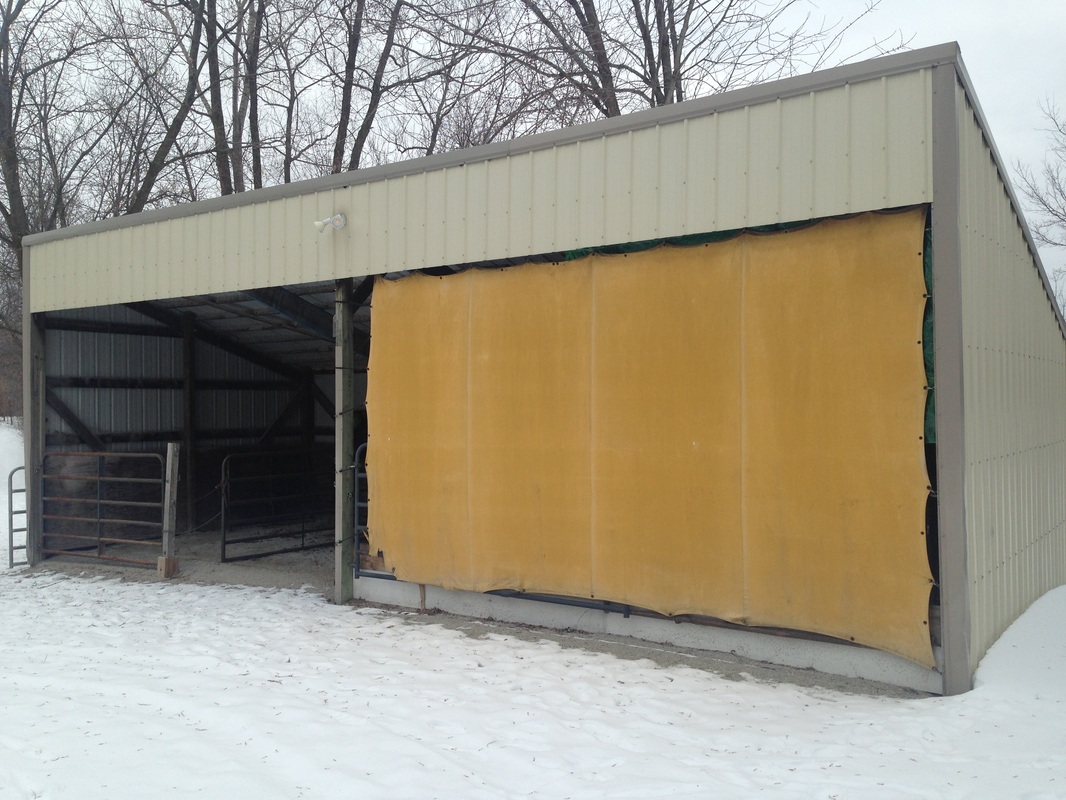
The next biggest building is the lean-to/barn. The previous owners had horses, so there is crushed limestone as well as buried slab limestone underneath the building. Limestone is a wonderful material to use underfoot for animals as it neutralizes smells by absorbing wetness quickly. In 2016 there were two large stalls, hay feeders, and hay bale storage.
When we first moved I had visions of goats, sheep, or pigs, but I learned that our municipal codes do not allow for these livestock. So it became a piece-meal storage shed for the first two years before we renovated it into three separate chicken coops for winter. While I was disappointed that goats weren’t in the cards for me, chickens easily filled that void and I threw myself wholeheartedly into being a crazy chicken lady! 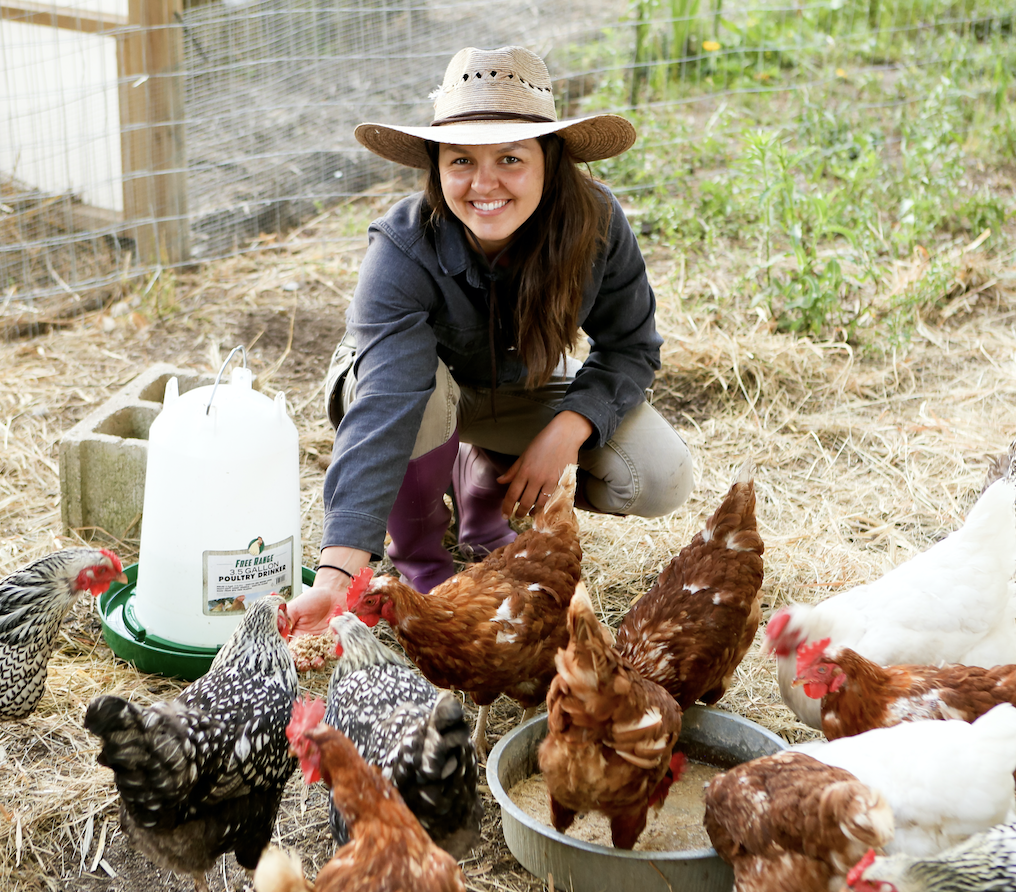
If you are entirely new to chickens and want the nuts and bolts on how to raise backyard chickens, head over to this blog post.
Homestead Planning Tip: Know what livestock is legal to own on your property and abide by those laws. It’s so important when you are planning out your homestead to do your research and know what is legal to own in your area. The best way to understand is to call your county clerk and inquire about the municipal codes for livestock based on your address. I can’t stress this enough! The county can confiscate your livestock and fine you if you own them illegally. Our Health Department contacted us to ensure we were within the legal limit - and they will do the same to you. Abide by these laws to avoid major stress and headaches down the line. Based on our zoning laws where we live, we learned we were only allowed to own up to three horses and 95 chickens based on our acreage. So 95 chickens it was!
Homestead Lean-to renovations 2016-2020:
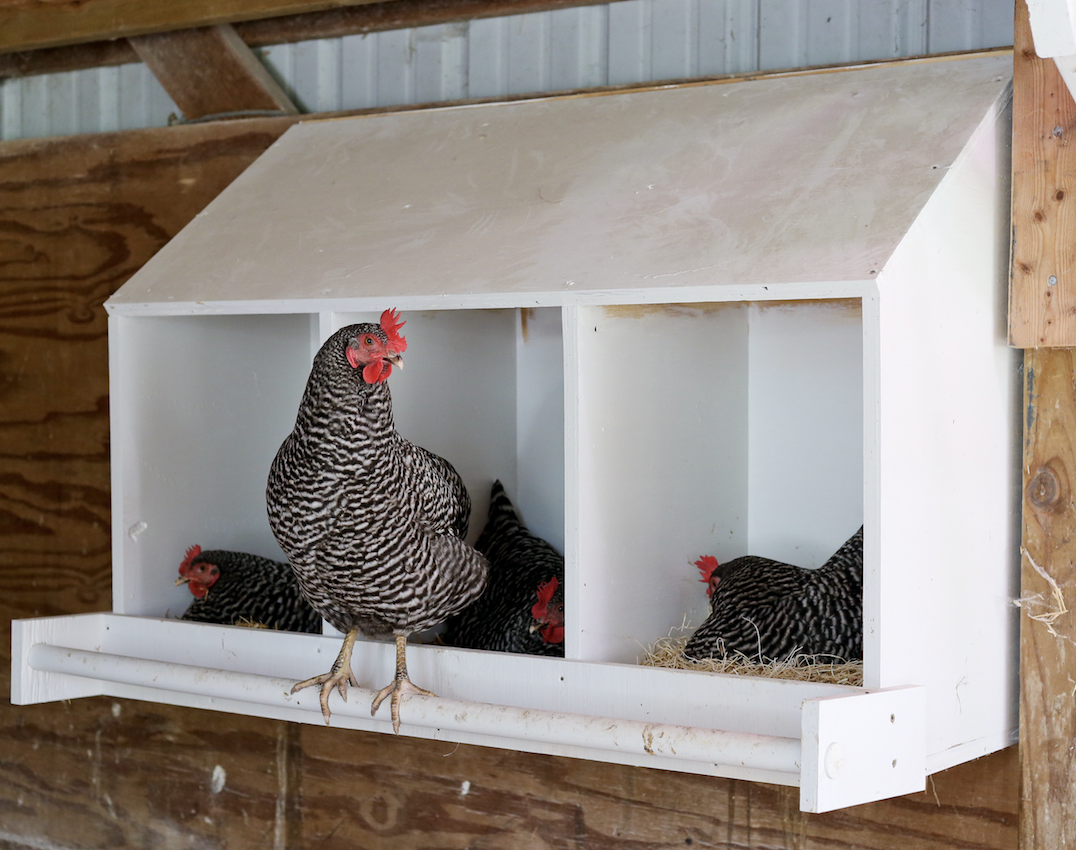
Sing up below and I'll send you our free nesting box cut plans - all cut from from one piece of plywood!HOMESTEAD GARDEN SHED PLAN
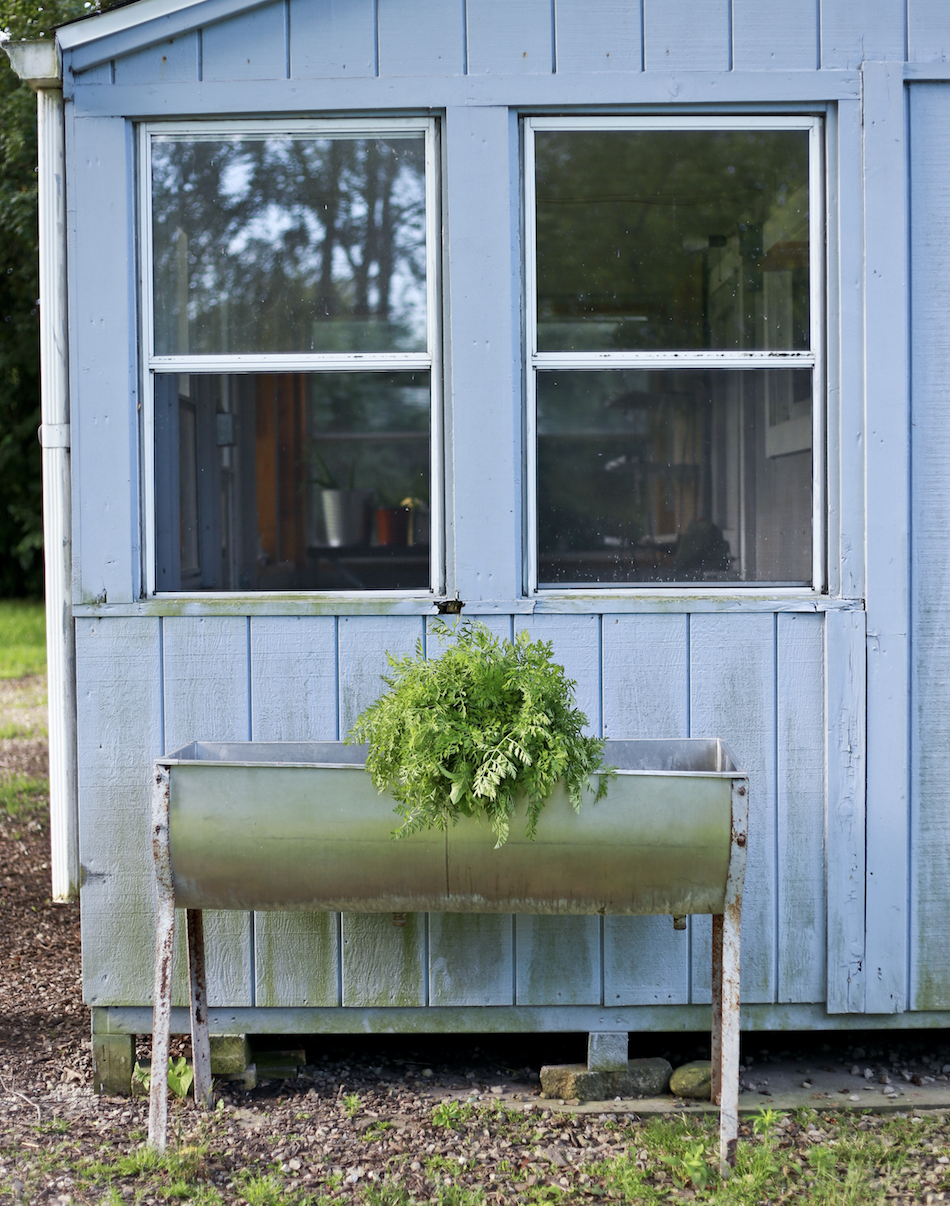
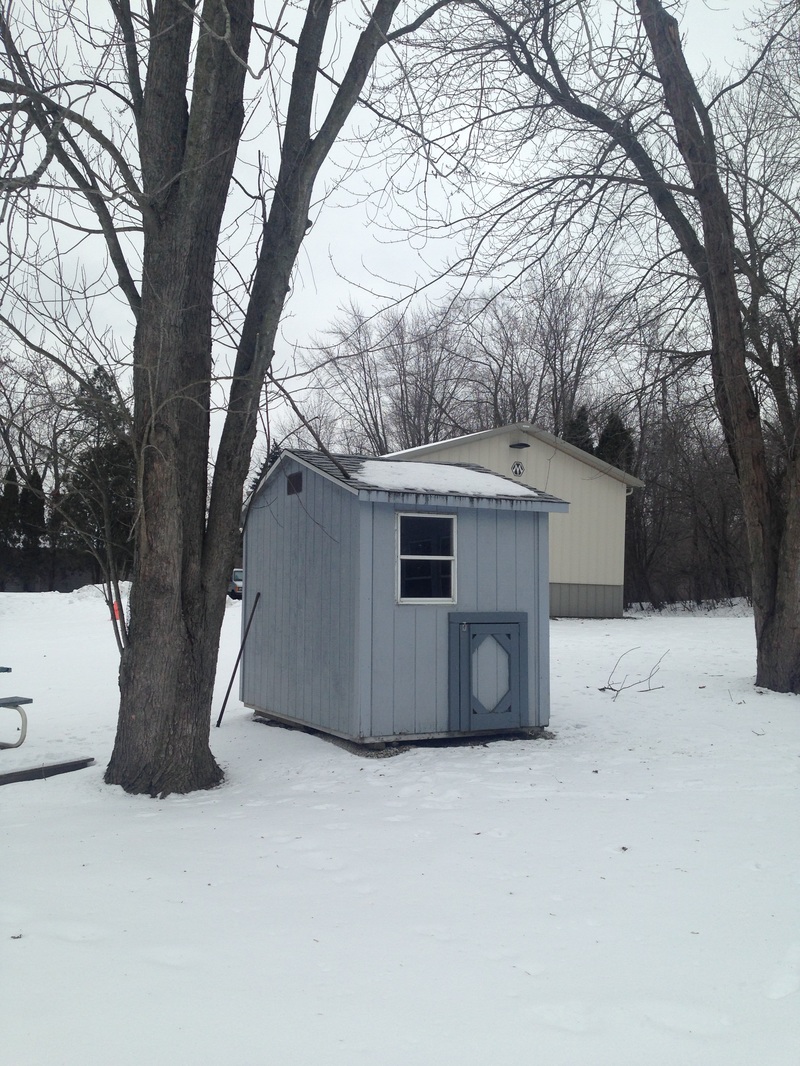
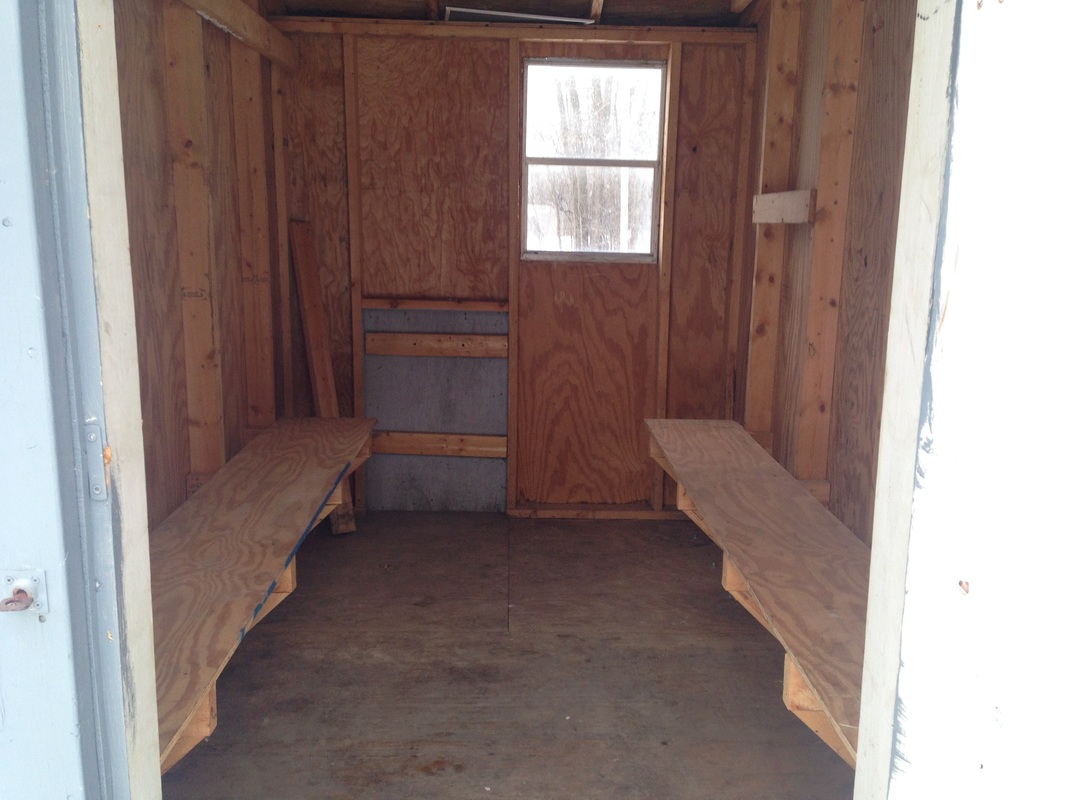
Next in the line up is the garden shed (1 of 2). It had a screened in porch, a barn cat door, and a good amount of storage. Shocker: over the last five years we used it mainly for storage. This includes: chicken feed storage, lumber storage, garden supplies storage, and a chicken ICU. The porch area I co-opted as a growing space for starting seeds, transplanting, and keeping our Broody Box Penthouse for broody hens.
Homestead Planning Tip: Create a central space on your property that is dry and secure to store garden tools, feed, lumber, etc. (especially if you live in a colder climate). The location of our garden shed is integral to the efficiency of our daily homestead chores. I am so thankful I only have to walk a few paces during the winter to get water, feed, and tools if needed. Even during the summer I am grateful that our garden shed is in a central location in regards to our lean-to barn and garden. When you are doing the same daily chores everyday - efficiency matters.
Homestead Garden Shed Renovations 2016-2020:
Then there was garden shed #2. This trusty building was the previous previous owner’s llama building. No joke, he had llamas and they lived in that building. Llama-rama! While we didn’t go with llamas, we did consider converting it into a chicken coop for a short period of time before we settled on converting the lean-to barn. Five years into our homestead and it is simply additional storage.
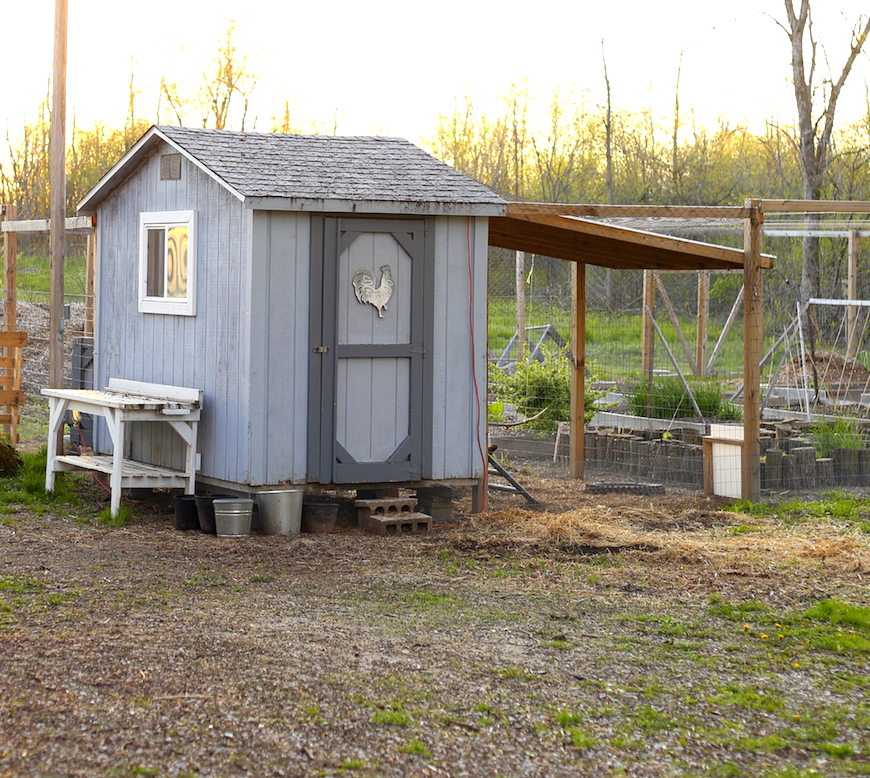
HOMESTEAD CHICKEN COOP PLAN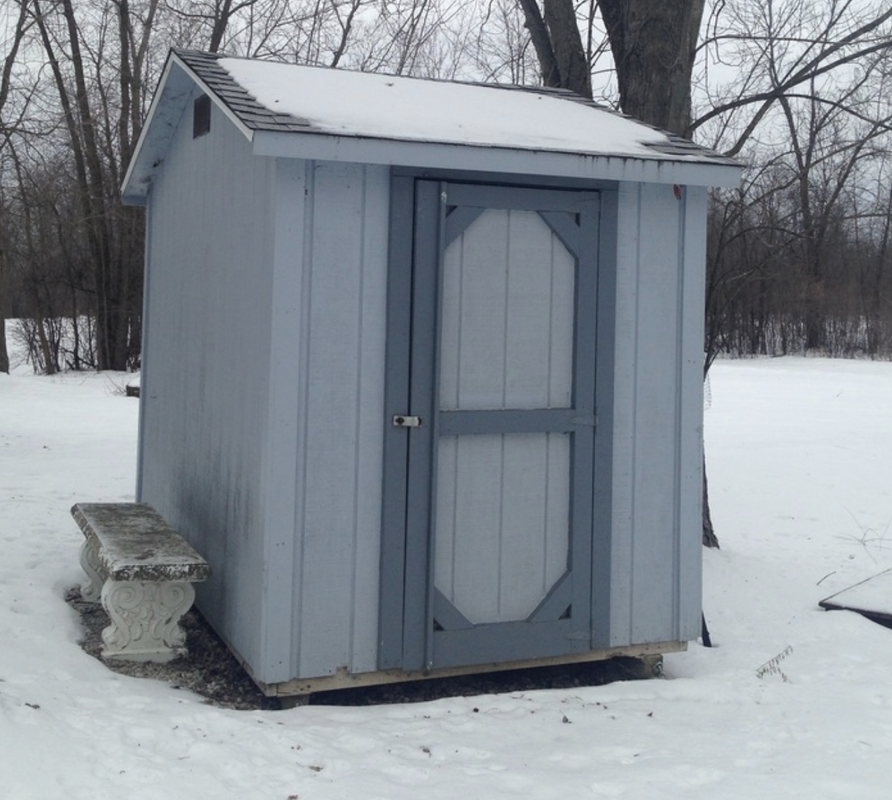
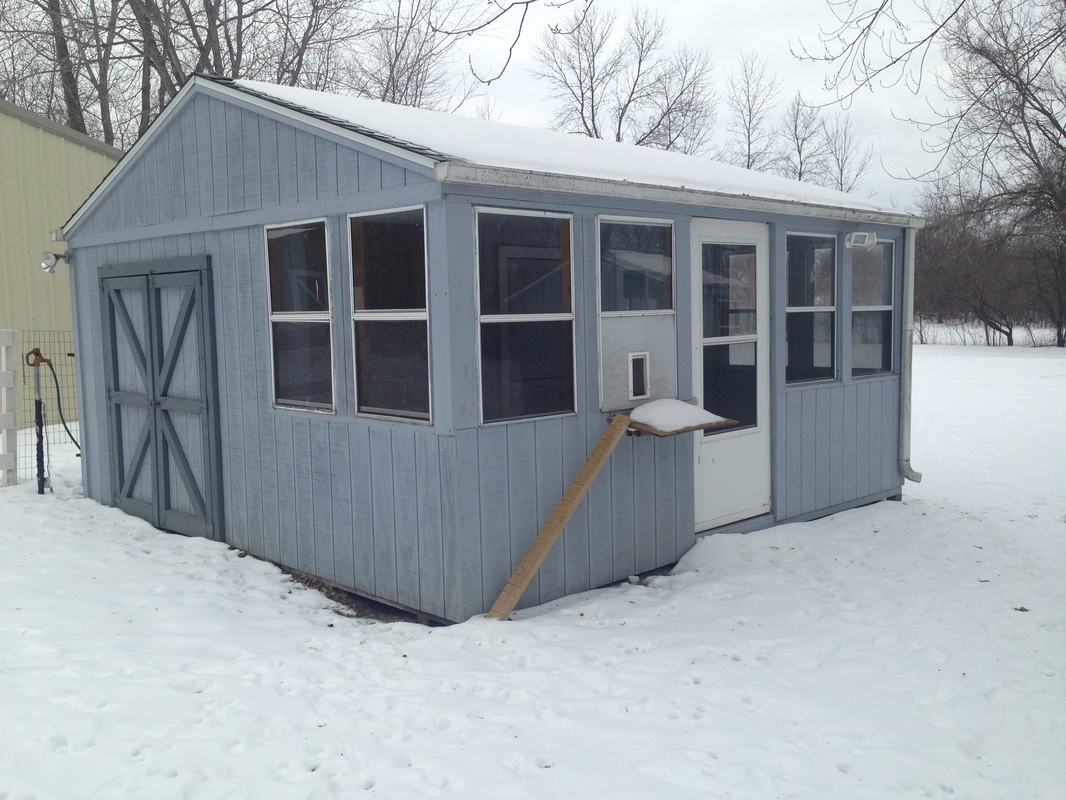
2016: The homestead chicken coop BEFORE
The previous owner had a mobile warming house that he would drag across the road to a frozen pond in the winter so his kids could ice skate (adorable I know). Now the only thing this building warms up is my chickens. Even more adorable? I think yes…
Homestead Chicken Coop Renovations 2016-2020:
We renovated this building into a gorgeous chicken coop and you can read about the entire process at this blog post.
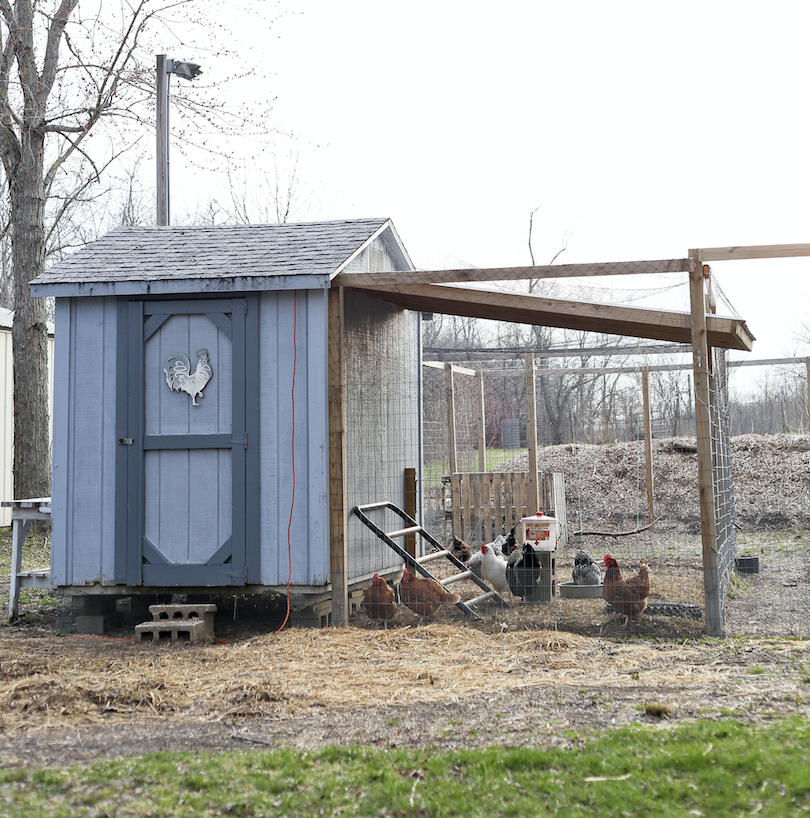
We started with eight Silver Laced Wyandotte hens, and I fell in love with this chicken breed. You can learn why I love Wyandottes the most as a homesteading breed at this blog post. Eventually we housed up to 16 hens and a rooster in this chicken coop. If you asking yourself: should I get a rooster for my flock? you can read over at this blog post and learn why we decided to include roosters with our flocks.
My original plan was to let our hens free-range on our homestead property, but the issue we faced was aerial predators like hawks, eagles, falcons, and owls. It took me five years to understand the seasonal patterns of our local aerial predators and now we know what time of year we can and can’t let our hens free-range.
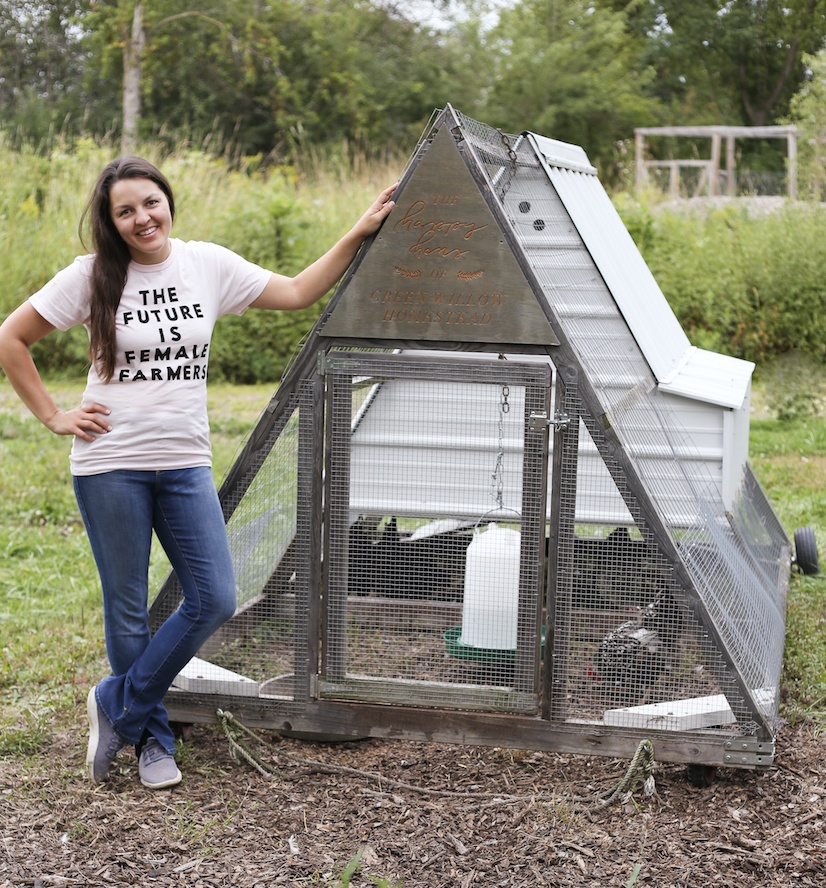
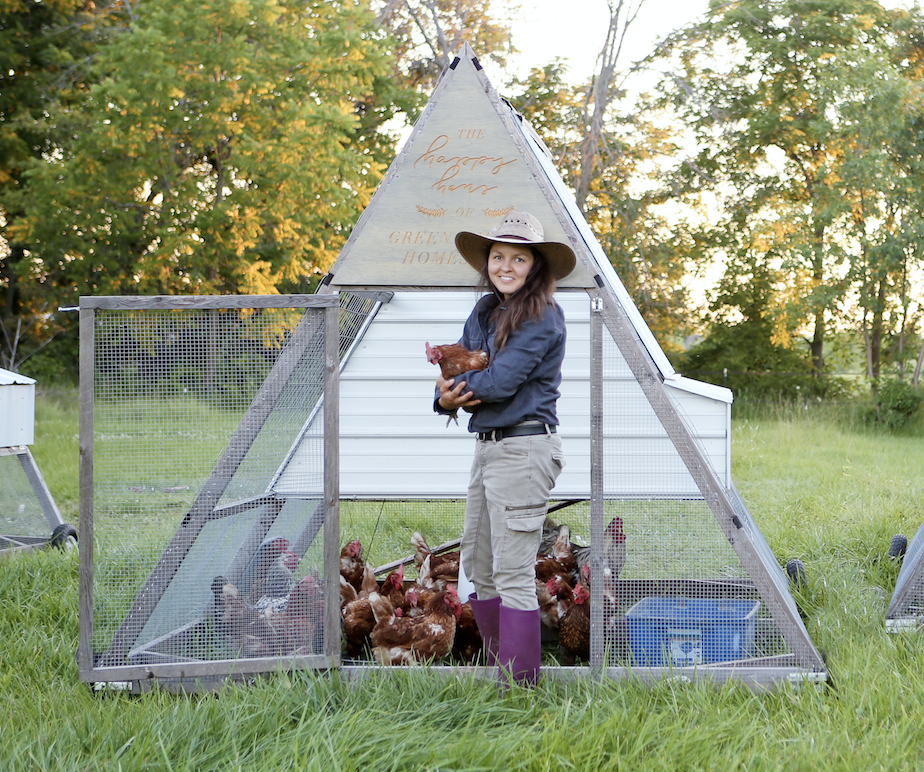
Homestead Planning Tip: Ask the locals about predators and their hunting patterns so you can create better security solutions for your livestock. So how did we solve the free-range problem? We designed and built our own A-frame Mobile Chicken Tractors. These chicken tractors give us all the benefits of free-range with none of the risks of losing our hens to predators or the chickens eating our neighbor's veggie garden. You can learn all about our A-frame chicken tractors and how we built them to protect our laying hens at this blog post.
So how did we integrate chickens over five years on the homestead?
After five years we’ve created a chicken keeping plan that works amazingly well for our setup.
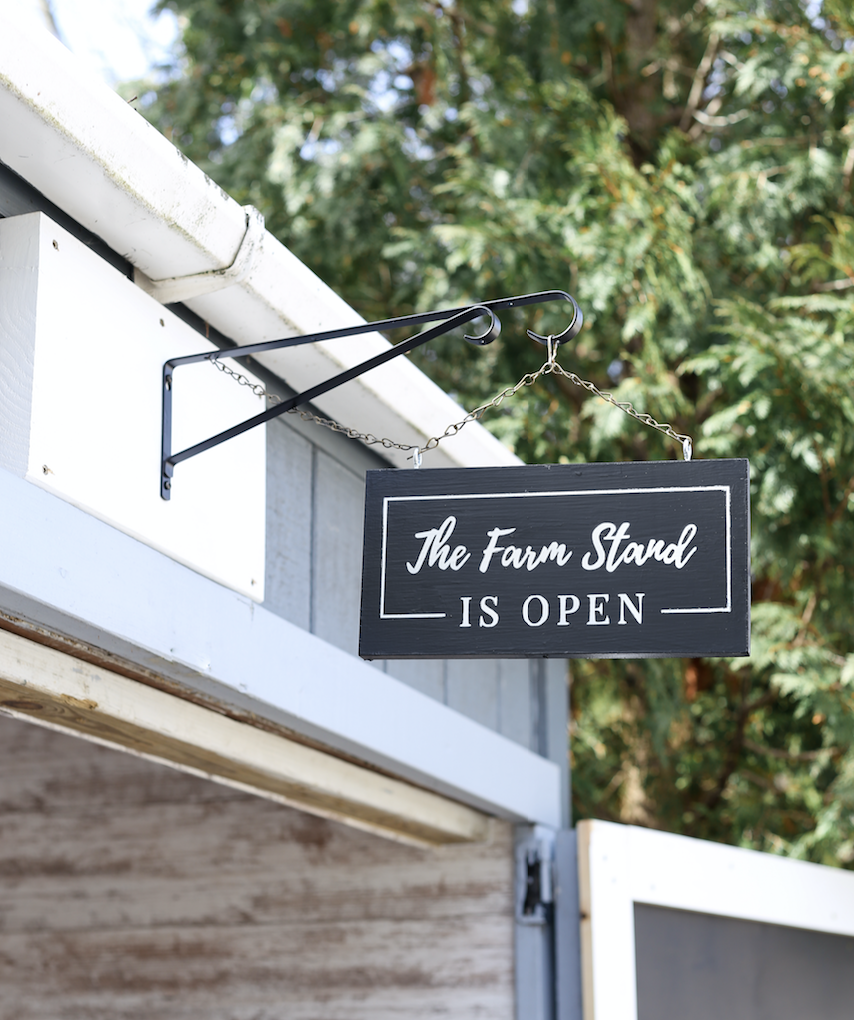
This see-saw chicken keeping plan has been wonderful for our peace-of-mind, the health and safety of our flocks, and even the soil (yum yum chicken manure!). HOMESTEAD FARM STAND PLAN
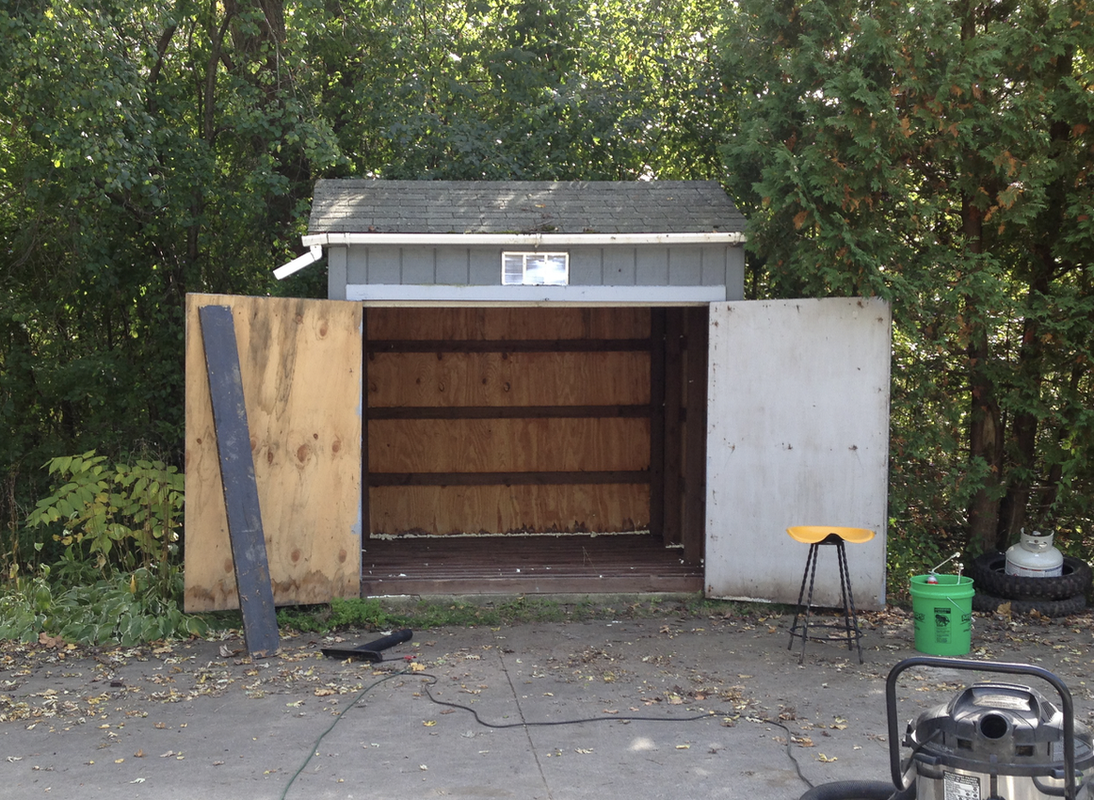
2017: The farmstand BEFORE
The last outbuilding we had to work with was a garbage shed right across from the garage. I lovingly called it the mouse hotel until one day I had an epiphany. I kept bugging my poor husband about building a farmstand completely from scratch so we could sell our pastured eggs, all the while this building sat right at the front of our property just waiting to be utilized. Eureka!
Homestead Planning Tip: Instead of embarking on brand new construction, consider repurposing existing buildings to work for your particular situation. 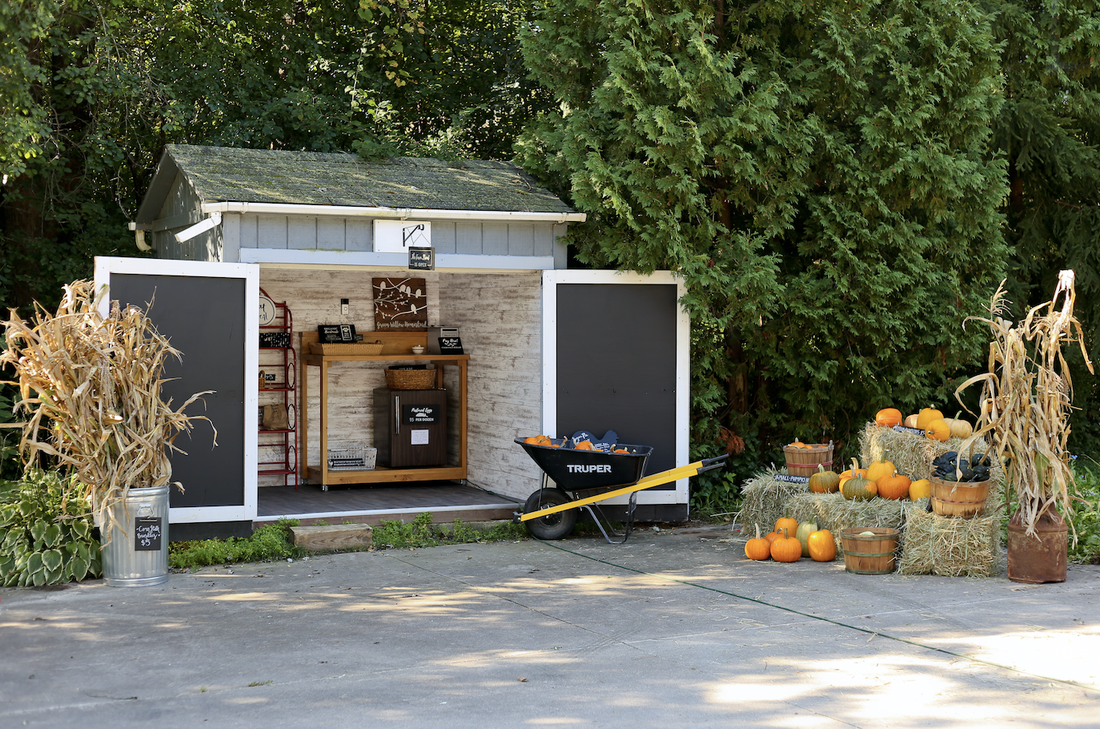
2018: The farmstand AFTER
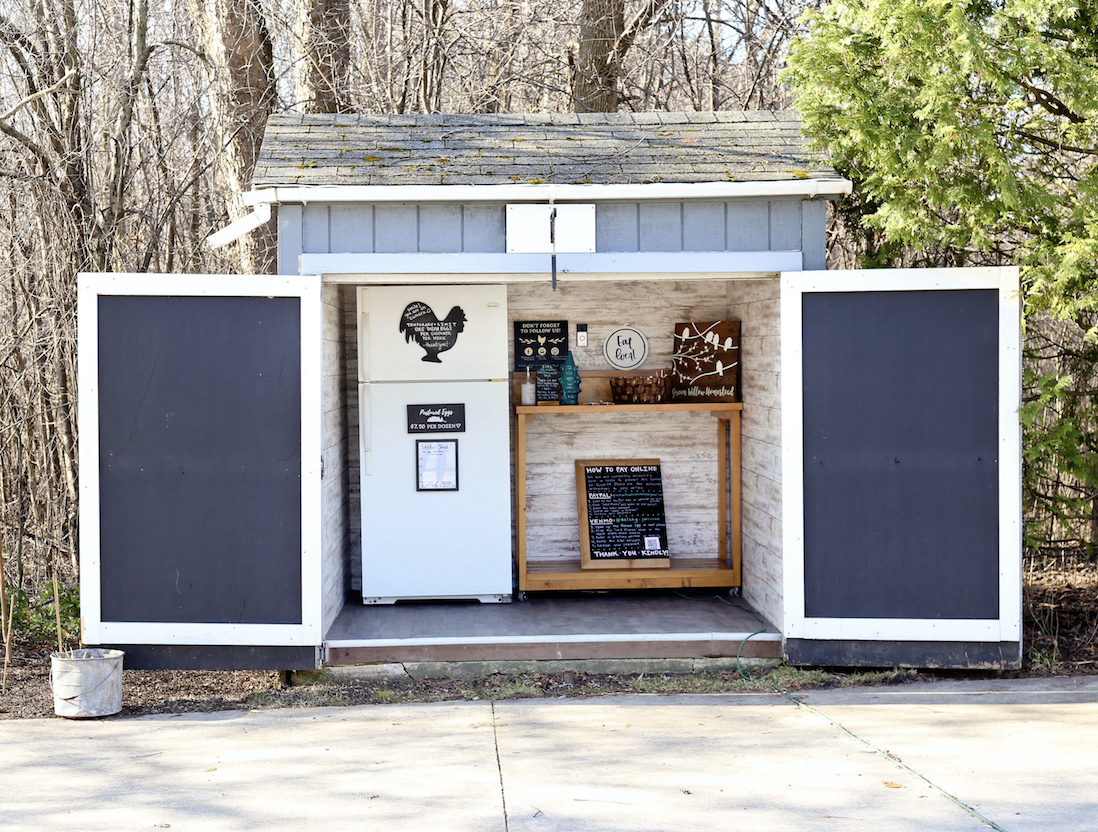
So we gutted and renovated the interior and turned it into our roadside farmstand. We now sell pastured eggs, non-GMO seeds, maple syrup, and various produce from this farmstand on the honesty system. You can see more before and after pictures and read up on how we did the farmstand renovation at this blog post.
HOMESTEAD GARDEN PLAN
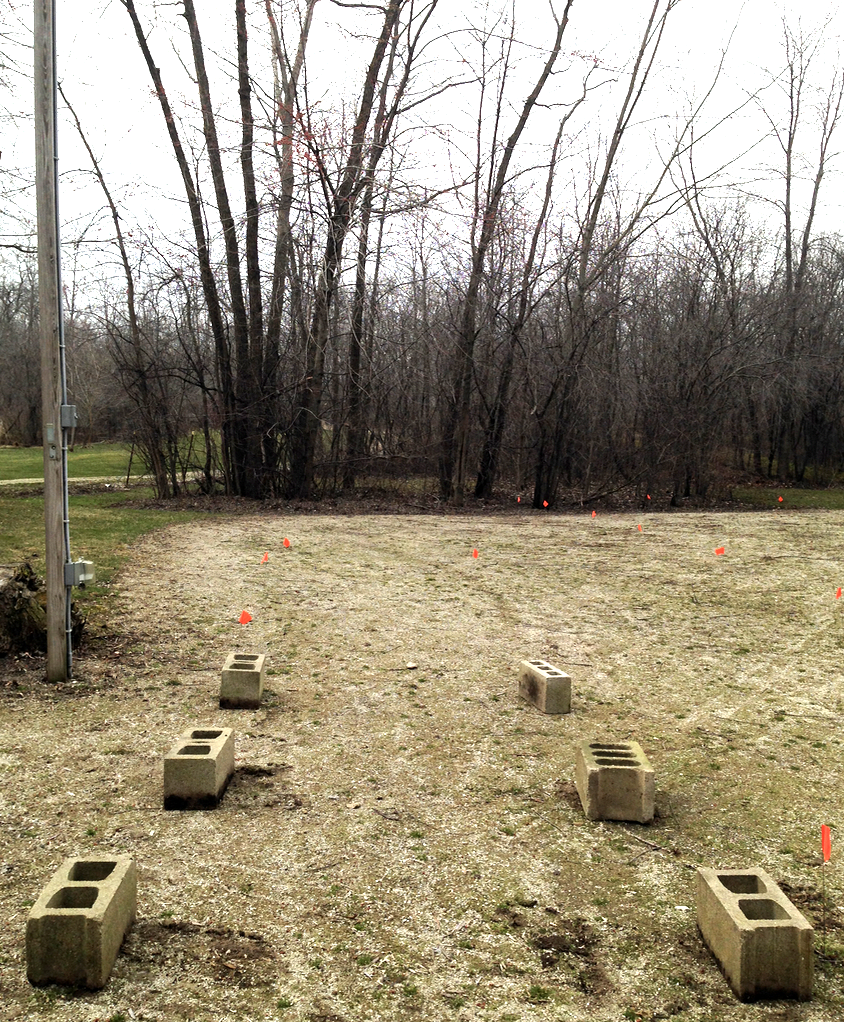
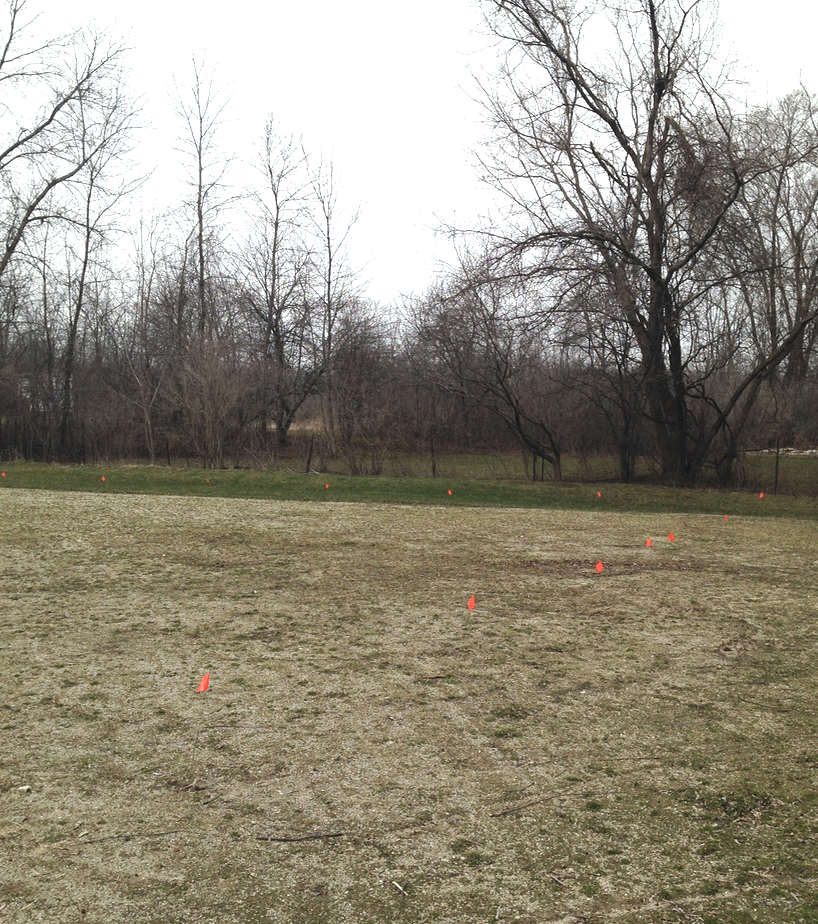
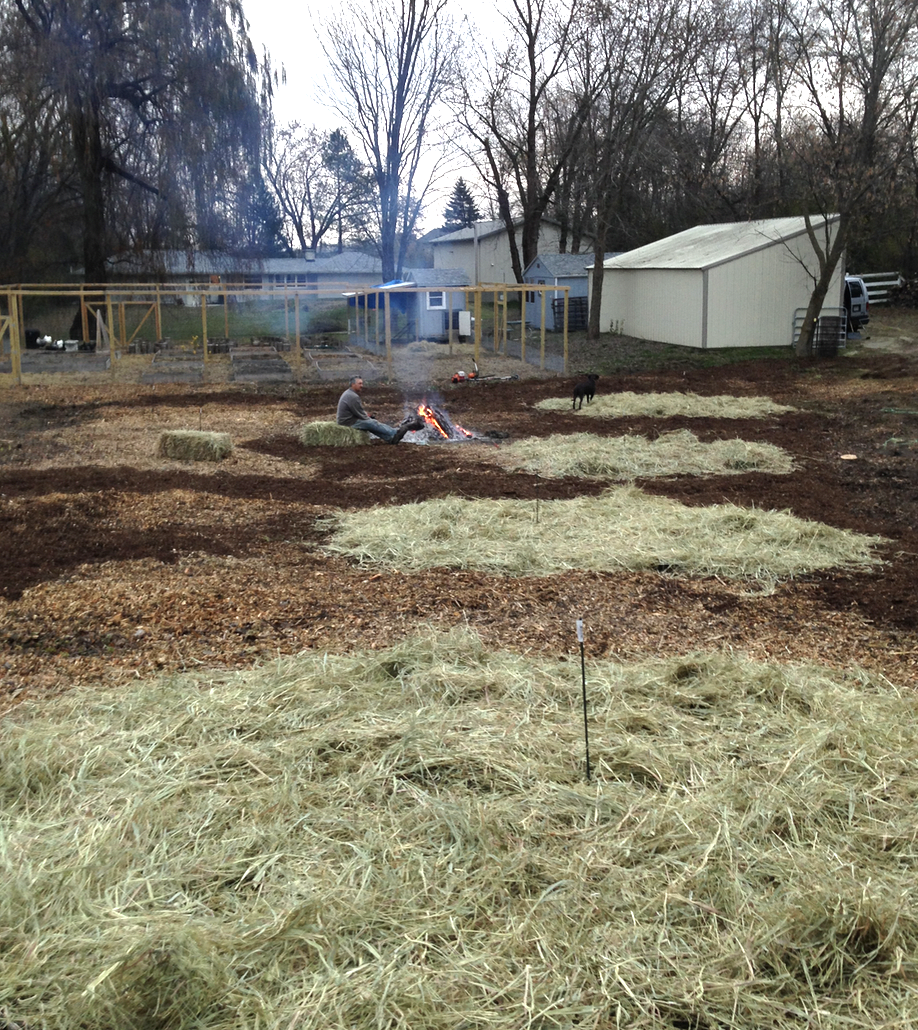
With no garden on the property when we purchased it in 2016, we had to figure out the ideal place to put our vegetable garden. After observing what areas of our property received the most sunlight each day, we decided on building raised garden beds over an old ice rink spot. This location was ideal because it was perfectly level, it had good drainage, and it wasn’t too far from the house.
If you are brand new to vegetable gardening, I wrote an entire series of posts on gardening for beginners to help you out. Get started at this blog post. Homestead Garden Construction 2016-2020:
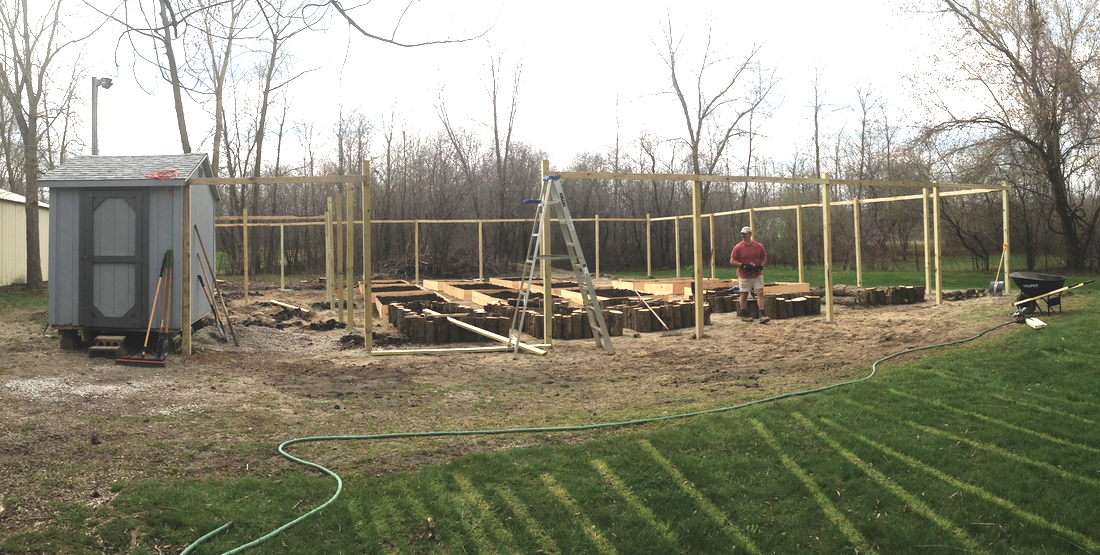
2016: The garden fence is going up!
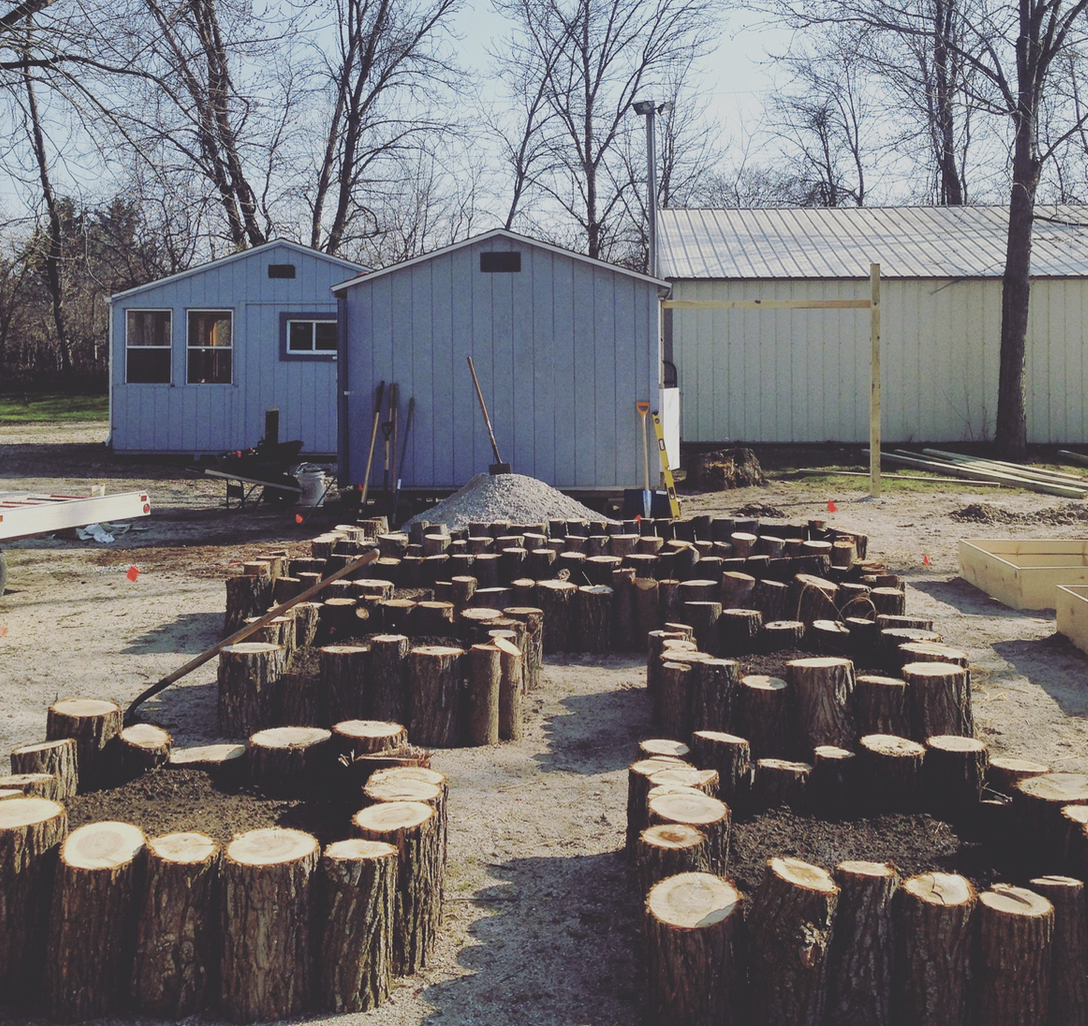
2016: Using stumps for raised garden beds
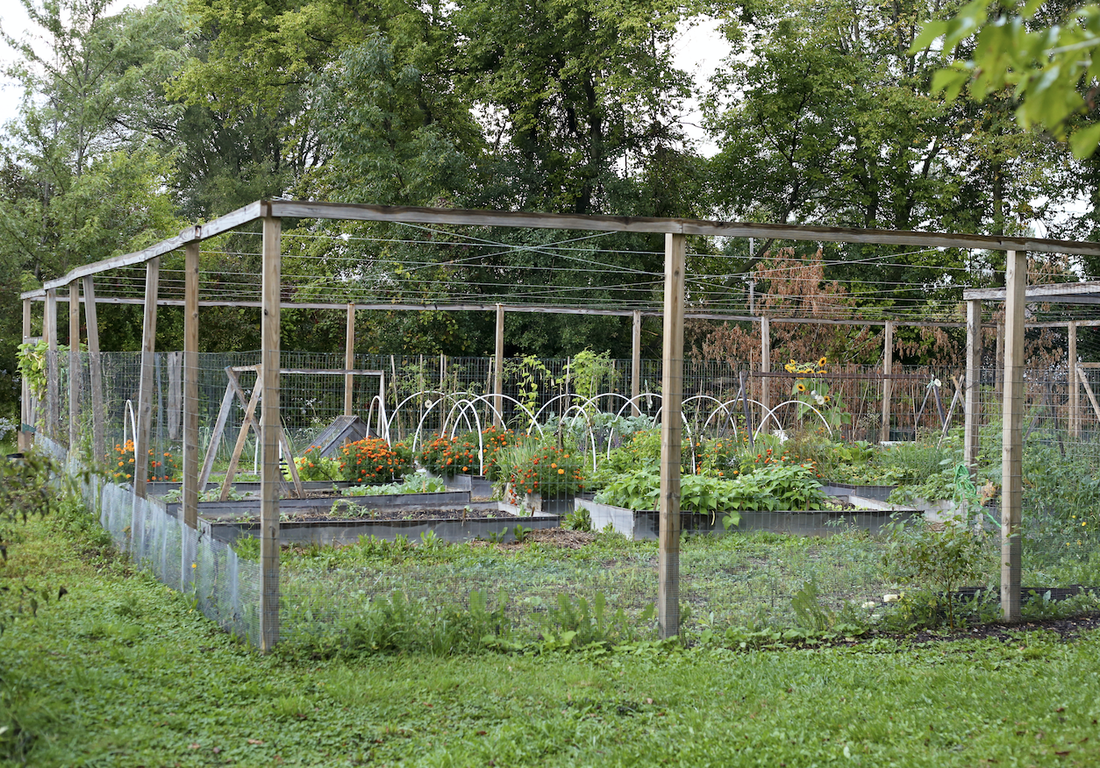
We fenced in our garden with 6ft tall 2x4” galvanized fencing as well as sunk ½” hardware cloth along the bottom because of the deer, rabbits, and chipmunks in our area. We needed to protect our garden and after discussing it with neighbors, we knew what was required to keep our garden protected.
The other issue was that our garden needed to be closed off from our chickens. Why? Well, chickens don’t give a flying poop if those veggies are for you, they will eat them all if you let them. Now at the end of the growing season, we definitely let our chickens clean up the garden. You can learn how we integrate our flocks with our garden routine on the homestead at this blog post. The garden gates' door size was important because we needed to get a bobcat or garden tractor in and out. Having the extra-wide garden gate door size has been a godsend with all the compost, topsoil, and wood chips we use in our garden beds. You can learn more about how we fenced in our garden at this blog post. 
The hugelkultur became essential after observing how the wind and frost pockets developed over the course of a growing season. After working through our woodlot we had a hefty amount of dead ash trunks piled throughout our property. So we built a hugelkultur by piling these trunks 6’ wide by 60’ long and then covering them in wood chips. By adding in a natural windbreak that also redirected the movement of cold air, we saw marked improvements in our vegetables and fruits. I can’t recommend building hugelkultur enough for natural windbreaks!
Homestead Planning Tip: Wood chips are one of the best things to have on hand for your homestead. Wood chips are good for everything from soil building to redirecting water drainage to accumulating earthworms for free chicken food. Contact local tree and landscape businesses to see if they offer free wood chips delivered to your home. 
Five years into our homestead gardening plan and we grow and raise 60% of our own food (about 2/3 of every plate).
Our homegrown list includes:
Looking at this list is an amazing feeling and we have learned so much from the process. If you wanted to get started growing your own food and increase your family's food security in less than 30 days, head over to this blog post. HOMESTEAD ORCHARD PLAN
Having fruit on hand for cider making, juice, sauces, and jams is every homesteader’s dream. If only getting an orchard started was easy and quick! Over the last five years, our fruit tree guild (orchard) has been the biggest frustration. Where we live in Wisconsin, the water table is extremely high and our clay soil doesn’t drain well. After clearing buckthorn and dead ash trees our orchard spot located just behind our garden, we made the mistake of planting immediately. Because of these missteps, we’ve lost over a dozen fruit trees to drowned roots.
Homestead Planning Tip: When planting perennials, do your due diligence and understand your soil, water drainage, and sun exposure before you plant. How did we overcome our orchard issues? First, we gave our baby fruit trees a healthy head start by planting them in 7-gallon aerated grow bags to properly develop their root systems for a full 6 months. Second, we terraced our baby fruit trees by adding in over a foot of compost, top soil, and wood chips over the existing soil. This created a platform of sorts that kept the roost from being drowned by our high water table. I know now that I should have taken an entire year to observe our proposed orchard spot to see how the weather affected the soil. Since fruit trees take on average five years to produce fruit, I wanted so badly to hit the ground running. The reality is I could have saved myself a chunk of change and massive headache if only I had been patient. You can learn more about how to plant perennials and fruit trees at this blog post. HOMESTEAD MACHINERY AND TOOLS PLAN
What tools and machinery to get is entirely dependent on your specific goals with your homestead. While we started with just a push mower and a wheelbarrow, we knew they would be no match for the work we had in store for our land.
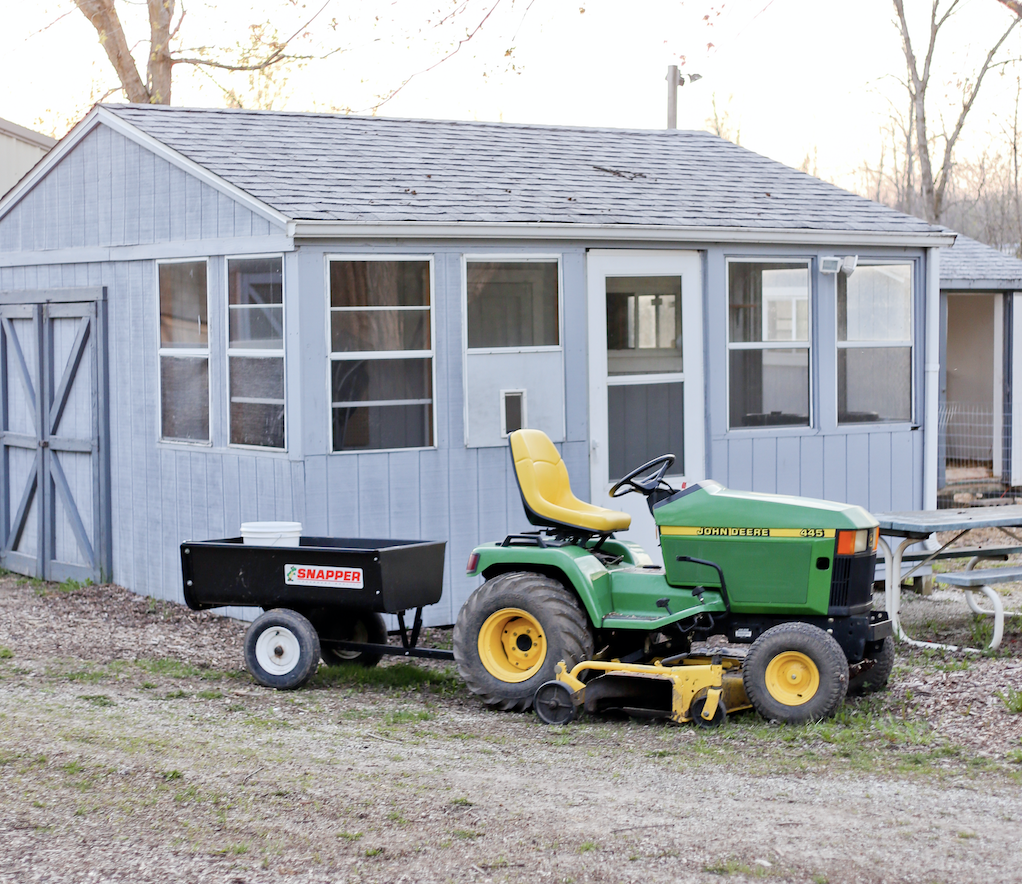
Homestead Machinery and Tools 2016-2020:
These are the tools we use on a daily or weekly basis. Of course there are additional tools and machinery that come in handy on a homestead, but the aforementioned tools and machines are our bread and butter. Know that your tractor size is entirely dependent on your acreage and application, but I have to say the John Deere 445 is our golden child of versatility. We can mow our three acres of pasture with ease, attach the drag and clear paths, pull logs and stumps, hitch up the trailer and tow over 1200lbs+, and blow up to 2’ of snow. Our workflow on the homestead is entirely dependent on our tractor, so I recommend one wholeheartedly. 
Our Favorite Homestead Projects
We've done so much work over the last five years turning our five acres into a homestead, but it's been work we've thoroughly enjoyed. Below are our absolute favorite homesteading projects we've done!
That wraps up how we planned out our homestead over the last five years. Looking back it's humbling to see how far we have come in just five years with our homestead. Remember, Rome wasn't built in a day and plans change!
I hope this post helped bring some insight and inspiration to you as you plan out your own homestead. Got questions? Chime in below in the comments section! 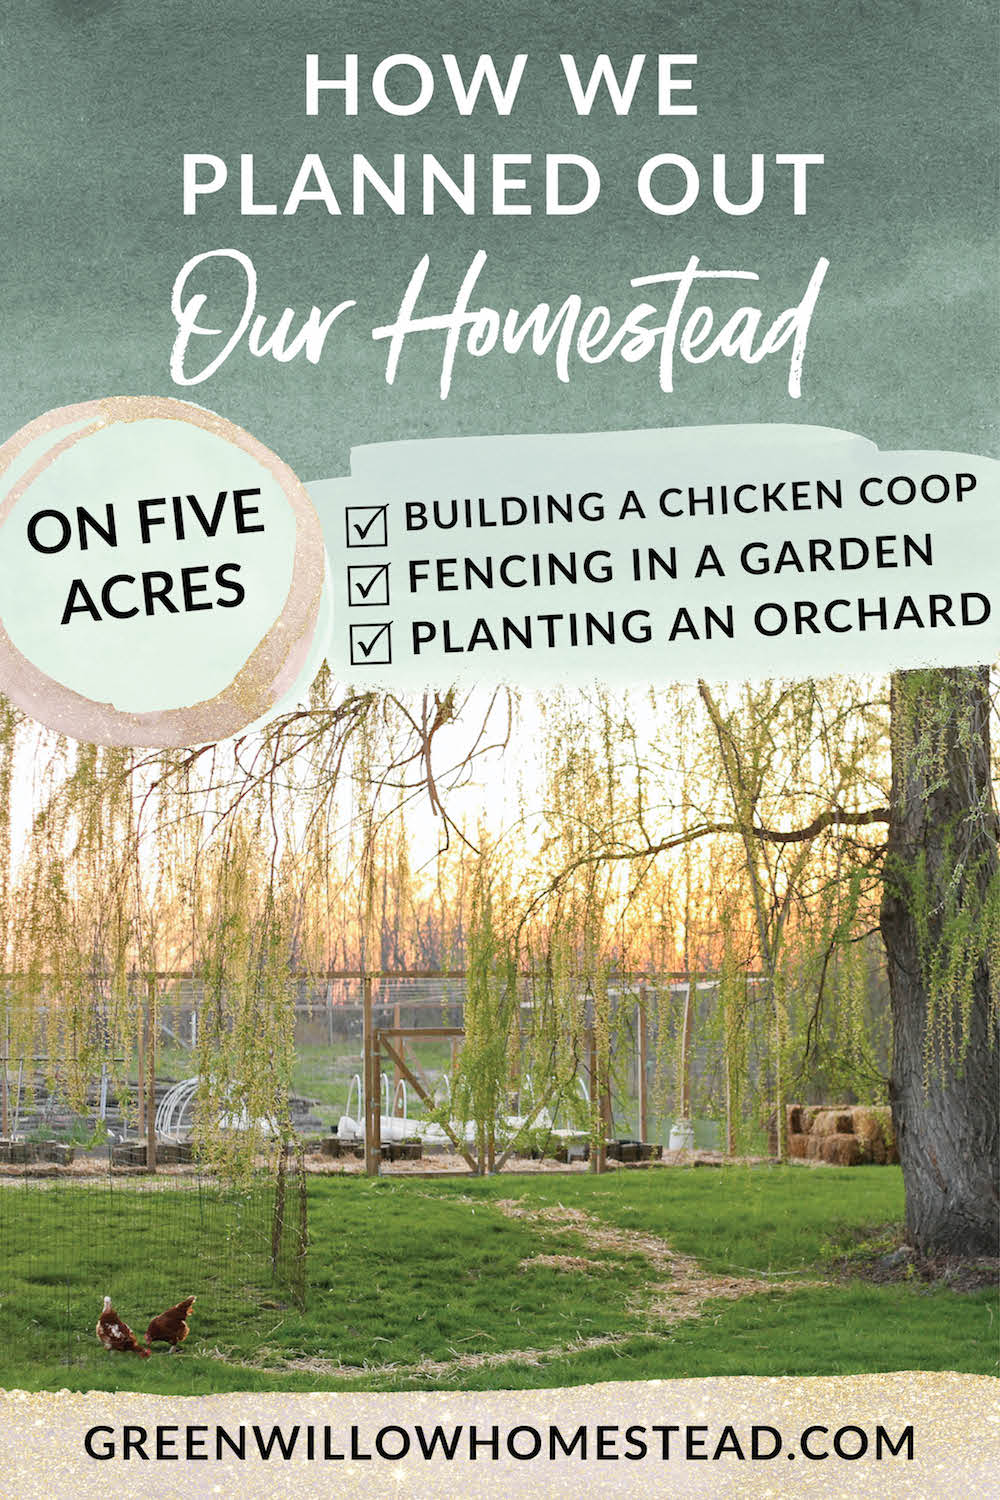
8 Comments
Erin
5/21/2020 07:14:41 am
Thank you for sharing!
Kim Harris
6/2/2020 06:29:09 am
Hi thankyou for sharing your amazing journey in developing your property.
Katherine
5/26/2020 07:50:17 am
Thank you for your posts on everything homesteading/ food resilience. Please continue to share!
Denisha
2/11/2021 05:21:07 pm
Thank you for sharing your journey! I just bought my house and I plan on living off the land.
Pamela
2/24/2021 04:17:19 am
Thank you. What a great blog. I just purchased a house and 3 acres. (No neibors). Getting ready to homestead. Your story has made my task seem a lot more attainable.
Diane
7/25/2021 07:11:28 pm
This is wonderful info! We just bought 14 acres with a less-than-up-to-code '60s house. My engineer hubby is curious how you built your log raised beds (we have tons of dead fall trees on our property)? He is sure the dirt would push out the logs and collapse the structure, did you secure them in any way?
Kelsey
7/28/2021 08:29:20 am
Hi Diane! I just set them on end. Eventually the decompose because it's untreated wood. If you cut the logs thick enough they won't fall over! Leave a Reply. |

Meet Kelsey,Thanks for stopping by Green Willow Homestead! From chicken rearing to composting, we've got our hands full and we love sharing what we've learned along the way. Follow along as we turn the 80 acres we call home into a farm that serves its community and a homestead that nourishes us throughout the seasons. 
Grab the EbookListen in!
FREE Guide!
Tune in to our YouTube ChannelInspirationsCategories
All
Favorite Books of 20241. Erosion
2. Braiding Sweetgrass 3. As Long As Grass Grows 4. The Small Scale Poultry Flock 5. The Zero Waste Solution Archives
April 2024
|


FOLLOW KELSEY ON INSTAGRAM!
|
|
As an Amazon Associate I earn from qualifying purchases. |
|