
 In this next post, we are going to cover how to plant your first organic vegetable garden and all the wonderful green thumb activities that fall under that umbrella. I’ll go over how to start seeds indoors, proper acclimation periods for your baby seedlings, and when to transplant or direct sow in your organic garden.
To jump to the beginning of my organic vegetable gardening blog series, click here. Okay! First, let’s quick chat about where is best to purchase your seeds.
11 Comments
A vital step in cultivating a successful organic garden is preparing. Preparing to me means figuring out where the garden will go, if the soil is in good shape for veggie growing, and what you need to build the basic structure of the garden. Preparing here we come!
To start at the very beginning in this garden blogging series, head over to this blog post. 
Now that you are armed with all the planning knowledge to get started with organic gardening, it’s time to start plotting your garden beds. How you plot out your garden has a large effect on your overall success for the growing season. In this blog post, we are going to cover companion planting, square foot gardening, row gardening, and how to mimic nature to give your organic garden some serious edge. All you’ll need is some graph paper, a pencil, and time to dream of all the delicious things you can grow organically!
 Wow, I can't believe it's June already! The garden has been planted (and replanted). The chickens are happily free ranging and getting bigger everyday. The trees in the back are shooting up like weeds, despite a few being munched by deer. The workshop is 98% done with just some upper cupboards waiting to be built. We are BUSY with a capital B!
Pictured you can see one of my cheater tomato plants. I planted seeds indoors in April only to have them all fizzle out. They were hardened off and everything, but no dice. These cheaters I got at Menards, 6 for 6$. They were very happy and green, unlike the ones I tried to transplant. Consumer report: I am not a fan of Burpee's Organic Seed Starting Mix. The stuff turned to cement after a week of watering. I also had trouble with the seed starting pods, which are supposed to disintegrate once planted, but of course they didn't. All my pumpkins, squash, and zucchini became root bound and died. So replanting it was! Now they are coming up just fine, albeit three weeks later than anticipated. Right now the potatoes, gooseberry bush, herbs, arugula, and lettuce are robust and lively. Of course my cheater peppers are being finicky, but fingers crossed I'm watering and feeding right. Only time will tell... 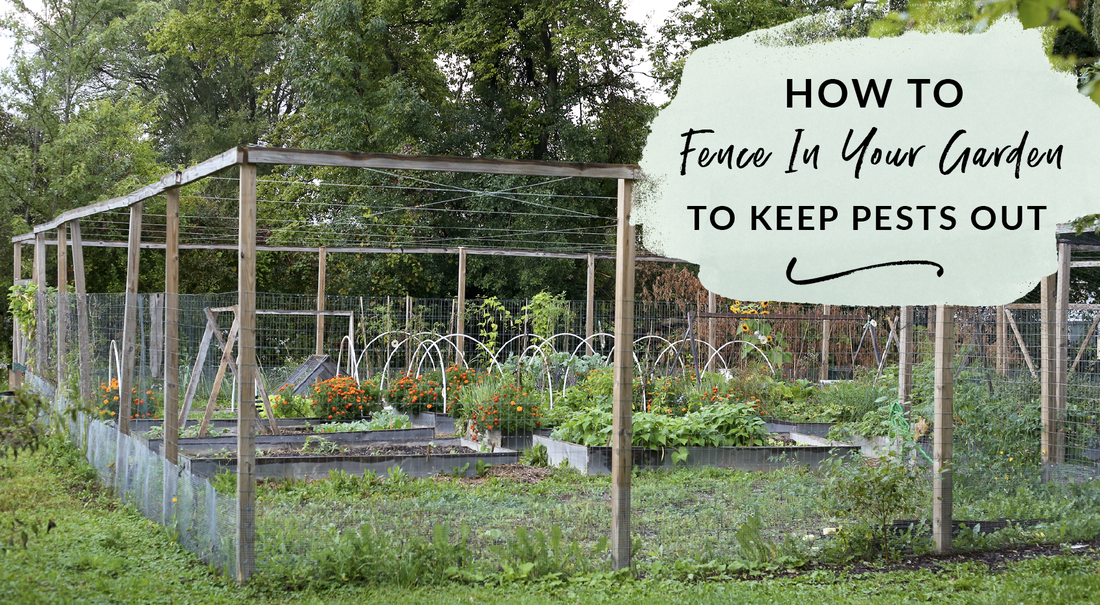 This last week my father and I put up a much needed barrier between our soon-to-be garden and hungry Wisconsin wildlife. Putting up a sturdy fence can keep munching deer, nibbling rabbits, and peckish gophers from enjoying your bounty. After observing the amount of wildlife that lives on our property through the wintertime, I concluded that a tall fence was in order. I also talked with fellow gardeners in the area and asked them what works. The general consensus was pro-fence. Keep in mind we live in a more rural area with a young forest, so if you are in the middle of the suburbs you might just need a bunny fence. Regardless, there will be lots of insight in this post on the DIY fencing building process so read on to learn more!
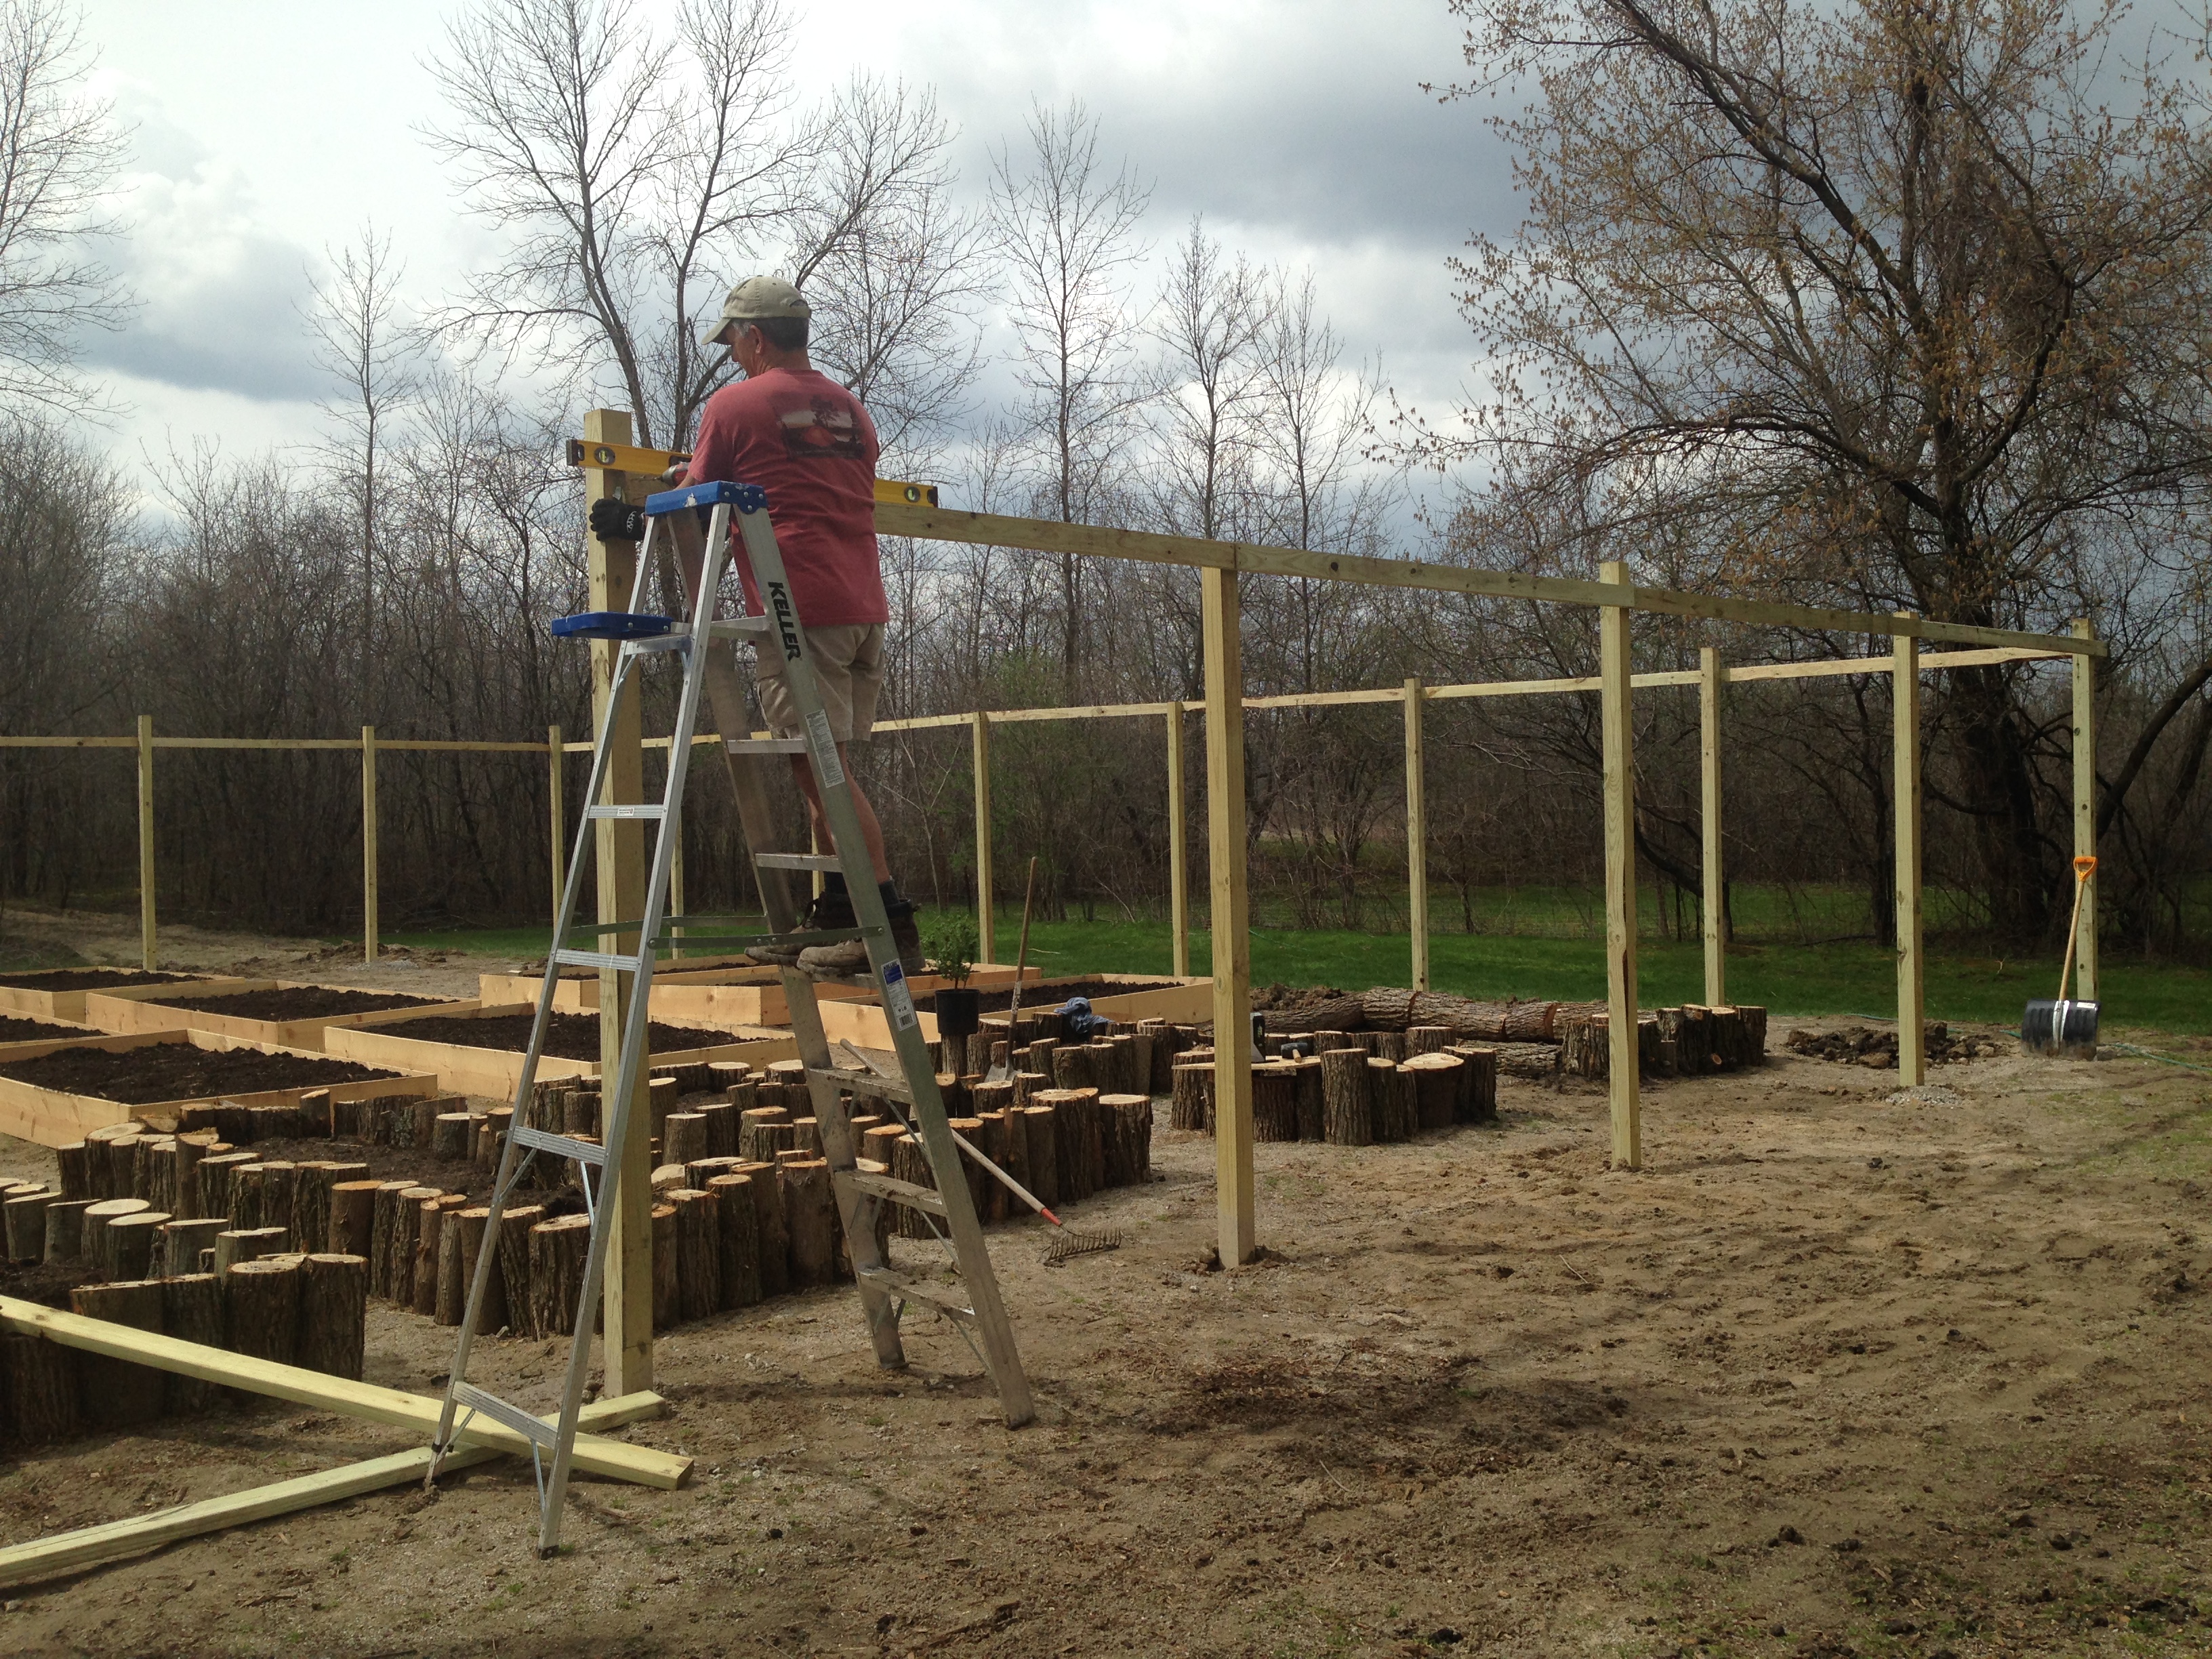 This last week my dad came out a third time to help me out. We ran into some serious issues digging holes with the hand auger thanks to all that Wisconsin clay. Sunbelt Rentals to the rescue! We rented their 9" earth auger and attached it to the bobcat to get 4' down. The day was definitely not without its set backs, but we got all 33 holes dug, all 33 fence posts in, and all the joists attached. I don't think I've ever worked as hard physically for two weeks straight on something as this garden. My father and I collectively shoveled five tons of mulch, three tons of top soil, two tons of manure, and three tons of stone (seriously, not kidding, I did the math). Thanks to this 58'x48' garden and chicken coop I am truly ready for bikini season.
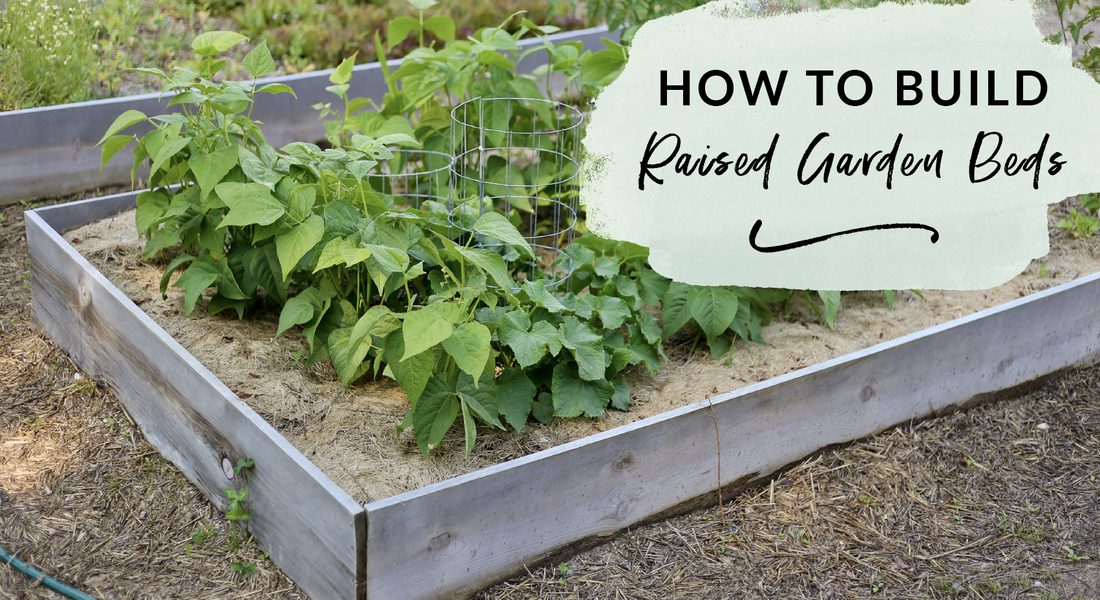 As you plan your first garden are you running into serious trouble with your soil? Does it hold water like an old sponge or hemorrhage moisture leaving your growing surface bone dry? Don't fear, raised beds are here!
I went through a gamut of options as I was trying to deal with my sandbox of a garden spot, literally. There was a 60' x 50' plot of sand where I wanted my garden. Why that spot? With a young forest covering about 60% of our property, I needed a spot with 8+ hours of sunlight and shelter from the wind. This was our only option that wasn't on the opposite end of our five acres. Having your vegetable garden close to your backdoor is imperative. The thought of trekking a wheelbarrow and garden tools all the way to the back of your property seems to me like the opposite of fun. Even if we did put the garden back there, the soil is nearly 70% clay, and the water sits for days before it drains. That is not the type of soil you want for your veggies, unless you want their roots to rot. So back to raised beds. With raised beds, you have much more control over what type of soil you are planting with because you start from scratch. Let's talk how we built ours, what we used to make them, and what their shelf life will be. 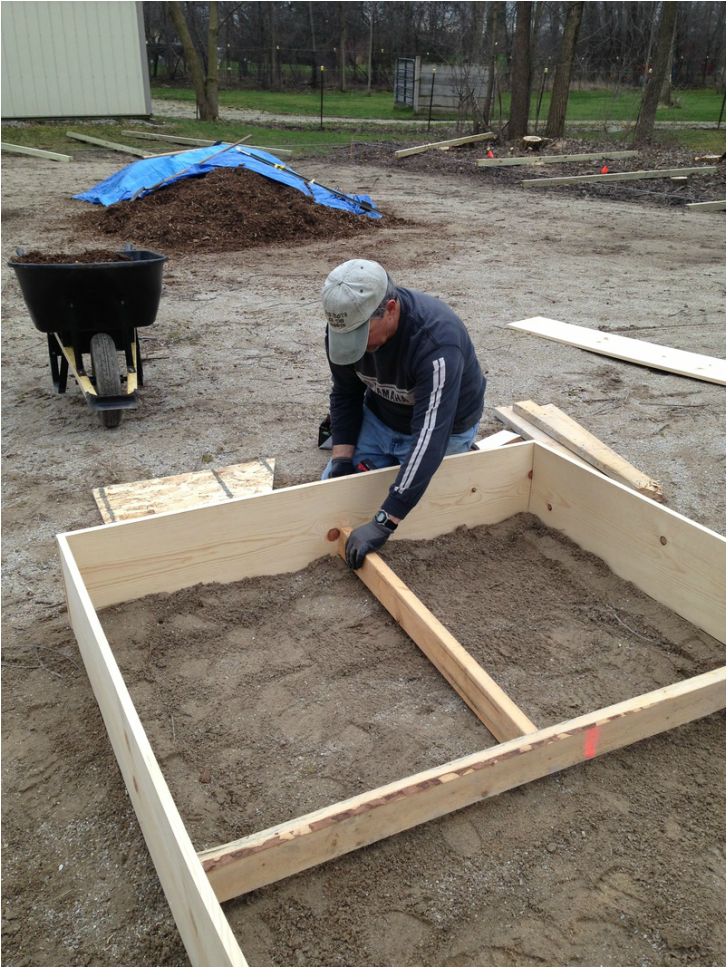 Can you believe this gorgeous weather we are getting in April? Wisconsin is smiling ear to ear over these 70 degree days. My father came back into town to help me put the garden together. After much deliberation on how to deal with the massive amounts of sand we have exactly in the spot that gets the most light, raised beds became the answer. If I wanted to try my hand at some serious gardening this year, I had to fork out a little cash to get the supplies. To learn more about how we did it and how much it cost, click here.
Next on our to-do list was getting the fence posts in that surround the garden. My dad had his 3 foot auger handy, but it was no match for the the fist-sized rocks we encountered 10" down. The other issue we faced was the clay was so thick it would just stick to the blades of the auger. After four hours we had sunk only three fences posts. Defeated, we returned to working on the raised beds. Enter the neighbor's S-150 bobcat! I've got my name on an auger attachment for this next week, so hopefully with my dad behind the bobcat the process will go smoothly.  This last weekend my parents came into town and thank GOD! We got so much done. My dad works as the Trail Boss for the Burnett County Snowmobile Club, making him the most efficient guy I know when it comes to taking down trees.
There were about six nasty old half dead trees that lined the garage, all blocking much needed sunlight into the only south facing window we have on the house. My dad and I had them out, stumps and all, in one day. The yard looks so much more open now, plus we have plenty of logs now to build hugelkulturs in the back of the property. I also plan on using the thickest stumps as the sides of my raised garden beds. To see all our pictures and learn more about the process, click here. |

Meet Kelsey,Thanks for stopping by Green Willow Homestead! From chicken rearing to composting, we've got our hands full and we love sharing what we've learned along the way. Follow along as we turn the 80 acres we call home into a farm that serves its community and a homestead that nourishes us throughout the seasons. 
Grab the EbookListen in!
FREE Guide!
Tune in to our YouTube ChannelInspirationsCategories
All
Favorite Books of 20241. Erosion
2. Braiding Sweetgrass 3. As Long As Grass Grows 4. The Small Scale Poultry Flock 5. The Zero Waste Solution Archives
April 2024
|
FOLLOW KELSEY ON INSTAGRAM!
|
|
As an Amazon Associate I earn from qualifying purchases. |
|