|
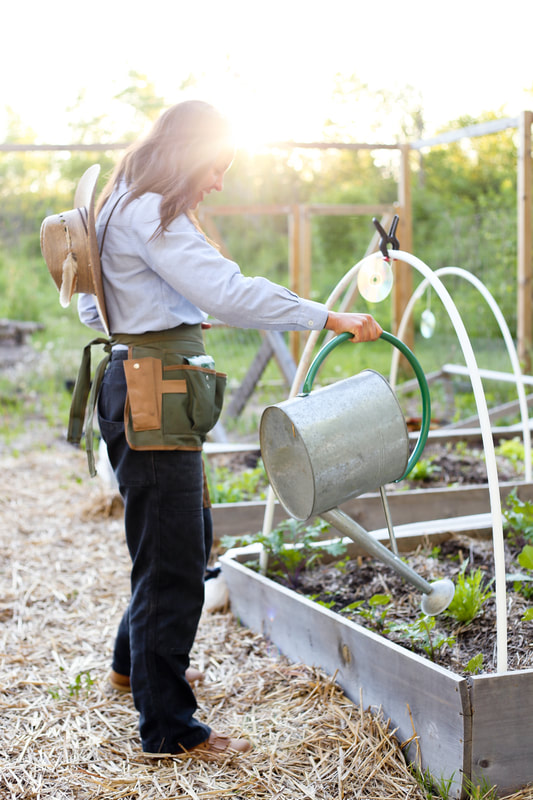
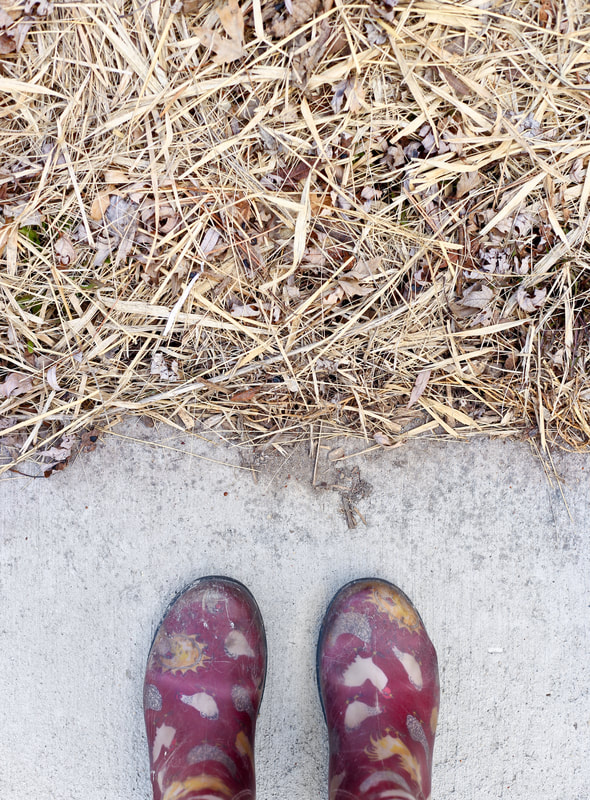
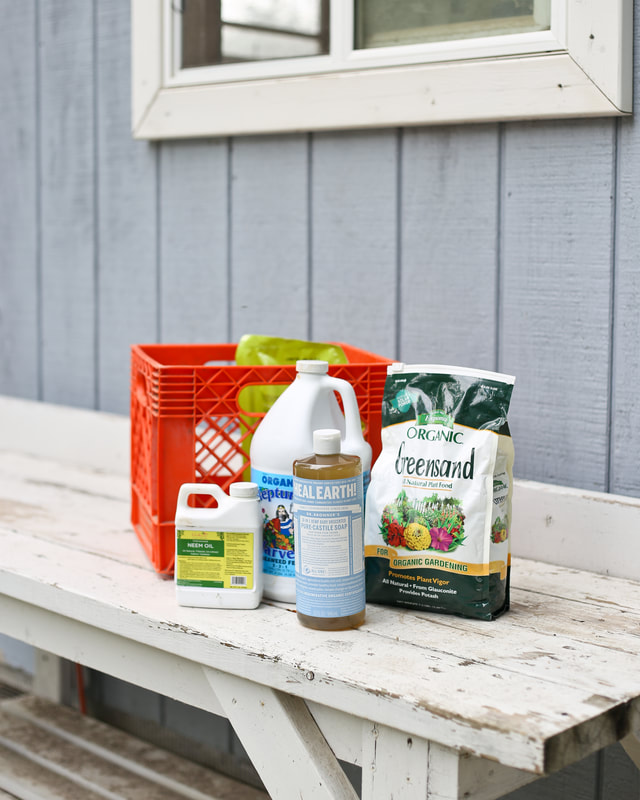
So you’ve got your organic garden planted, and seedlings are popping out of the soil left and right - what do you do next to stay on top of your garden’s needs? That’s what we’re covering in this post, how to provide for your organic garden to ensure a bountiful harvest all through the growing season. We’ll discuss watering, mulching, fertilizing, and weeding. This post includes my tried and true comfrey compost fertilizer tea recipe too. To start at the very beginning of this garden blogging series, head to my first post here. Let’s dive in! Please note: Some of the links below are affiliate links, meaning at no additional cost to you, I will earn a commission if you end up clicking and purchasing an item. I worked hard to find my trusted favorites and I want to share them with you so you don't have to deal with all the crappy junk I had to go through. Nuff said How To Water Your Garden ProperlyVegetables and fruits need water to support their germination, growth, and setting fruit. Most plants need at least 1” per week of water to keep them on the right track. There is where a rain gauge comes in handy! Pop a rain gauge in the garden (no, not near the house, IN the garden) so you can keep a precise log of how much rain you are getting. Some weeks we can get 3+” and then sometimes we have a low-key drought. Keeping track of how much water nature is providing on her own is extremely helpful because overwatering is as much as an issue as under-watering. You don’t want to drown your plants’ roots and create an anaerobic (waterlogged) environment. Roots need to respirate too! As mentioned, 1" per week is typically enough to keep your garden in order. But when should you water your garden and what is the best watering technique? It’s best to water in the early morning or at dusk. You want the sun to be low in the sky; otherwise, it will bake the water right out of the soil, never giving your plants’ roots a chance to get a decent drink. You also want to use a fine mist setting on a brass hose nozzle (don’t get a plastic nozzle that will leak and break in 10 minutes so help me GOD), aim for the root systems or surface of the soil, and stay away from leaves. By keeping plants' leaves dry and aiming for the roots, you keep mildew issues from cropping up on your veggies. While an inch a week doesn’t sound like much, it does take some time with a hose to get to that point manually. Spend a reasonable amount of time, at least two minutes, with each row or larger plant (tomatoes or zucchini). A special note! Squash plants, like winter squash and cucumbers, can look a little wilted mid-day in the heat, but that’s normal. The leaves will perk up overnight. If they still look wilted in the early morning and you haven’t gotten much rain, time to water! Personally, I like to water in the early morning. The mosquitoes aren’t obnoxious yet. If I splash tomato plants’ leaves, the sun will be up high soon and dry them off, preventing fungal issues like blight from cropping up. I’ll spend a good 5 minutes with each 5’x10’ raised bed making sure everything gets a solid drink. One of my gardening hacks is to play two songs from iTunes on my phone per bed. It helps pass the time as well as keep track! How To Use Mulch In Your Vegetable GardenIf I could recommend one simple addition to the vegetable garden for beginner gardeners, it would be MULCH. Mulch as so many perks for your growing vegetables. It retains moisture, it suppresses weeds, it provides a healthy habitat for predatory spiders that will eat a few of those pesky mulching insects, and it keeps the soil life healthier overall. Organic, biodegradable materials you can use for mulch are chopped straw, black and white print newspaper, shredded paper, burlap, and flax shavings. These options will decompose over time and add nutrients to the soil. The rule of thumb is to keep mulch 2” away from the stems of larger plants, like tomatoes and squash. This helps keep the stem dry, preventing disease or fungal issues from developing. Airflow is a good thing for developing vegetables and fruits. As for smaller plants, like carrots, lettuce, beets, etc. - my take is to let the seedlings reach 4-6” tall and then mulch the rows or open spots thoroughly. Carrots especially do well with a thick top dressing of dried grass clippings because it keeps the soil especially cool during the hot months. While many veteran gardens will balk and say, “What about all this carbon tying up all the nitrogen in the soil?” I say phooey. If you directly lay your mulch over the surface of the soil, instead of mixing it in like you are making a batch of soil flavored cookies, your nitrogen will be just fine. By top dressing your soil with the materials mentioned above, you will be providing your garden with a host of benefits. How To Fertilize Your Vegetable GardenOne of the best ways to get your garden started off right is to top dress it with a thick 2” layer of compost the fall before planting. But what if you just caught the gardening bug in springtime and missed the boat? Don’t fret, you still have tons of options! Before diving into applying fertilizer during the growing season, it's essential to do a soil test. My favorite DIY soil test you can find here. It’s incredibly simple and easy to do, plus you get ten tests with the pack. It’s best to test your soil the fall prior to planting so you can make changes, but again, don’t worry if you are late to the party. No matter where you are in the growing season, opt for a soil test to better educate yourself on what your plants may need. You’ll be testing the pH of your soil, and also the amount of Nitrogen (N), Phosphorus (P), and Potassium (K). Chemical fertilizers derive these three nutrients from fossil fuels, which have no place in your organic garden. This is why I am sharing my favorite organic options for fertilizing and correcting soil nutrition to below. The most common soil nutrient and pH issues and their remedies: Nitrogen Deficient: Work composted manure into the surface of the soil. Add 2 cups of organic greensand around the base of larger plants and work into the soil. Apply a foliar spray of 2 tbsp fish and seaweed emulsion to 2 gallons of water using a pump sprayer. Phosphorus Deficient: Add organic rock phosphate at 1 cup per larger plant. More generally, add 10lbs per 100 square feet. Tomatoes especially love phosphorus at fruiting time. Note that the more acidic your soil is, the less available phosphorus is to your plants. If you have highly acidic soil see the below info. Potassium Deficient: Add organic greensand at 2 cups per large plant and work into the soil. Apply a foliar spray of tbsp fish and seaweed emulsion to 2 gallons of water using a pump sprayer. Sprinkle soil with a dusting of wood ashes, which have the added bonus of adding trace minerals like magnesium and calcium. The soil is too acidic (below 6 pH): As mentioned above, the soil pH affects if your plants can take up available nutrients in the soil. You can use ground up oyster shells at 1-2lbs per 100 sq ft or a dusting of hardwood ashes. These will “sweeten” the soil and raise the pH up by a half point or more. The soil is too alkaline (above 8 pH): A quick fix is to water plants with a 50:50 ratio of cold coffee and water. This will bring you down by a half point or more on the pH scale. How To Make A Holistic Vegetable Garden SprayOnce you test and make corrections, you’ll still want to give your plants a boost throughout the growing season. I like to do my holistic foliar spray 1x a week (it's called Fertilizer Fridays at our house). A foliar spray means you are applying the fertilizer to the plant's leaves. Fish and seaweed emulsion is a super nutritious and balanced fertilizer for your plants. It's definitely my catch-all for keeping my garden well-fed. Neem Oil helps keep munching insects away as well, but use with caution as it also can negatively affect pollinators. I include Neem Oil in my foliar spray only if I'm having insect issues in the garden. Otherwise, you can simply spray with just the fish and seaweed emulsion. Castile Soap is another organic pesticide because the soap ultimately suffocates soft-bodied garden pests. Once applied to the plant, it won't have adverse affects on pollinators. Always spray in the early morning or late evening, so the sun doesn’t burn the moistened leaves. Remember to also spray your fertilizer on a day where there’s no rain in the forecast so it doesn't wash off right away. This recipe is for a 2-gallon hand pump sprayer. Make adjustments accordingly. INGREDIENTS:
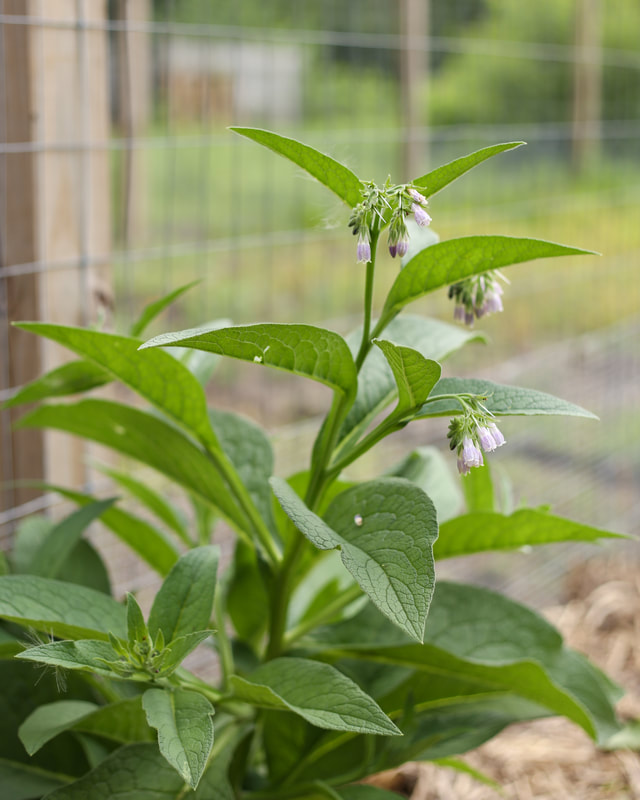
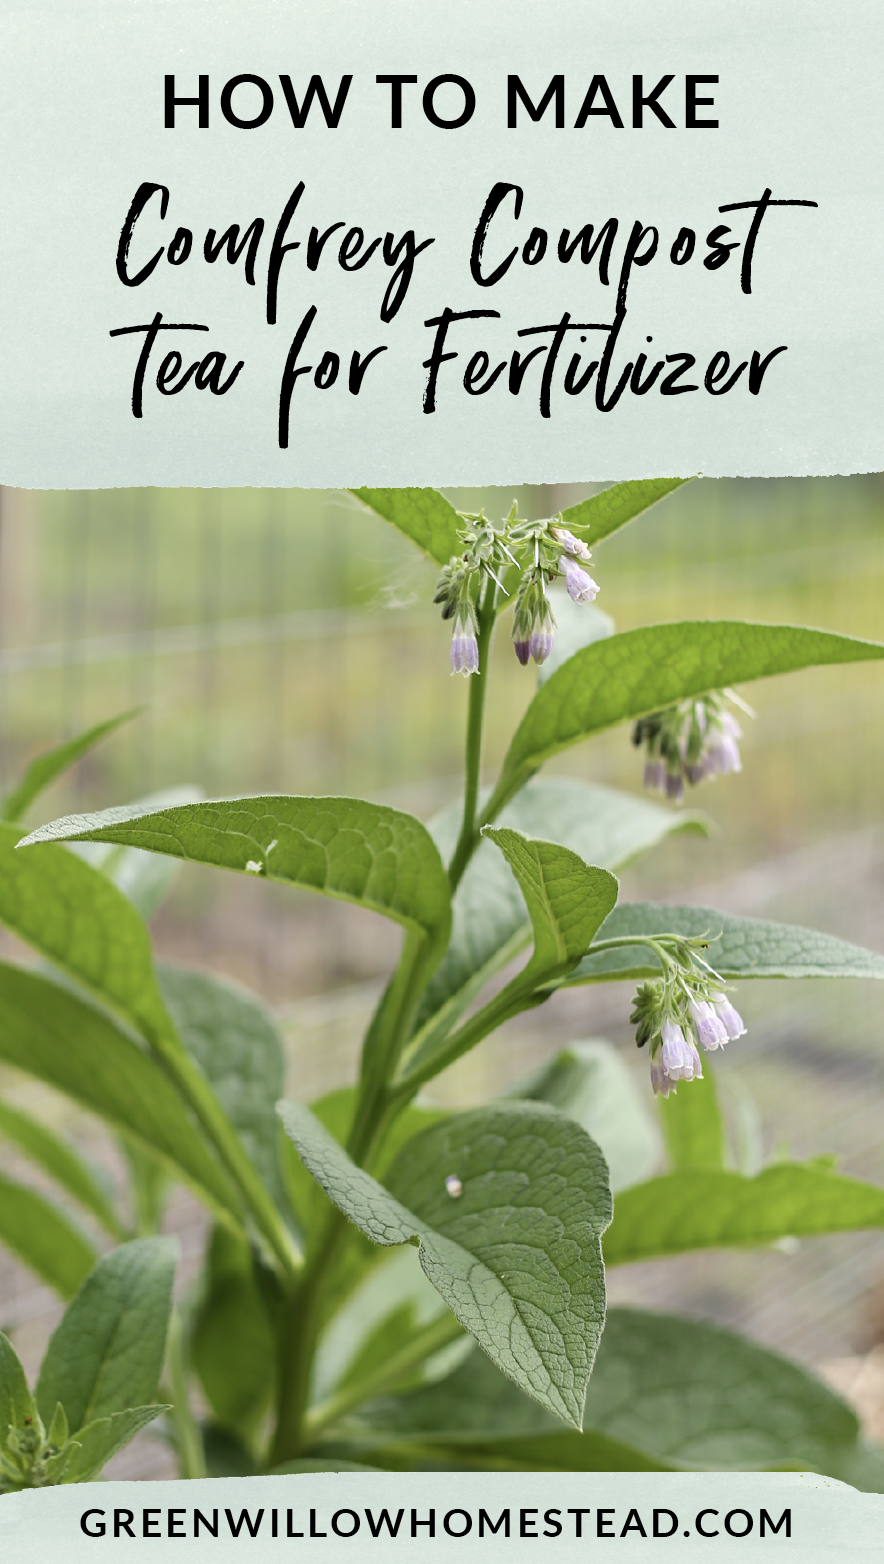
How To Make Comfrey Tea For Your GardenAnother great addition to the feeding regimen is comfrey tea. We started growing comfrey this year so we could use it for just that! Comfrey tea is a fermented stinky juice (even smellier than the fish emulsion!) that has tons of trace minerals, mainly calcium, for your plants. Here’s how you brew it. INGREDIENTS + SUPPLIES:
STEPS:
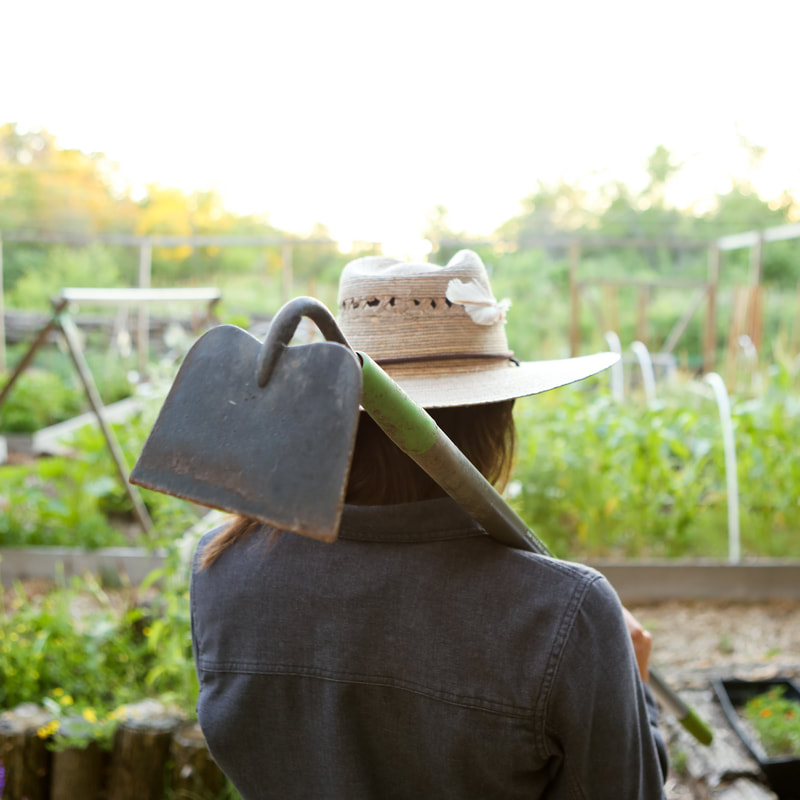
To get comfrey started in your own garden, I recommend this blocking variety of comfrey that won’t become invasive. We planted all 18 roots in pots of compost in the early winter, and 16 came up in the spring. Pretty dang good results for never growing comfrey before! How To Weed Your Vegetable GardenWeeds are merely a state of mind for us at Green Willow Homestead, but we realize we have to cut down on the competition for nutrients for your vegetables in the garden. Mulching will help keep most weeds at bay, but some will inevitably poke through. Once a week I’ll set aside some dedicated time to weed. With twelve raised beds, it can take an hour to get through them all. I assume a squat position and just go to town with garden gloves on, no tools needed. If you are standing and weeding, a stirrup hoe is a great tool, as is the typical garden hoe. Another tip is to weed a little each time you harvest veggies. That way you take a small bite every day, versus letting the weeds gain momentum throughout the week. Weeding just after it rains helps make pulling deep-rooted plants like dandelion or thistle out a tad easier. As for disposing of pulled weeds, we leave them right in the garden bed to decompose, but you can also throw them in the compost pile. If the weed has seeds on it though, I recommend throwing it in the campfire, so you don’t accidentally plant a round of knotweed for the next growing season. That’s all for providing for your organic garden! Do you have any tips or tricks to share? Comment below! Next up we will go over protecting your organic garden - I'm talking how to deter all kinds of bugs, bunnies, and birds. Plus, we will get into some fungal and bacterial issues to keep an eye out for and how best to prevent them.
1 Comment
Nettie
4/17/2020 01:40:17 pm
Absolutely loved this blog series! Can't wait to get started. :)
Reply
Leave a Reply. |
Meet Kelsey,Thanks for stopping by Green Willow Homestead! From chicken rearing to composting, we've got our hands full and we love sharing what we've learned along the way. Follow along as we turn the 80 acres we call home into a farm that serves its community and a homestead that nourishes us throughout the seasons. Grab the EbookListen in!FREE Guide!Tune in to our YouTube ChannelInspirationsCategories
All
Favorite Books of 20241. Erosion
2. Braiding Sweetgrass 3. As Long As Grass Grows 4. The Small Scale Poultry Flock 5. The Zero Waste Solution Archives
April 2024
|
FOLLOW KELSEY ON INSTAGRAM!
As an Amazon Associate I earn from qualifying purchases. |

